Eclipse IDE Setup
Goals
One of the best ways to get started with Broadleaf is to import the Heat Clinic into your favorite Java IDE. This will make editing code easier and also give you the ability to hook up a debugger to inspect code execution paths. You might not want to tie the execution of the Heat Clinic to the lifecycle of your IDE and instead run it from the command line. See the docs on running the Heat Clinic from your CLI.
- Importing the Heat Clinic into Eclipse and running it through the IDE
- Hooking up a debugger to start inspecting code execution paths
- Adding new code to the project
Prerequisites
Install the required software for the Heat Clinic
We recommend completing the running the Heat Clinic from your CLI tutorial prior to completing this tutorial to install software that Eclipse requires like Java and Maven.
Eclipse
If you don't already have it, download the latest package of Eclipse IDE for Java EE Developers.
Once Eclipse is installed, open it and type in a path on your filesystem to a workspace. The actual location of the workspace doesn't matter as long as it is not a place that gets regularly cleaned up (don't point it to your Downloads directory).
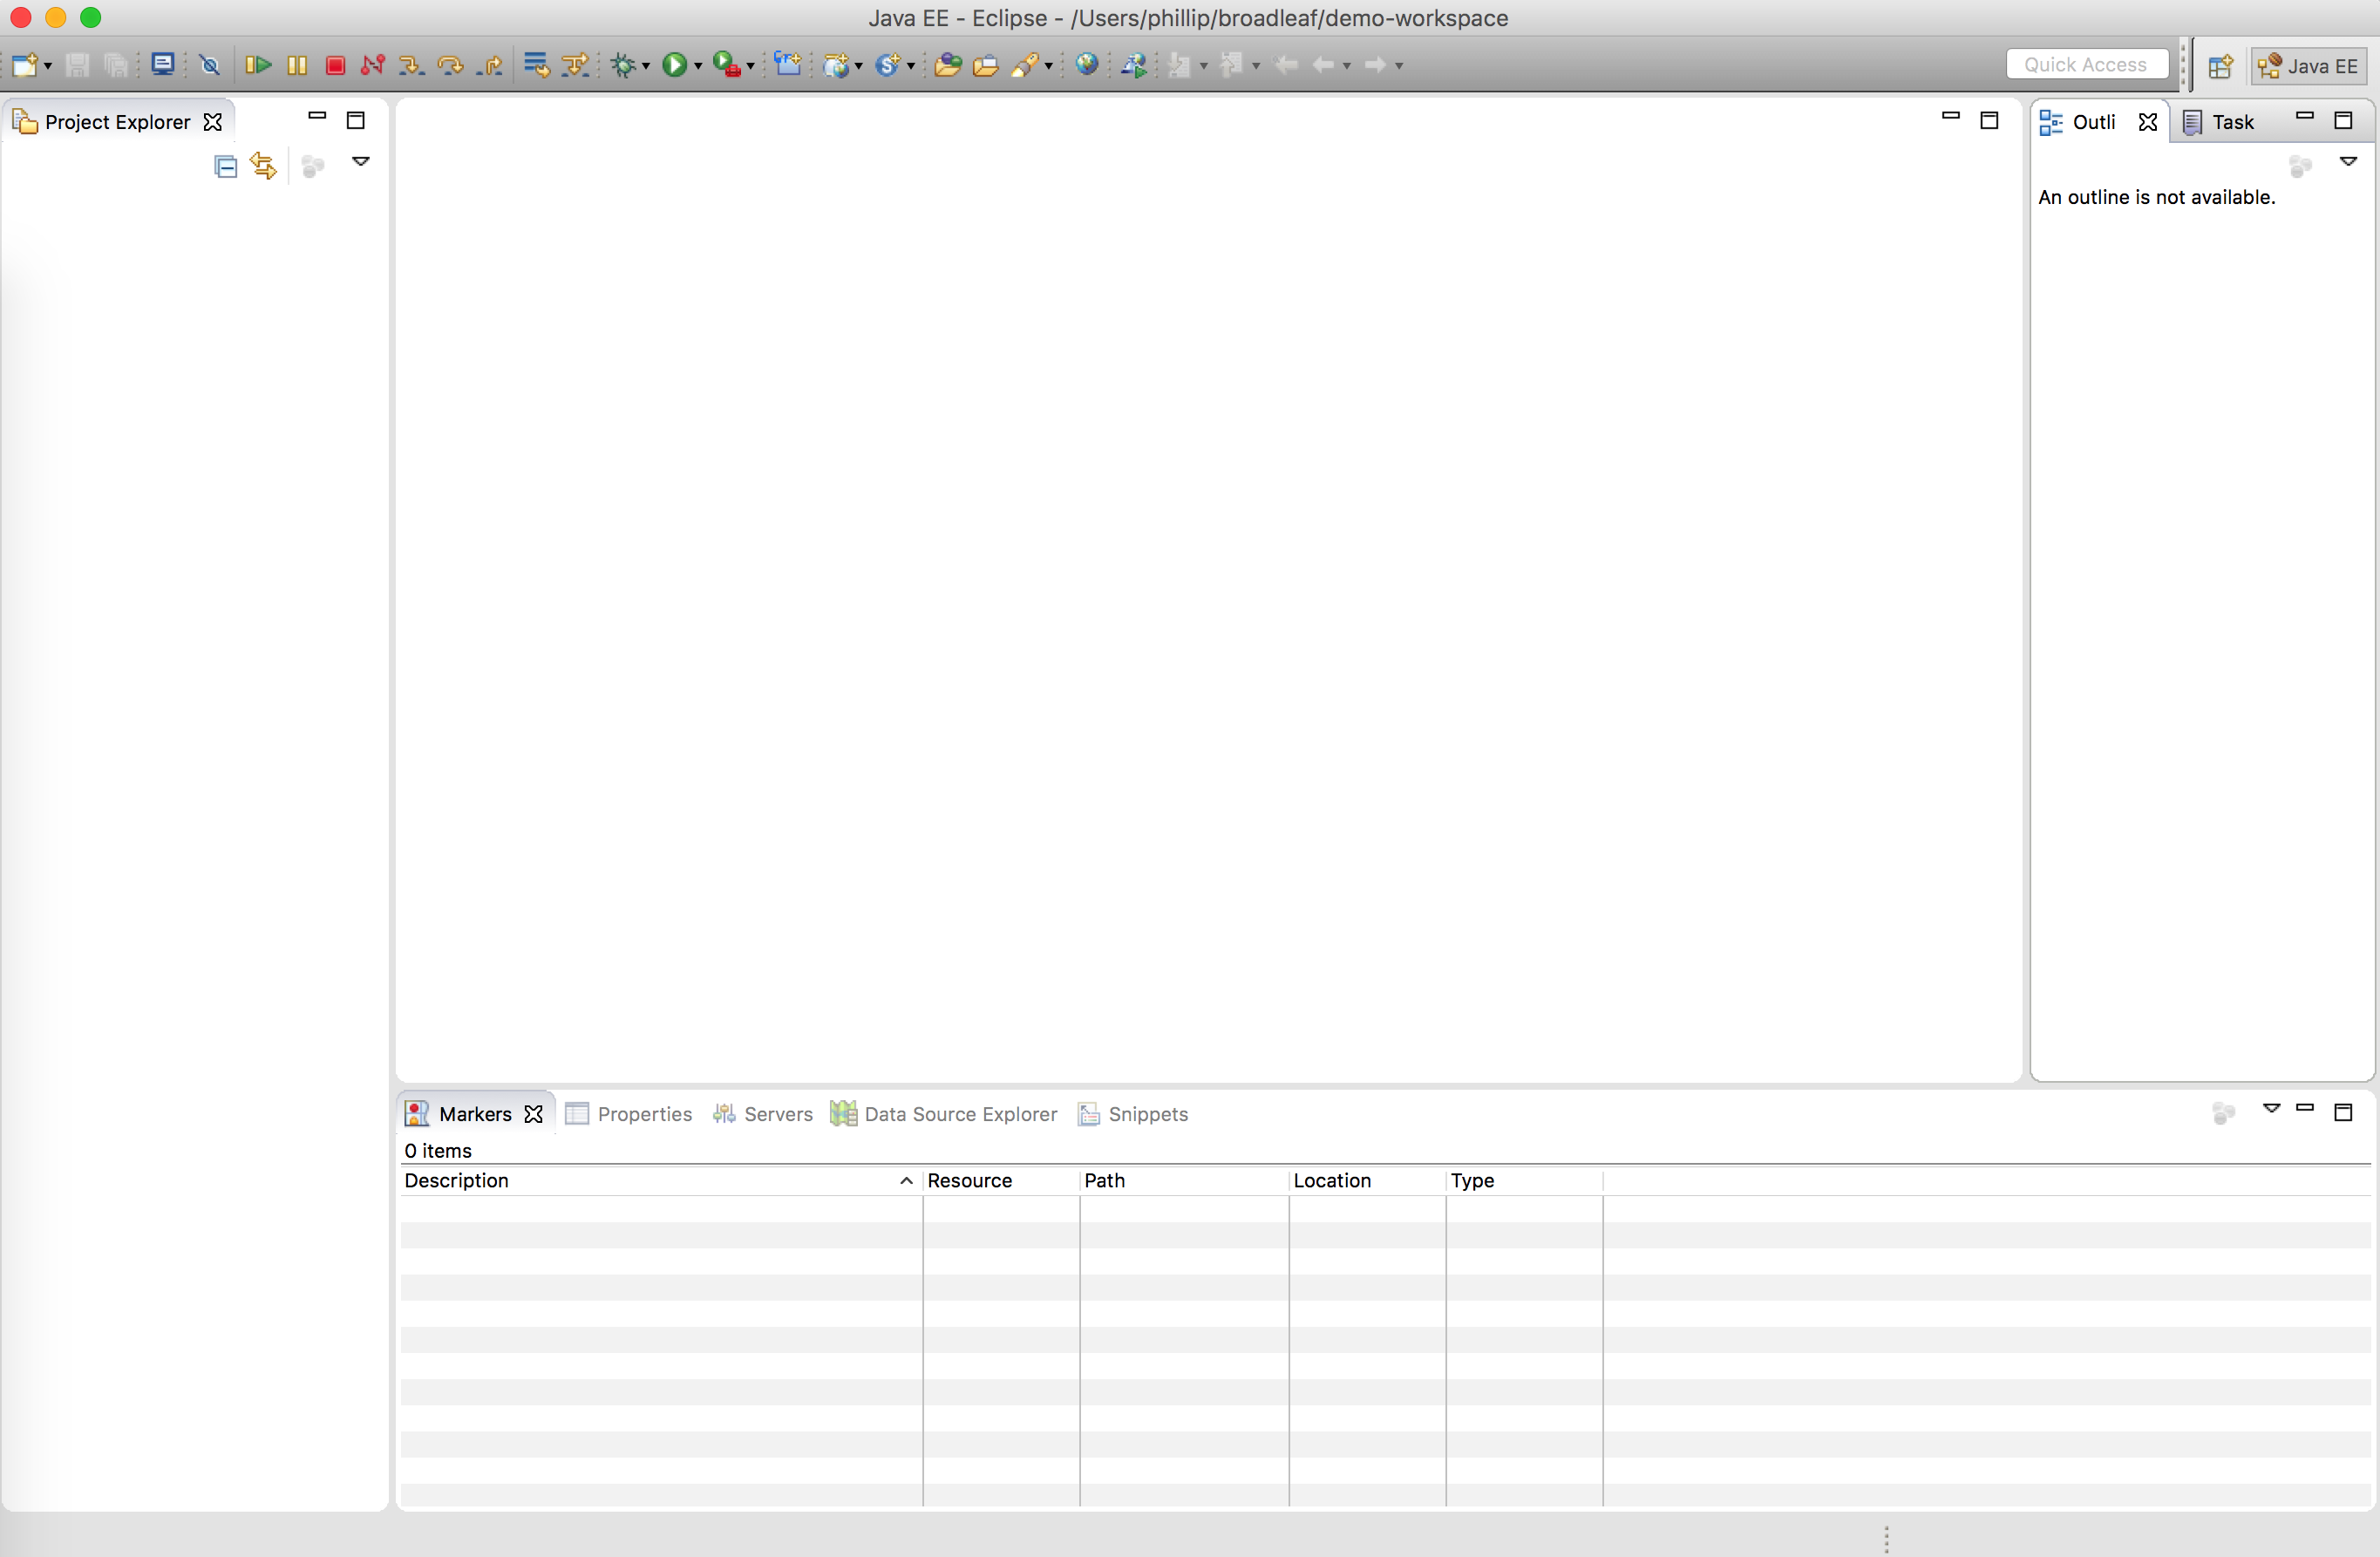
Once you have Eclipse installed and pointed to a workspace, you should be sitting at a blank workspace that looks like this:
Check that Eclipse knows about the Java 8 JDK
Once Eclipse is downloaded and installed (or if you are using an existing Eclipse installation), you should verify that you have a Java 8 JDK.
Open the Eclipse Preferences pane and navigate to Java -> Installed JREs. You should see an entry for Java SE 8 in the list:
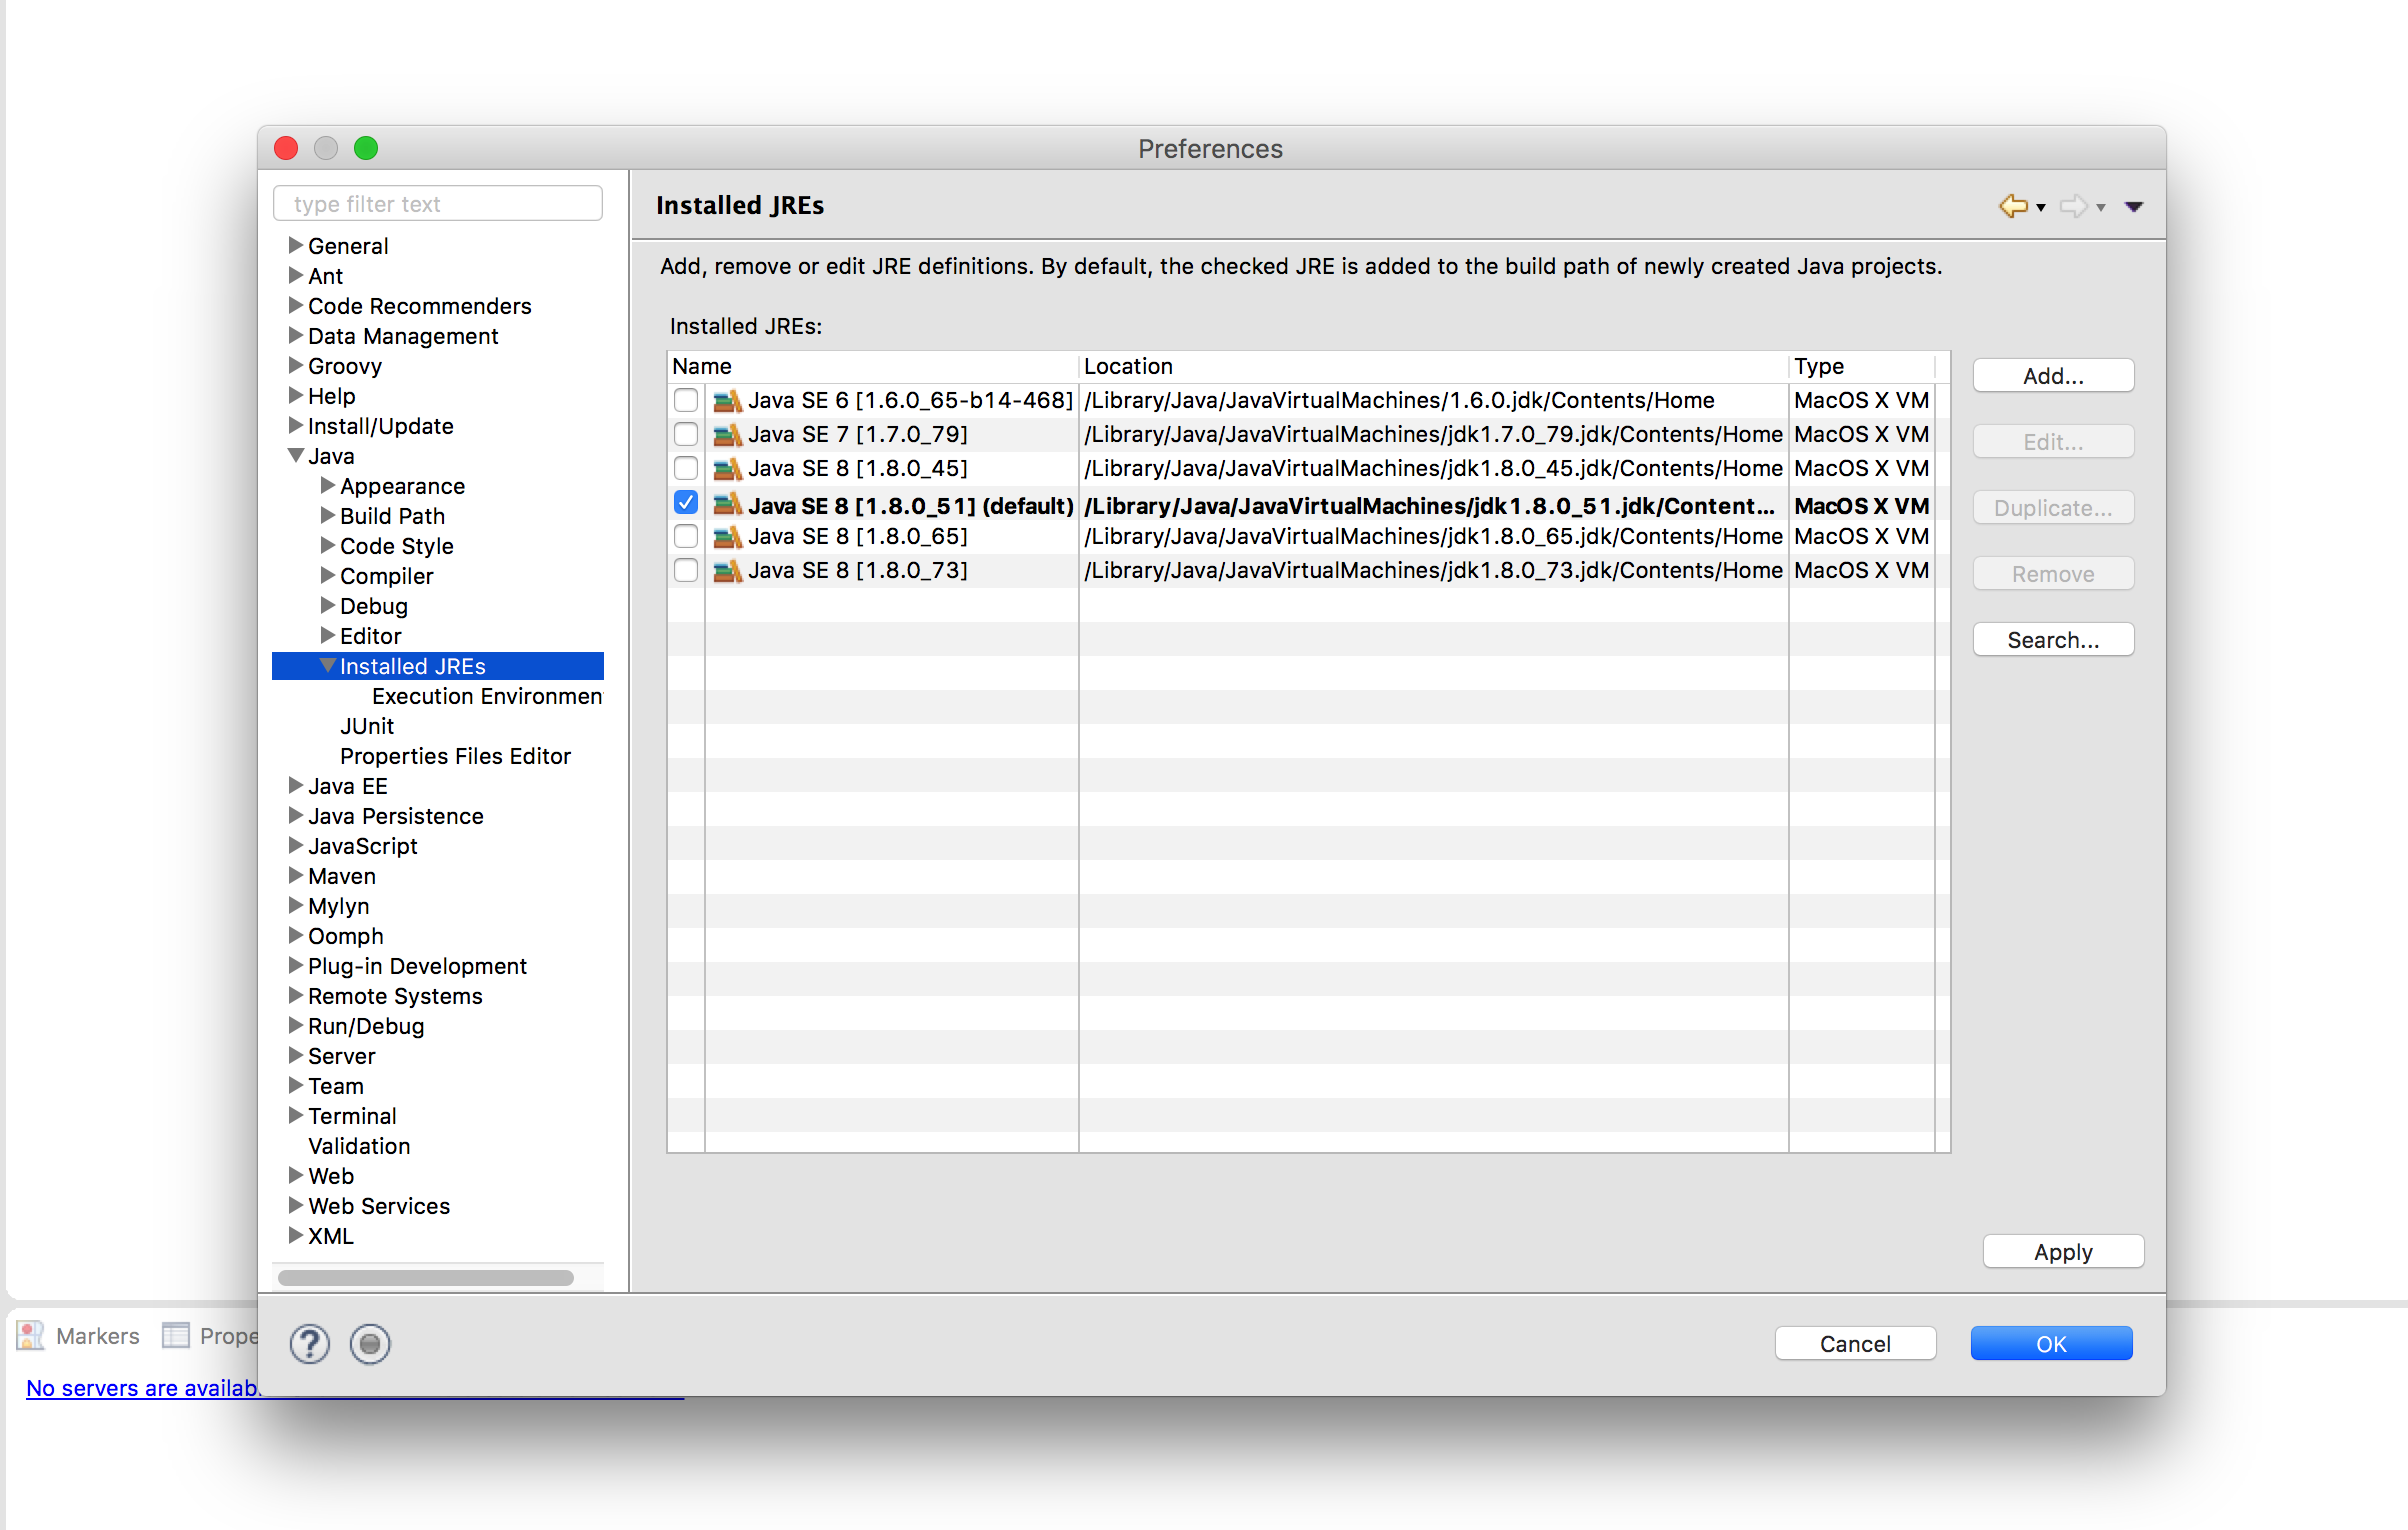
In the above example, I have a few different installed JREs installed, but Java SE 8 is on the list and is the default JDK (Java 8 does not need to be the default JDK, just has to be in the list). If JDK 8 is not in the list, add it.
Add the Java 8 JDK to Eclipse
If you do not see Java SE 8 in the list, then you need to let Eclipse know about this JDK. Hit the 'Add...' button on the right of the 'Installed JREs' preferences pane. You should now be presented with this:

In the 'JRE home' input, put the environment variable for JAVA_HOME that you set up in the Running Locally tutorial. After adding the path you should see the JRE system libraries appear below:

Verify Maven settings
Go to your Eclipse Preferences and select 'Maven'. Ensure that it is configured to automatically download Sources and Javadocs and automatically updates snapshot versions:

Optional Eclipse Plugins
A few Eclipse plugins that we use at Broadleaf that we find beneficial, all installable from Help -> Eclipse Marketplace:
- JRebel (if you generally run the project from Eclipse)
- Optimizer for Eclipse
- Eclipse Class Decompiler - for dependencies that do not include sources
Now you are all set to import the Heat Clinic into your workspace!
Import the Heat Clinic project
Now you need to import the Heat Clinic demo site into your workspace from the location that we saved the project to when we downloaded it.
- Go to File -> Import...

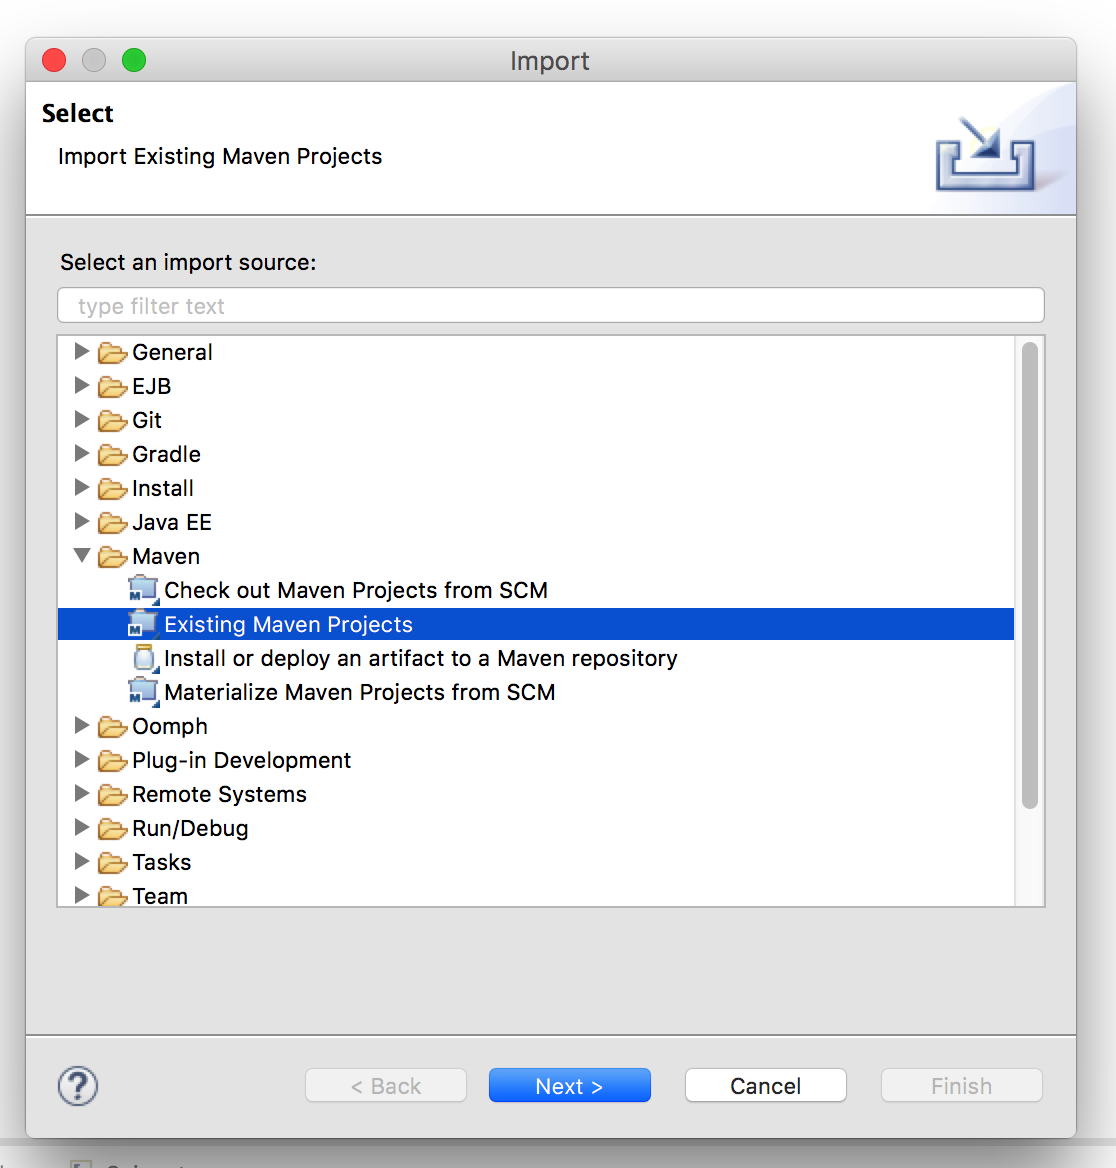
- Expand the "Maven" folder, highlight "Existing Maven Projects" and hit "Next"
- In the box for "Root Directory" enter the path to the directory that you saved your Heat Clinic DemoSite to on your filesystem, or hit the "Browse..." button next to the input box to browse for the location. If you type the path in manually, you might need to hit the 'Refresh' button on the right-hand side. After you do that, you should now see 5 different projects pop up

- Note that there is a checkbox for "Add project(s) to working set" and the value is defaulted to 'boot-community-demo'. Working sets will be come important later, but we can leave this like it is for now
- Hit the 'Finish' button on this dialog box to finish the import
It might take a bit to complete as Eclipse downloads all of the Maven dependencies necessary for Broadleaf. You will know it is done importing by activity on the bottom-right corner of your screen. If you cloned the project from GitHub, you might also see an 'Auto share git projects' dialog box as well.
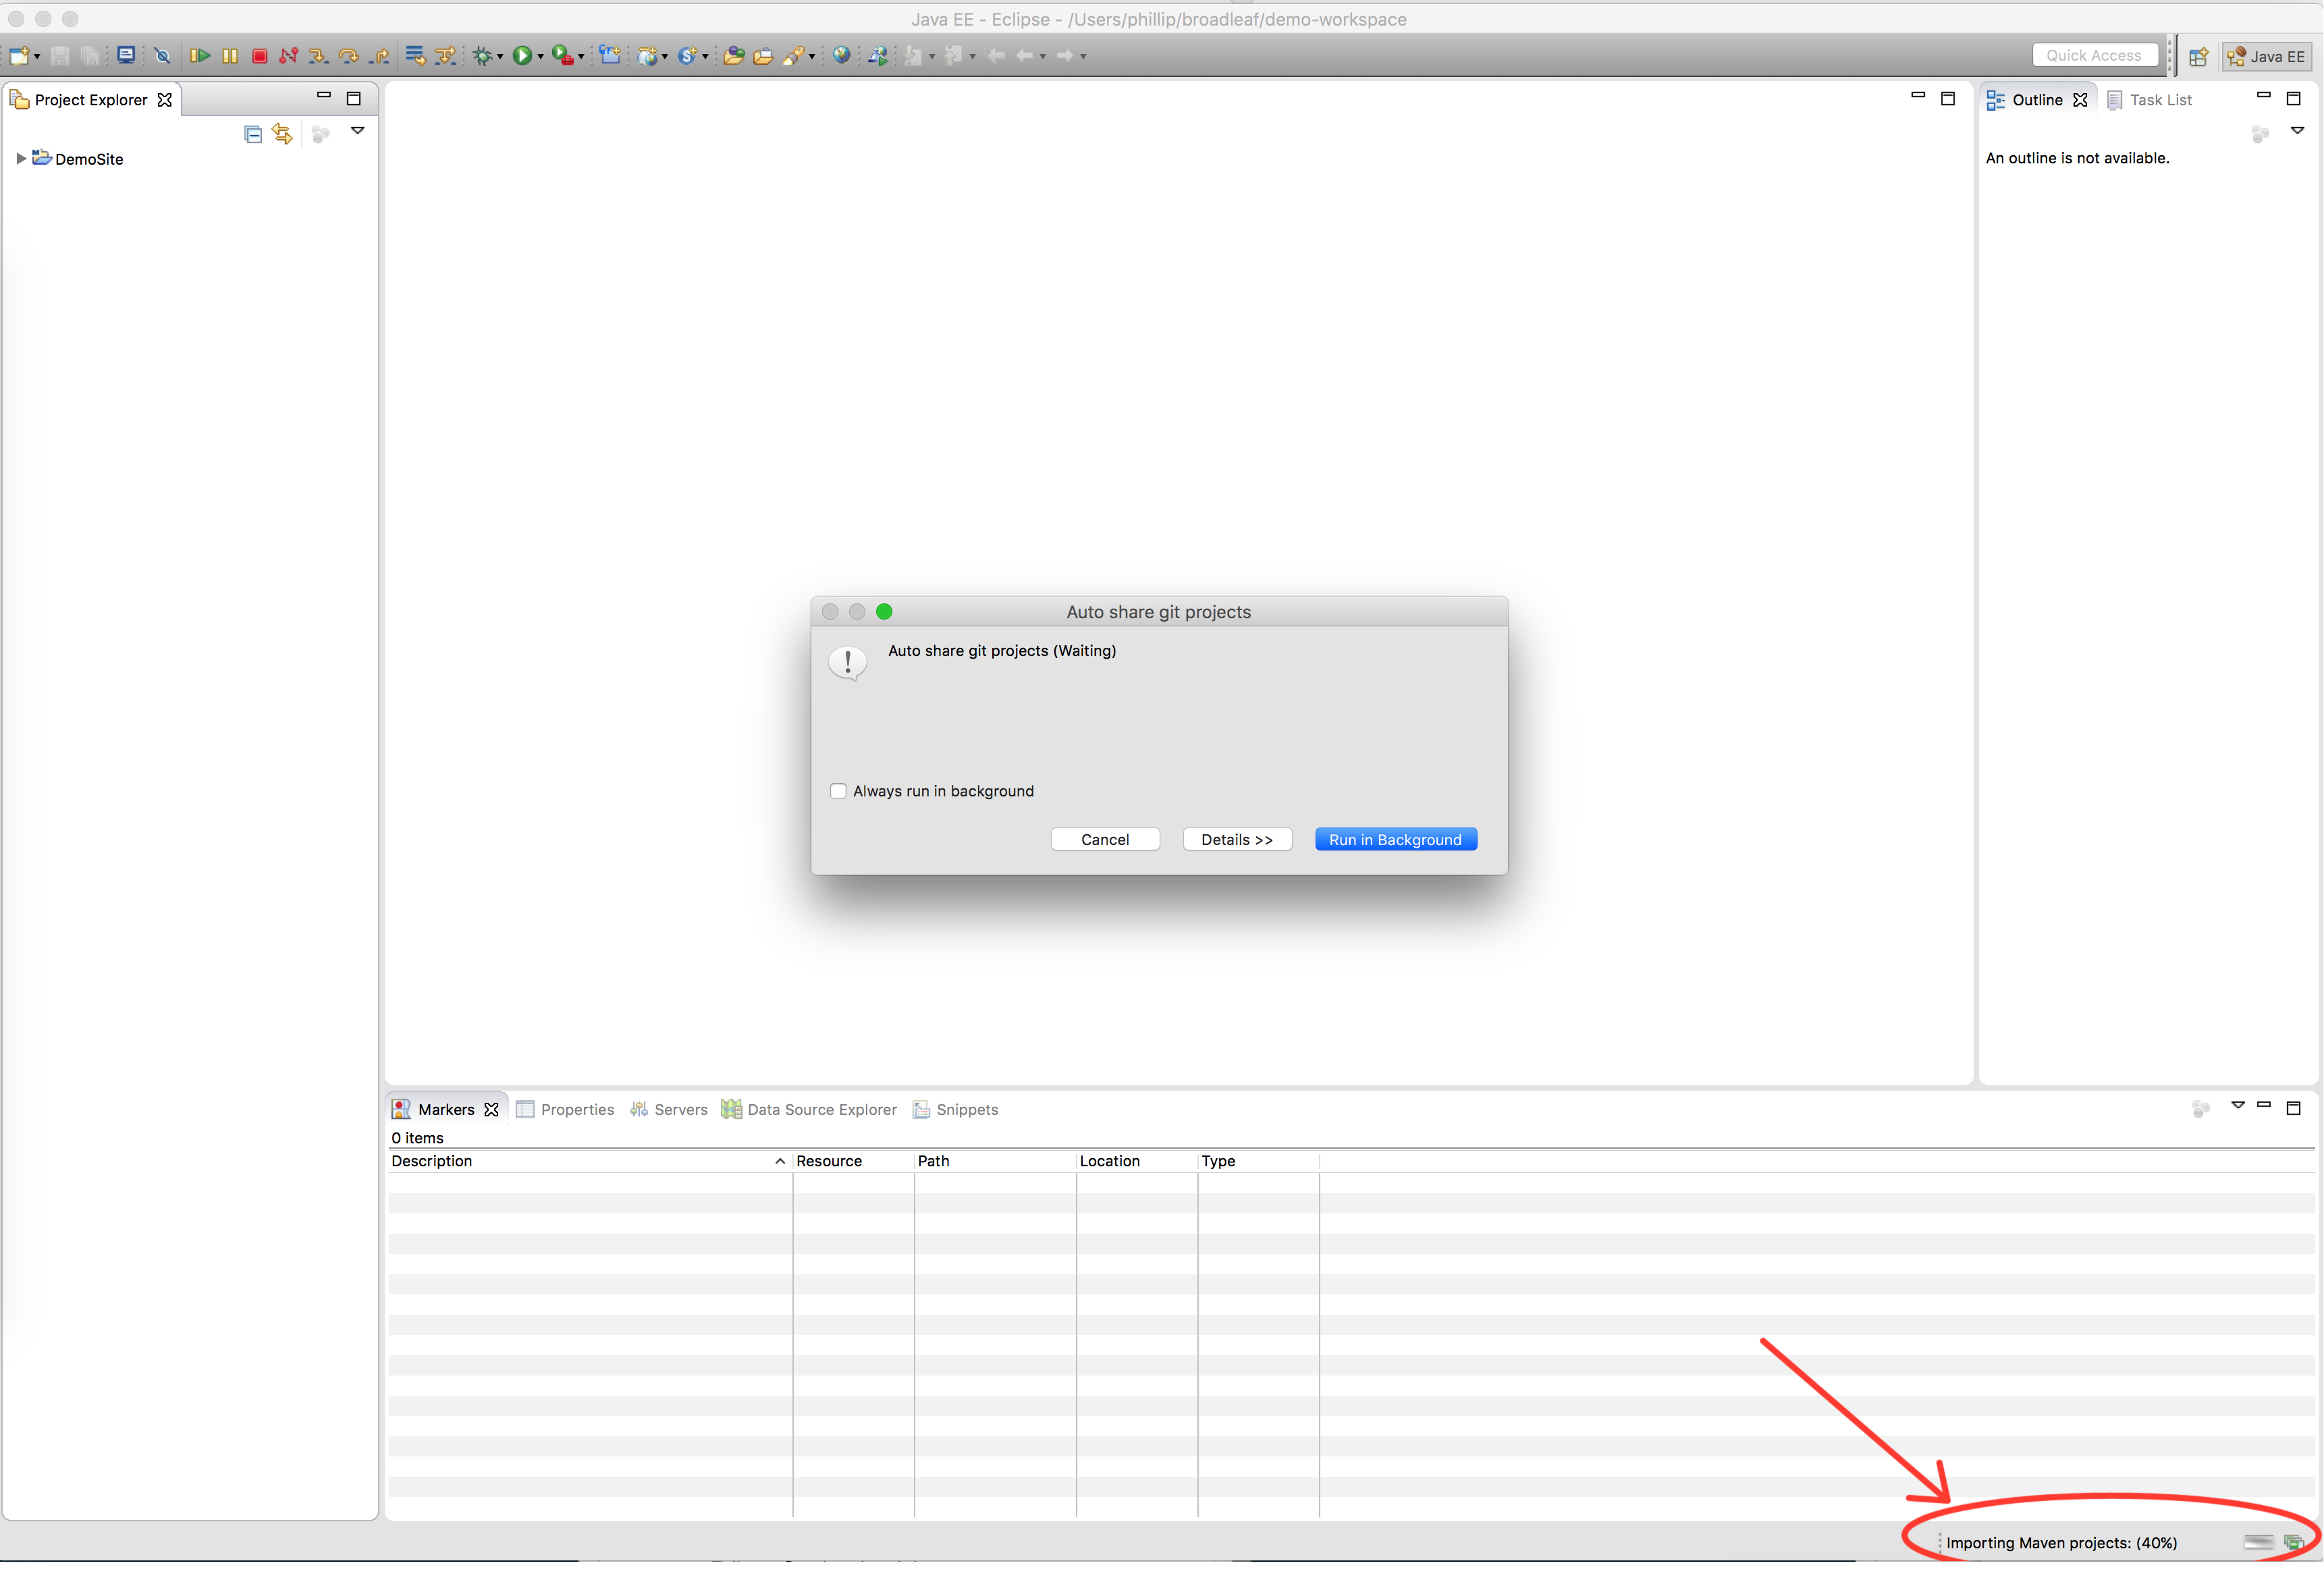
Once the import process has finished, your workspace should look like this:

You should have 4 projects in your installation:
- DemoSite - the "Maven parent" that the other projects are children of. This is not a Java project on a Java build path
- admin - the Broadleaf backend application for managing the catalog, content, offers, etc. Builds into a
.warfile - core - common module shared between the site and admin projects, used for common utilities, services, database tables, etc
- site - the Heat Clinic frontend. Contains all of the styling and user interactions for the Heat Clinic as seen on http://demo.broadleafcommerce.org
- api - the Heat Clinic APIs. You can see all of the endpoints available by browsing the Swagger endpoints
Now that the project is imported, right-click on the root project (which should be called CommunityStarter or boot-community-demo) and go to Maven -> Install:
This will fully compile and build the Heat Clinic application. Once this is completed, you now have 2 options:
- Use the Maven Spring Boot runner (this is covered in Running Locally)
- Run the project from within Eclipse
Run the project from within Eclipse
Each project is a Spring Boot application so each deployable project (all of them except for core) has a @SpringBootApplication class in the first package in the project. This can be run like any other Java application that has a public static void main(String[] method).
For instance, to run the Admin application, right-click on the AdminApplication class and click Run As -> Java Application

After a moment you should see the following log messages indicating that the application has started:
2017-05-31 07:38:20.370  INFO 10079 --- [           main] s.b.c.e.t.TomcatEmbeddedServletContainer : Tomcat started on port(s): 8444 (https) 8081 (http)
2017-05-31 07:38:20.381  INFO 10079 --- [           main] com.community.admin.AdminApplication     : Started AdminApplication in 29.328 seconds (JVM running for 29.682)
The application is now viewable at https://localhost:8444/admin
Other application classes that you can run are:
ApiApplicationin theboot-community-demo-apiproject, with all available endpoints viewable at https://localhost:8445/api/v1/swagger-ui.htmlSiteApplicationin theboot-community-demo-siteproject, viewable at https://localhost:8443/
The API and Admin projects have properties set for
server.contextPathso they are not accessible at the root contextThe red 'Terminate' button in Eclipse has been known to not reliably kill the project and you might get a 'Termination failed' popup message. There is no known fix for this except to use Spring Tool Suite (which is based on Eclipse) and start/stop the project by using Run As -> Spring Boot Project
Debugging
If you are running the projects from Eclipse as a Java application, again right-click on a @SpringBootApplication class but instead of Run As use Debug As -> Java Application:

When you install breakpoints by double-clicking on the left-hand gutter you should now see checkmarks next to them to show that the debugger is attached and knows about that class:

If you are running from CLI using mvn spring-boot:run, this automatically initiates remote debug points:
- site -
8000 - admin -
8001 - api -
8002
To connect to these remote debug points go to Run -> Debug Configurations from the main top menu:

Right click on 'Remote Java Application' and hit 'New':

On the following dialog, do the following:
- Change the name to describe what you are debugging (e.g. 'Admin')
- Hit the 'Browse...' button next to 'Project' and select the project that you are debugging (this ensures that Eclipse will install breakpoints correctly)
- Use the default 'localhost' as the Host
- Change the 'Port' to one of the above default debug ports:
- site -
8000 - admin -
8001 - api -
8002
- site -

Then hit 'Apply' and 'Debug' to connect the debugger.
The project must already be started up and listening for remote debug connections
Additional recommended setup
Working Sets
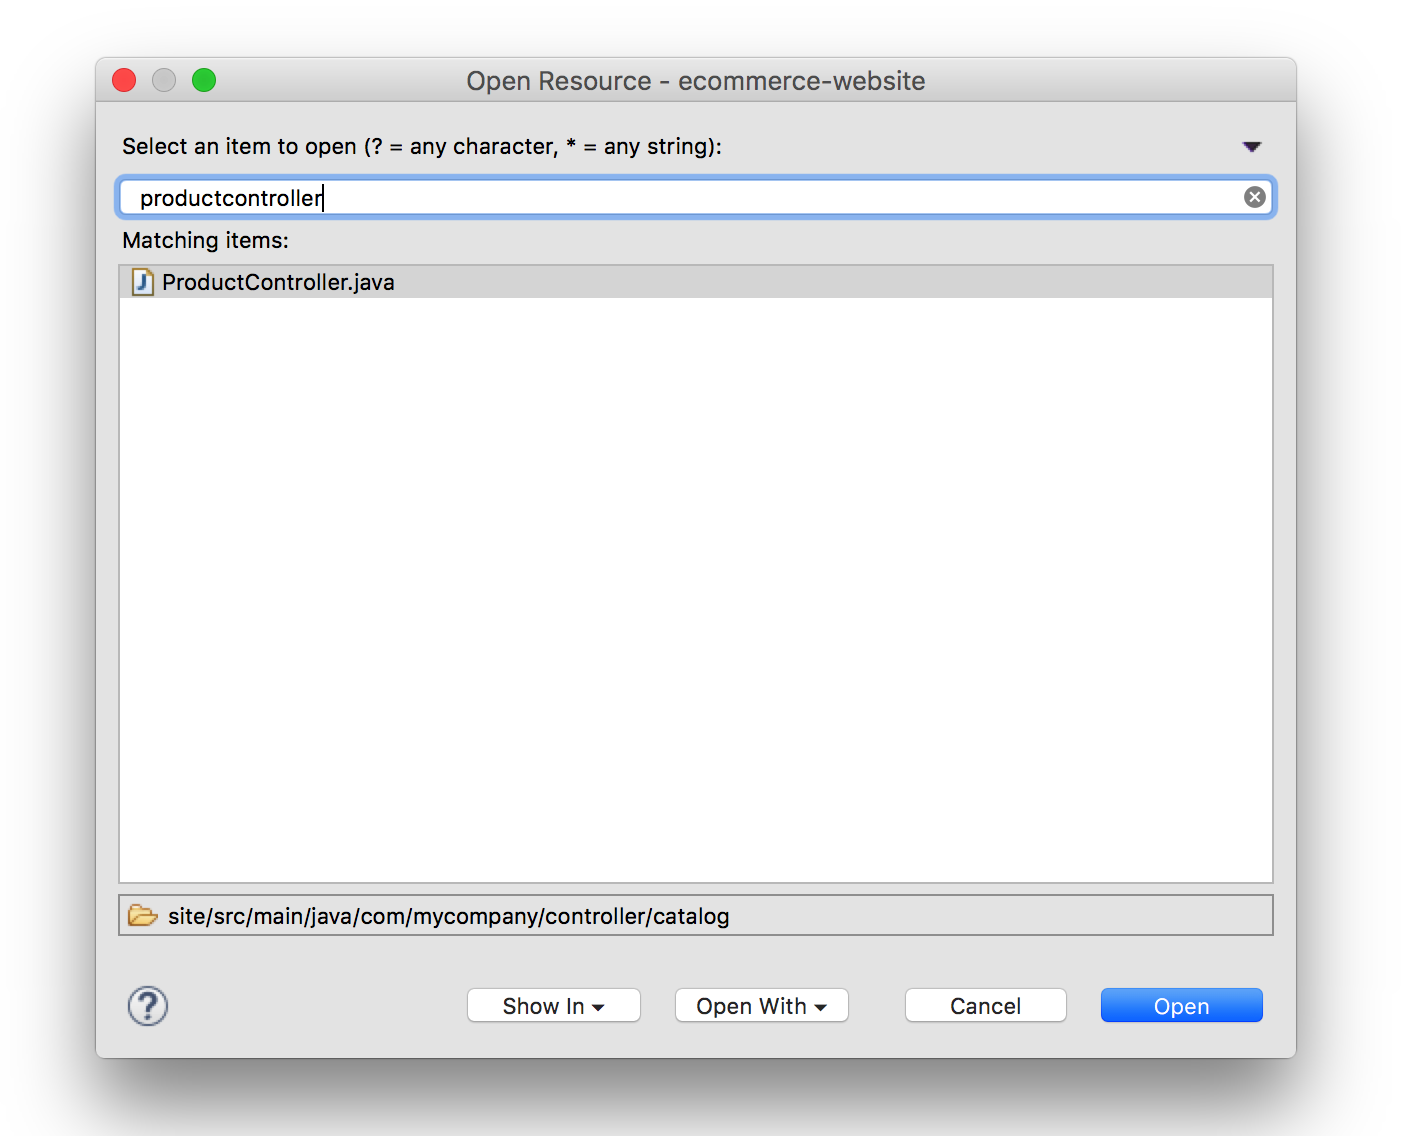
In order to properly organize these projects within Eclipse, we highly recommend splitting out the projects into distinct working sets. Since the "Maven parent" project (that just contains a root pom.xml without much else) also contains all of the subprojects (admin, core, site), this means you will get duplicates if you try to do things like open resource. You can see this if you type cmd+shift+r (on OSX) or ctrl+shift+r (on Windows) and then type ProductController in the popup:

You'll notice that I have 4 instances of ProductController shown here in my view. The last item in the list is the "correct" one, meaning that is the one that is within a project on a Java build path and that Eclipse will pick up as a Java file. We want the other items out of our view. The way to achieve this is to split the projects into 2 working sets: 1 with just the top level project in it, and 1 with the 4 Java projects inside of it.
To configure your working sets:
- At the top of the "Project Explorer" page, hit the down arrow carrot towards the right to bring up a dialog that contains "Select Working Set..."

- On the new dialog, click the 'Selected Working Sets' radio button, highlight the working set (by clicking on it) and then hit the 'Edit...' button on the right

- A new window will pop up referencing the previous working set. It will look something like this:
 Change this screen such that the admin core, api and site projects are the only ones checked. When you are done hit 'Finish'. The final result should look like this:

- Once back at the 'Select Working Set' dialog, hit the 'New' button on the right to create a new working set
- Select the 'Resource' working set type and hit 'Next...'
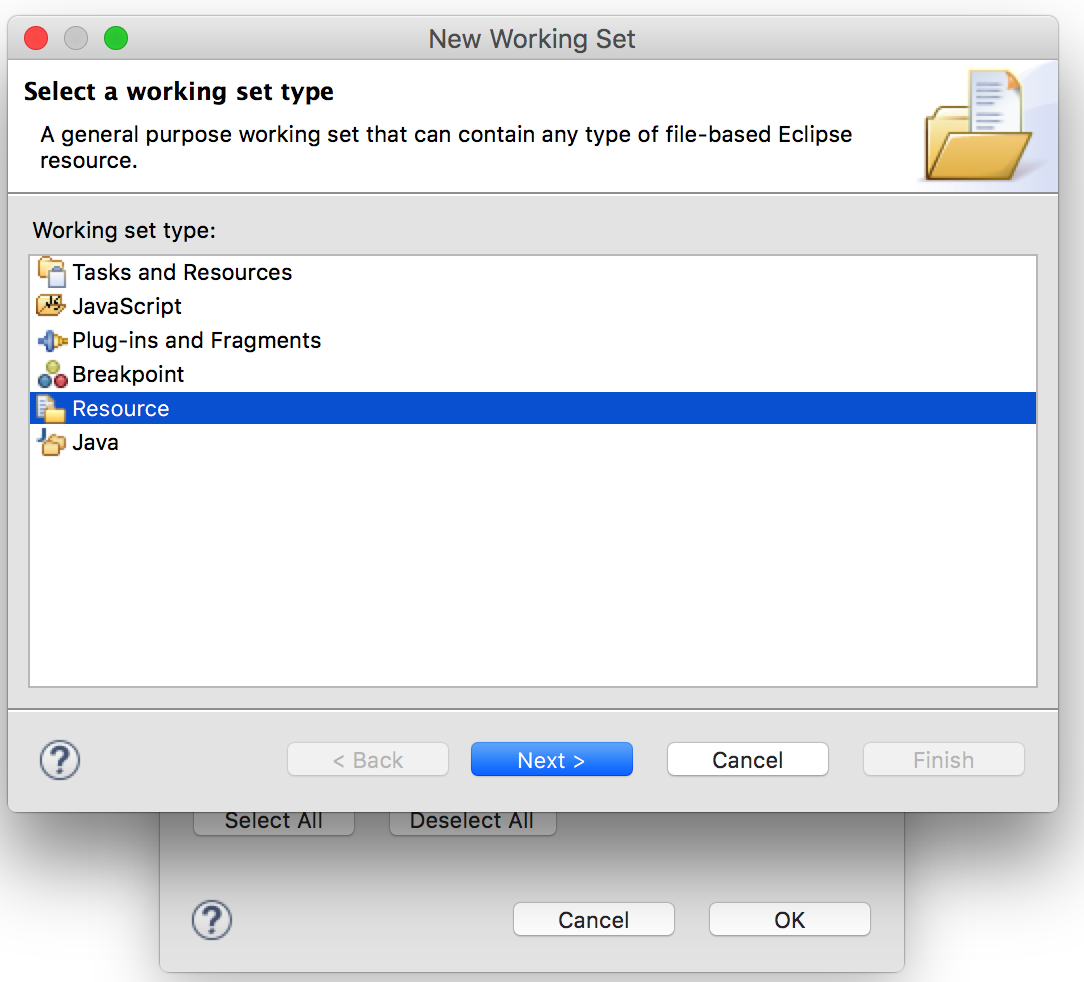
- For the working set name enter "Maven Top Level" and select the 'boot-community-demo' project since that will be the only project in this working set, then hit "Finish"

- You should now have 2 working sets. Make sure they are both 'checked' by clicking on the checkbox to the left of the names. The final result should look like this; when you're done, hit 'OK':

- Select the down-caret again but this time go to 'Top Level Elements' and click on 'Working Sets'

- And in your 'Project Explorer' you should now see the view organized by working set:

Now we need to hide the 'Maven Top Level' working set from the 'Open Resource' and 'Open Type' views:
- Bring up the 'Open Resource' dialog with
ctrl+shift+ron Windows and Linux orcmd+shift+ron OSX, then click on the black down-caret on the top right, then click on 'Select Working Set':
- Click on the checkbox next to 'ecommerce-website' and then hit the 'OK' button:

Now if you type 'ProductController' in the dialog, you only get a single result!
