IntelliJ Setup
In addition to Eclipse, the Intellij IDE is a great tool for developing on top of Broadleaf Commerce (the majority of our team uses it to develop the Broadleaf platform itself). This guide will take you through the steps to setup the Broadleaf Commerce Community Starter in IntelliJ so that you can modify, build and run it.
Prerequisites
- IntelliJ 10 or above (this guide was written against version 2017.1.2)
- IntelliJ Ultimate edition recommended for Spring and database support
- JRebel plugin for development workflow enhancement
- JDK 1.8
Getting the Source of Heat Clinic
First, you should obtain the project files and ensure you can run them locally by following the Running Locally guide.
Intellij Setup
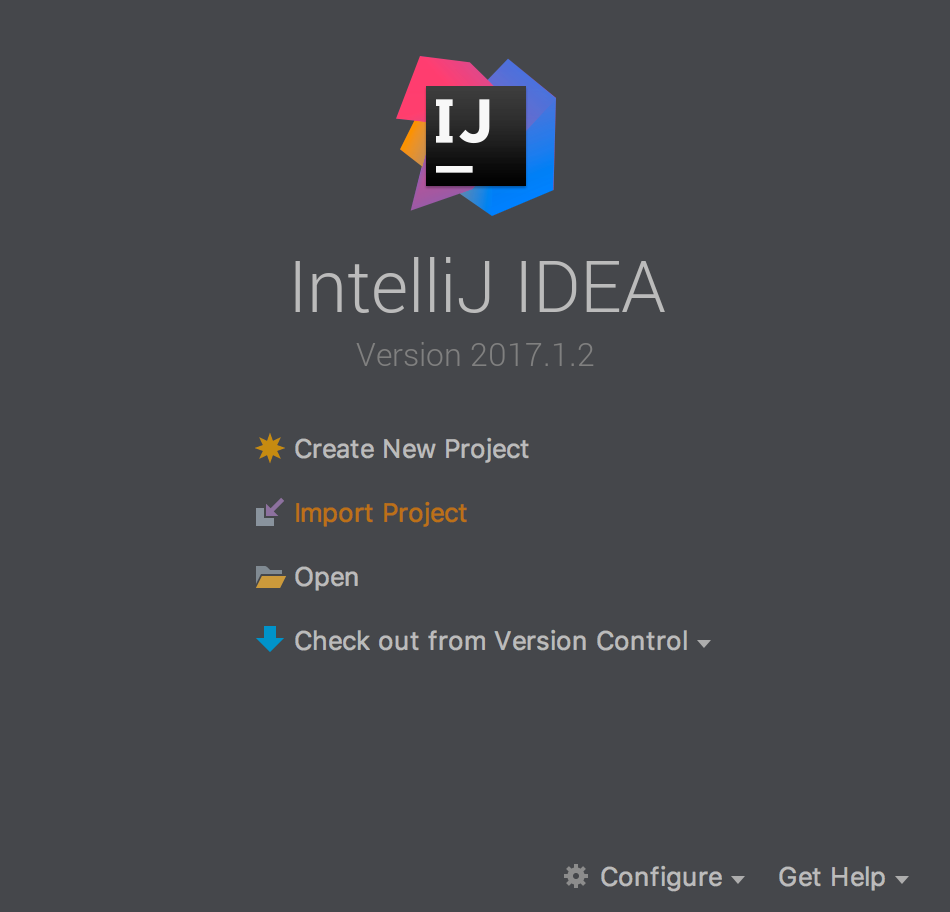
- Click Import Project on the IntelliJ welcome window.
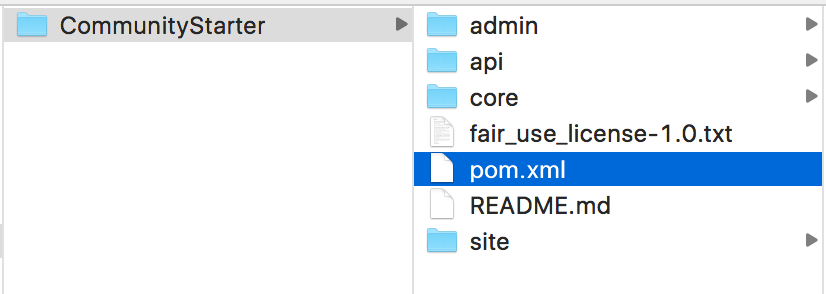
- Select the
pom.xmlin the root of the project files you extracted in Running Locally
- You will now see the import project settings. You can use the default settings shown here:
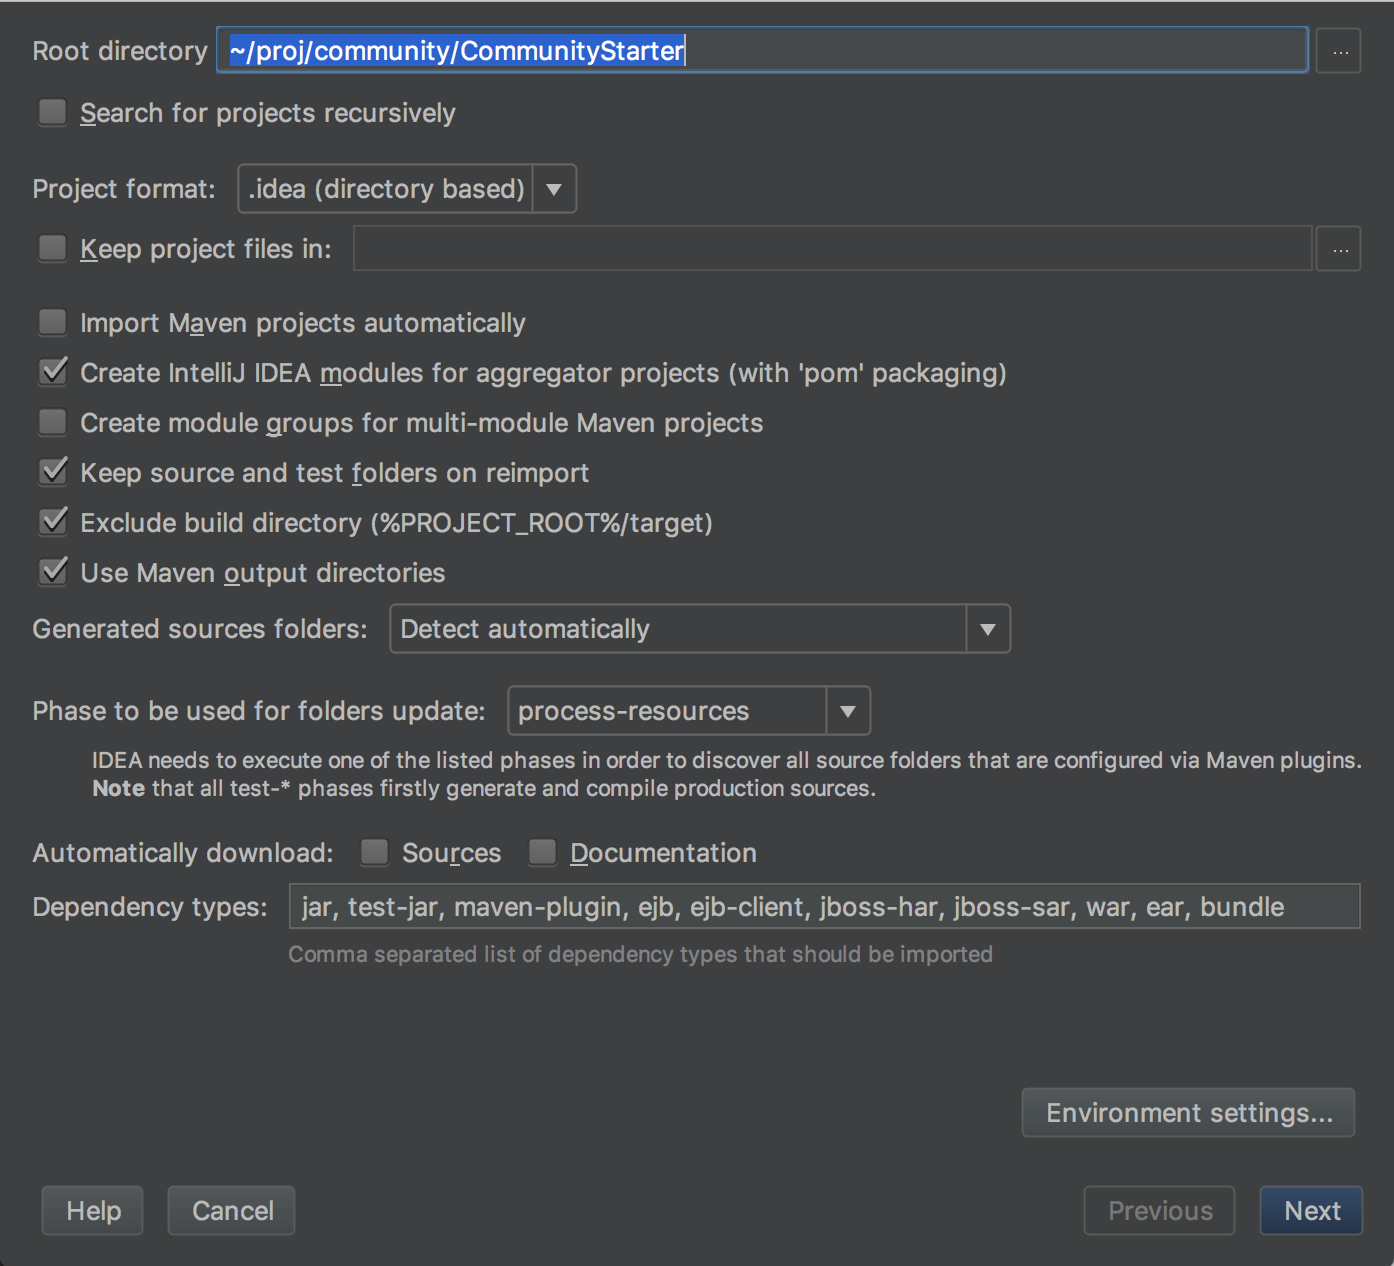
You don't need to select any profiles, click Next.
The com.mycompany-community:boot-community-demo:1.0.0-SNAPSHOT project should be selected by default. Leave it selected and simply click Next.

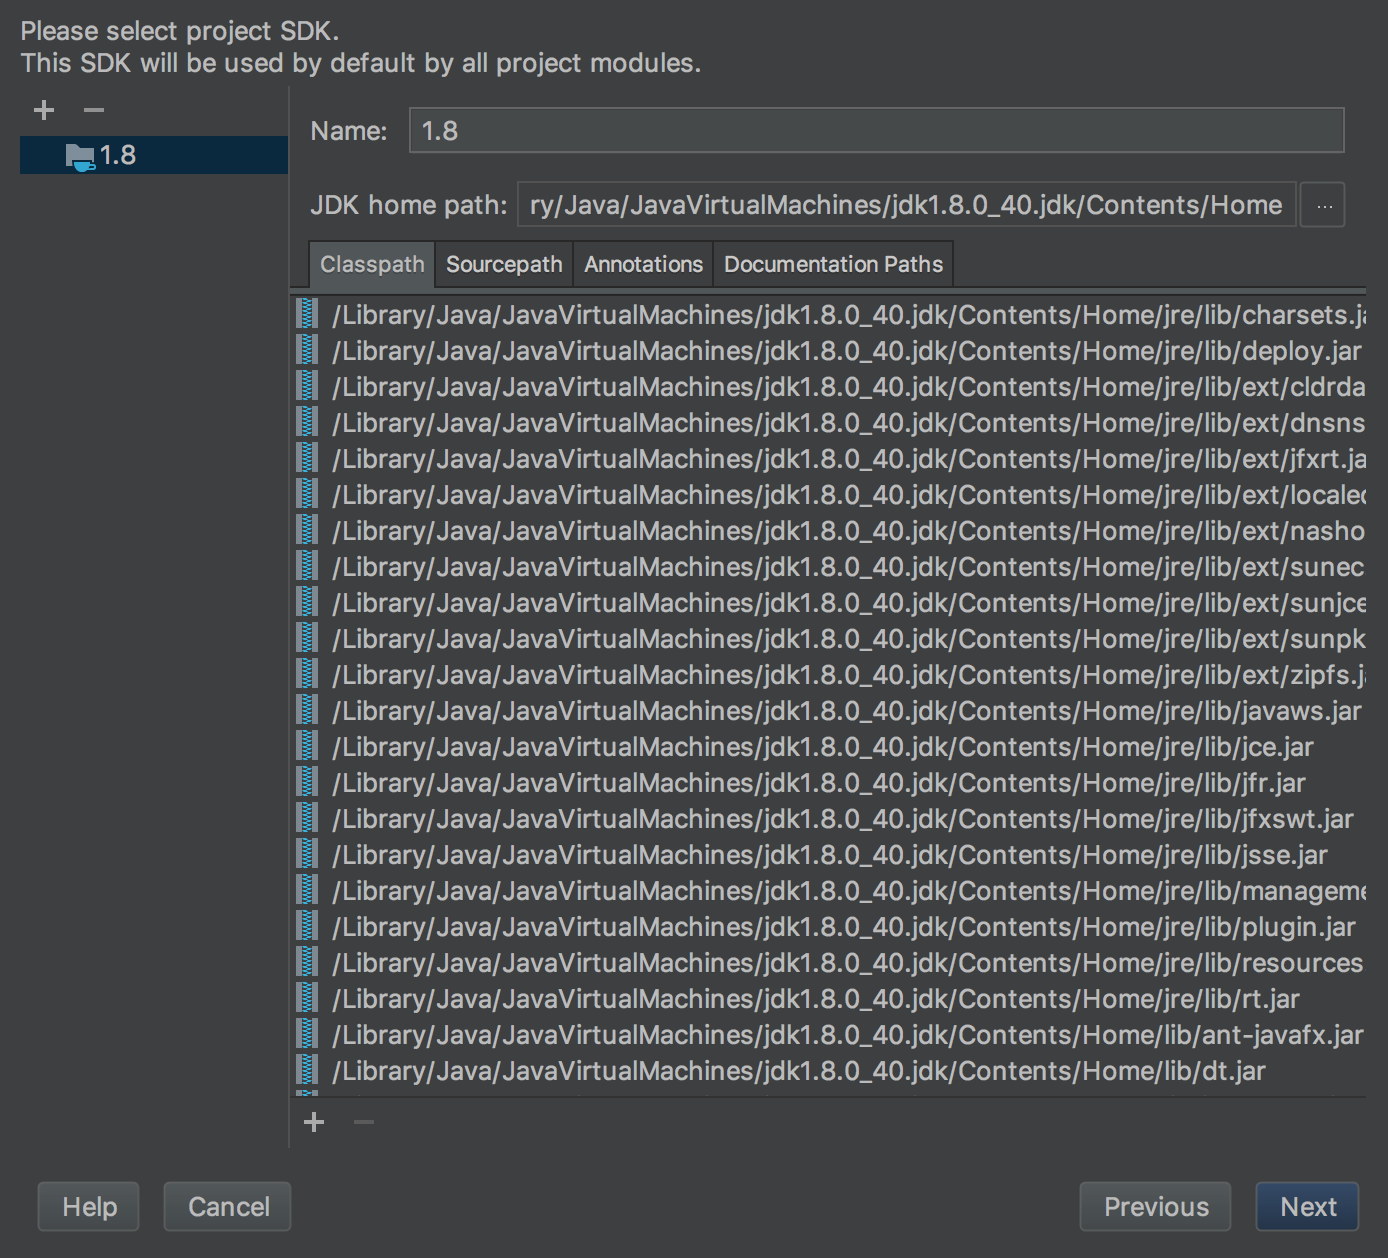
If you've never added an SDK to this installation of IntelliJ before, then you will be asked to add one now. If there is already one or more suitable SDK in IntelliJ then you may not see this screen as one will be automatically selected. See further below for how to update the SDK used by the project.
Click the + at the top left of the window.

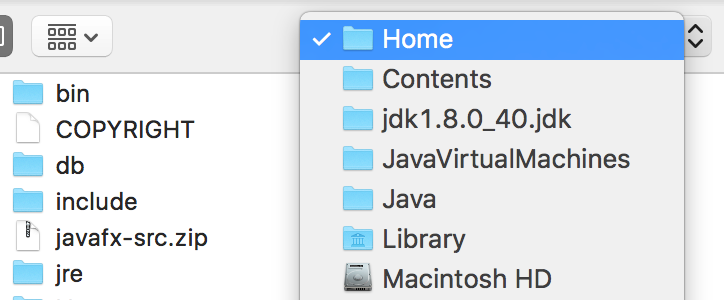
- Chances are IntelliJ will find an installation of the Java 1.8 SDK and select the path for you by default so you can just click Open to add the SDK. If not, then navigate to the home directory for Java 1.8 JDK and click Open.
- The 1.8 JDK should now be listed and selected, click Next.
- You can choose a new project name, or leave it as the default. The project file location should already point to the correct location if you left the name as the default. If you changed the project name, you might have to re-select the location of the project files you extracted. Click Finish.

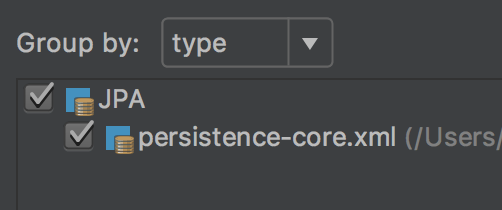
- After the initial indexing is complete, there will be a JPA framework popup in the bottom right corner. Click Configure.

- A window will pop up that should have
persistence-core.xmlalready selected. Click OK.
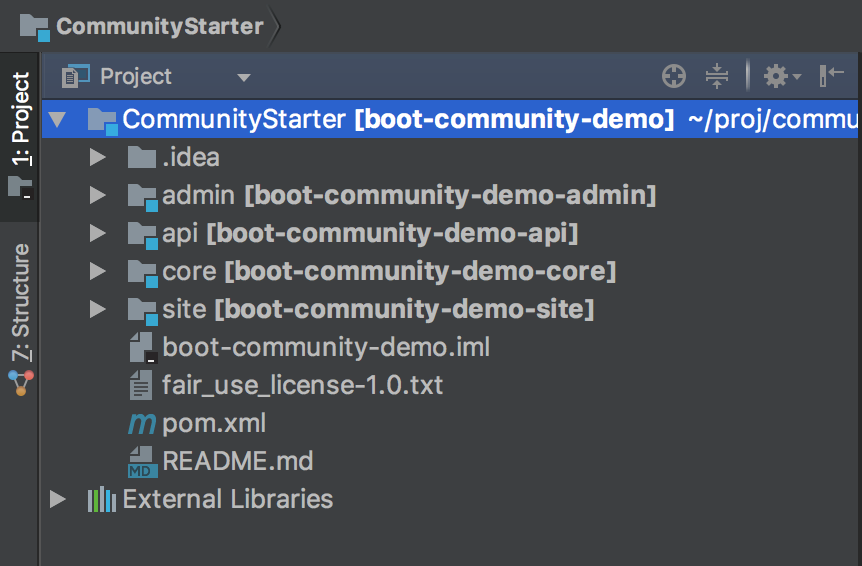
- At this point, you should have a project structure in IntelliJ resembling the following (I named my project
boot-community-demo, but yours may be different):
- If you want to change the SDK being used for this project, then click the Project Structure button at the top right of IntelliJ.

- Here you can select the project default SDK and language level.

Create the Run Configurations
Run configurations are how we're going to actually run the community starter application in IntelliJ. We'll setup a run configuration for each of the runnable modules (admin, site, and api). Once setup, you can run one or all of the modules at the same time and they will all use the same HSQL database.
- In the top right of the IDE, click the Run Configurations dropdown and select Edit Configurations.

- At the top left of the new window, click the + sign and add a new Spring Boot configuration.
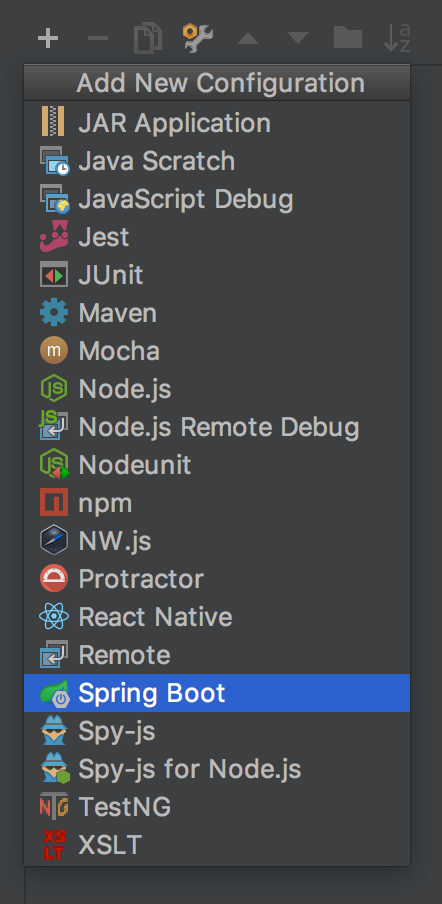
Name the run configuration
Admin, or whatever you'd like.Click the ... to the right of Main Class and select the
AdminApplicationclass.Enter this into the VM Options field:
-Xmx1536M -javaagent:target/agents/spring-instrument.jar.Select the
admindirectory in the Working Directory field.Select the admin module,
boot-community-demo-adminin my case, on the Use classpath of module: dropdown.Click the + button at the bottom of the Before launch box and select Run Maven Goal.
In the new Select Maven Goal window:
- Click the folder icon to the right of the Working directory field and select the admin module,
boot-community-demo-adminin my case. - Enter this into the Command line field:
dependency:copy@copy-agent - Click OK

- Click the folder icon to the right of the Working directory field and select the admin module,
Select the newly created Run Maven Goal task and click the Up arrow so that it is above the Build task.
The final configuration should look like this:
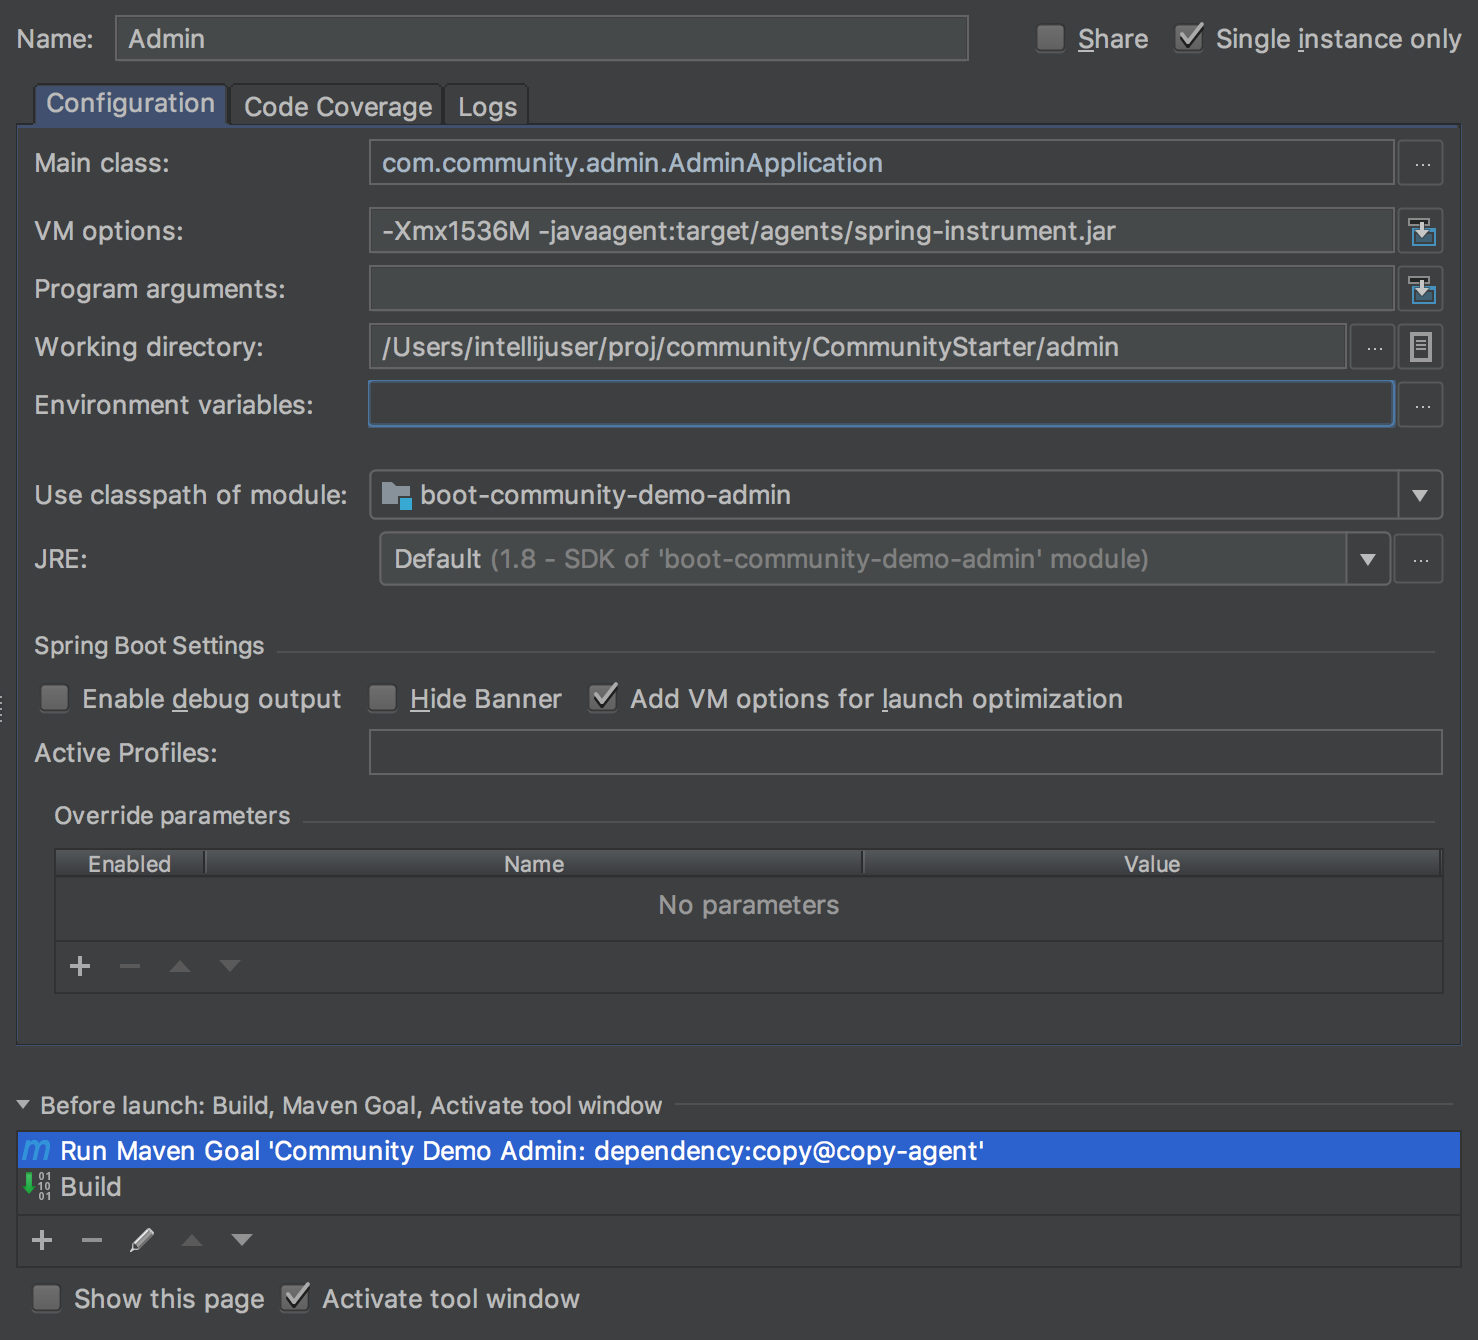
- Repeat the above steps for
siteandapi:
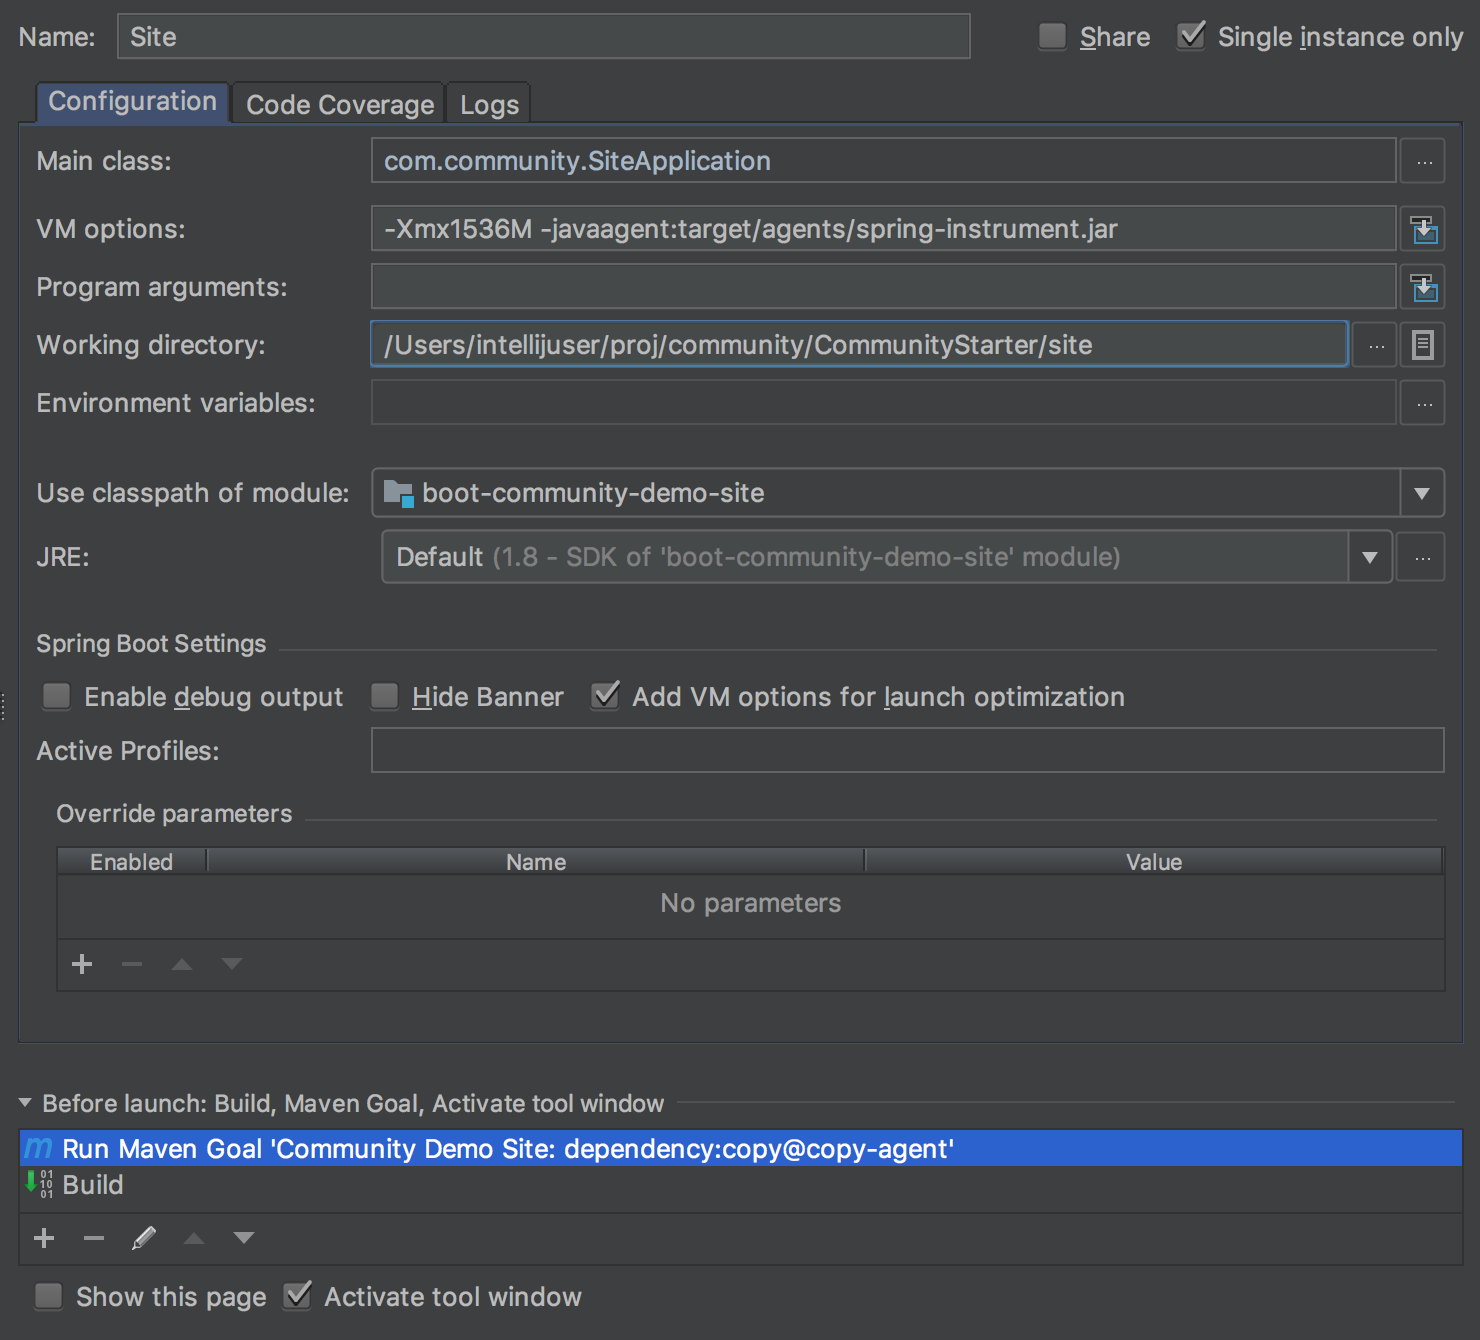
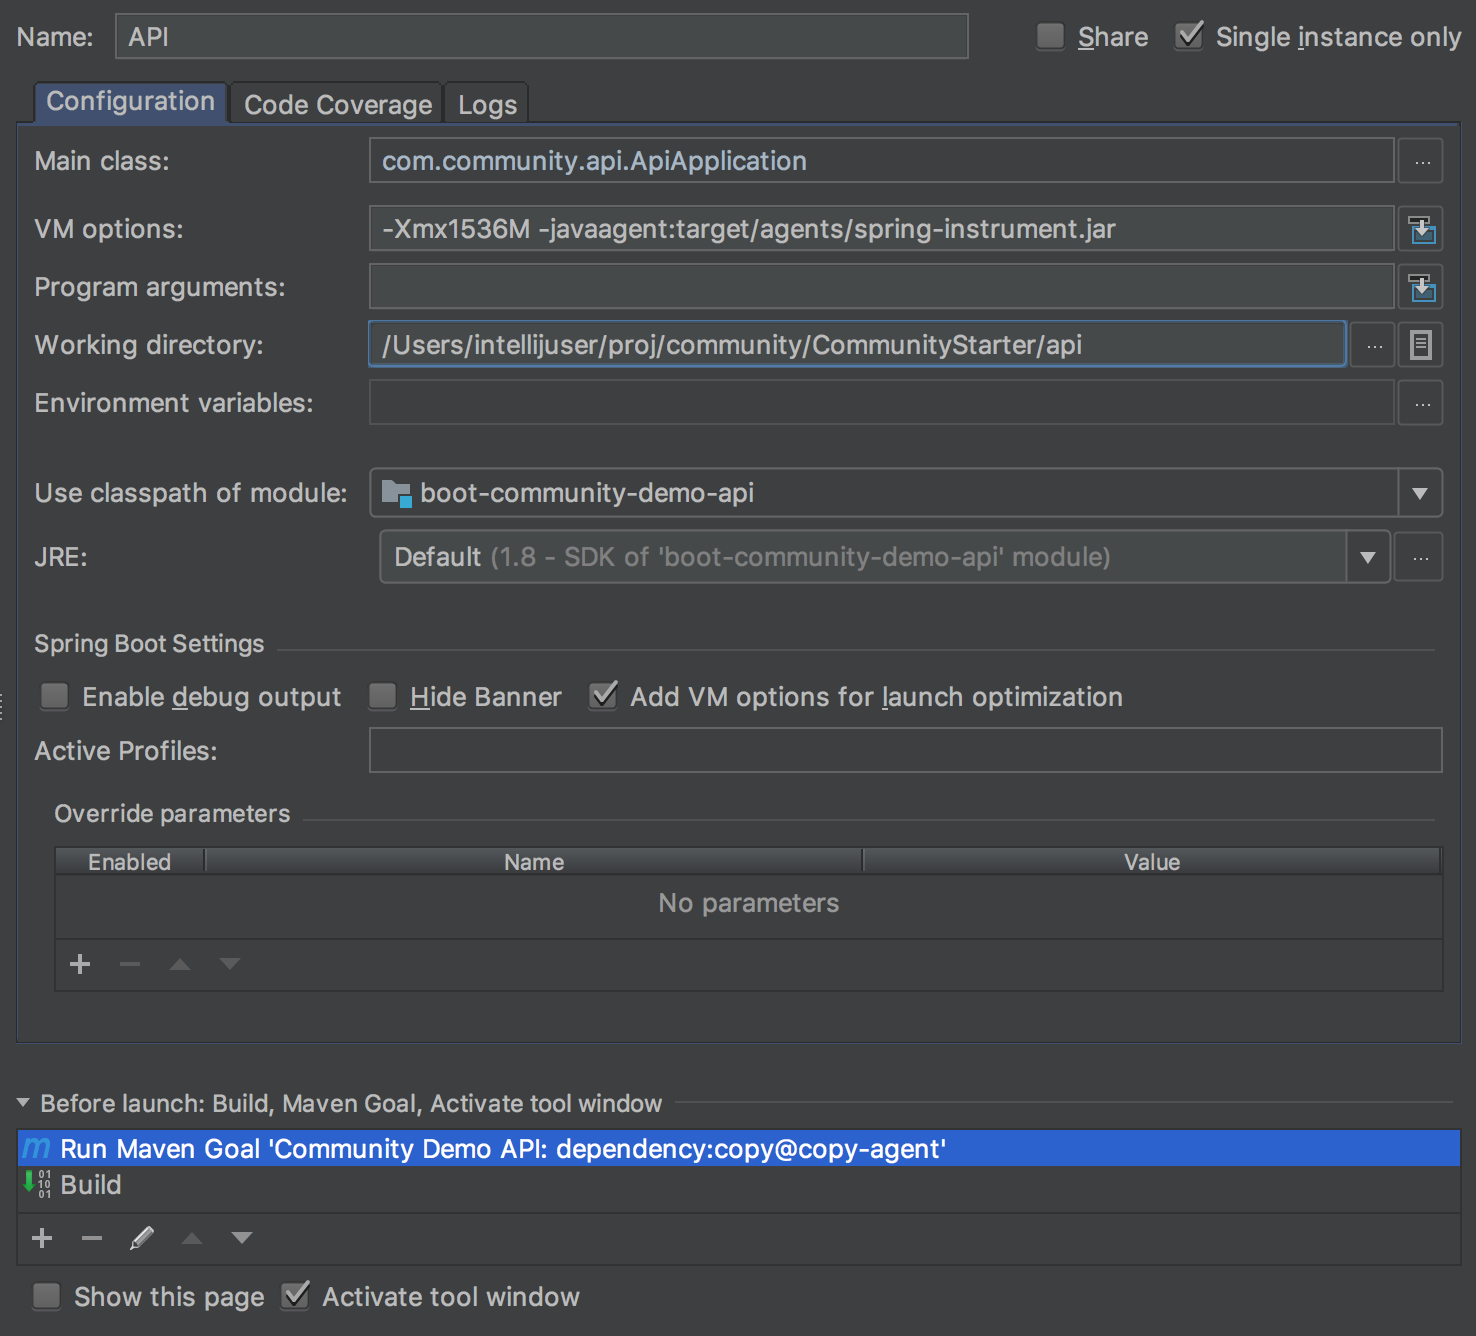
- Click OK.
Running the application
Running any of the run configurations we just setup is as easy as clicking the play button next to the run configuration name. Alternatively you can click the bug button and it will launch the application with the debugger connected. Either of these will first build the project automatically for you.

Go ahead and select the Admin run configuration and click the play button so we can have the application running for our next steps.
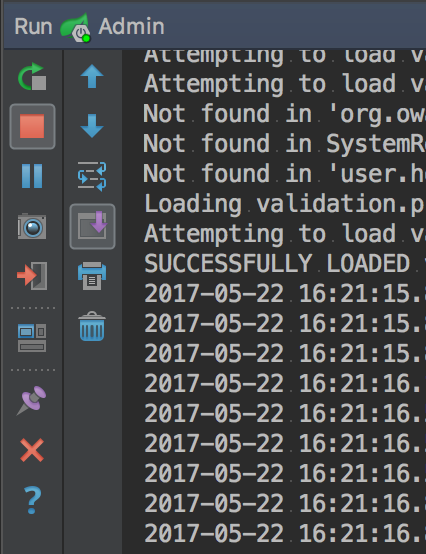
Once the application has fully started, you should see this in the bottom of the log:

Don't do this now because we want the application to keep running, but for future reference, you can stop each run configuration's execution by clicking the stop button in the window at the bottom attached to the output log.
In your browser, you can see the running website at the following URLs:
Admin: localhost:8081/admin (username/password is
admin/admin)Site: localhost:8080
Connect to the Local Database
To connect to the running database see Connect to the Local Database
JRebel Development Enhancement
The Broadleaf Commerce team makes extensive use of JRebel during our development of the platform and we recommend our users do the same during development of their Broadleaf-based projects. Adding JRebel support to IntelliJ is relatively easy by installing the JRebel plugin:
https://zeroturnaround.com/software/jrebel/quickstart/intellij/
The default configuration for your community starter build will already generate rebel.xml files for your project's modules, so you don't need to worry about anything beyond installing and configuring the plugin in IntelliJ. Once the plugin is successfully installed, you will see several new button options (run and debug) for launch with JRebel support. We typically suggest running debug with JRebel support during development.

Once you click the JRebel debug button, IntelliJ will launch the application in debug mode with JRebel support. This will allow you to add/edit Java classes in your implementation and immediately see the effect of the change without restarting the application, which can be a huge timesaver. All you need to do is click Build Project, the button to the left of the run configuration selector, and IntelliJ + JRebel will take care of the rest.
