Getting Started
Overview
Thanks for wanting to try out Broadleaf Commerce! By following this tutorial, you'll have your very own eCommerce site up and running in no time. We'll get your environment up and running, show you where things live, and walk you through a few examples of some of the cool things you can do with Broadleaf.
Prerequisites
- First, you'll need the Java 6 SDK, which you can find on Oracle's official Java site
- You will also need the latest version of Maven, which you can get on the official Apache Maven site
IDE Setup
Note: The first part of this Getting Started guide will cover using our prepackaged Eclipse workspace. If you are an advanced user and would prefer to set up the project yourself, please feel free to follow the Eclipse Setup guide.
Once you have the Java SDK installed, we're ready to get your IDE up and running. Let's start by downloading Eclipse.
Download Link: Eclipse IDE for Java EE Developers
Once Eclipse is done downloading, extract the archive and start it up. You'll be prompted for a workspace:
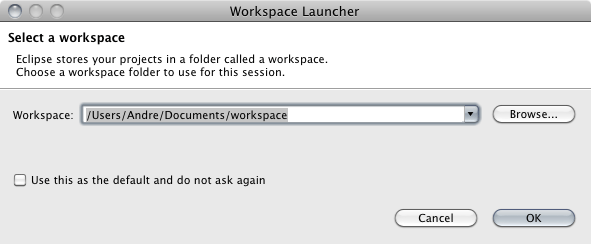
Go ahead and accept the initial value.
Note: Don't save this as the default workspace -- we're going to be setting up a new workspace shortly.
Click on Help --> Eclipse Marketplace and search for Maven Integration. Make sure you pick the plugin provided by Eclipse.org as highlighted below:
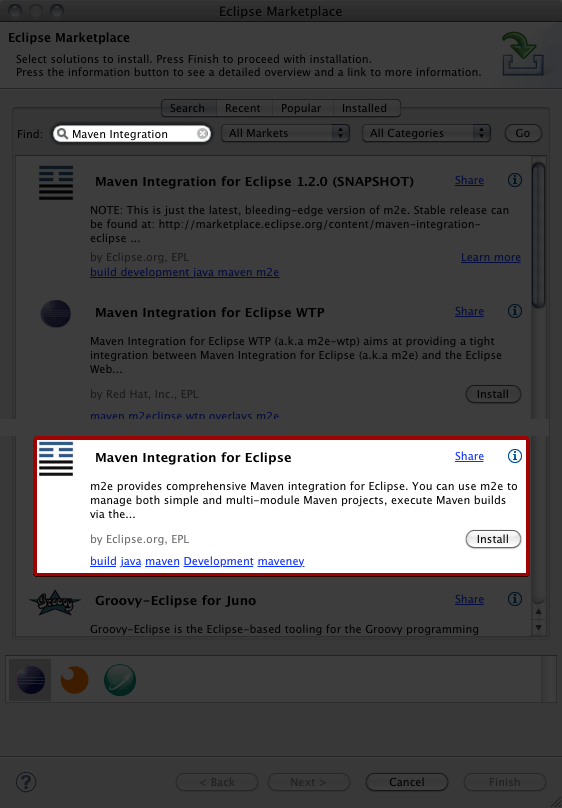
Click Install followed by Next. After that, Accept the License Terms and Finish.
Once the plugin is done installing, you will be prompted to restart Eclipse. Go ahead and do so.
You'll once again be asked for a workspace. This time, we're going to pick a different one. To make getting started with Broadleaf as easy as possible, we've already set up a workspace with some reasonable defaults and tweaks to help you out. Let's download it!
Download Link: Broadleaf Eclipse Workspace
Note: If you're not prompted for a workspace, simply go to File --> Switch Workspace and select the path
Extract this archive to the location you want your workspace to live in, and point Eclipse to the appropriate path. This time, your workspace should look like this:
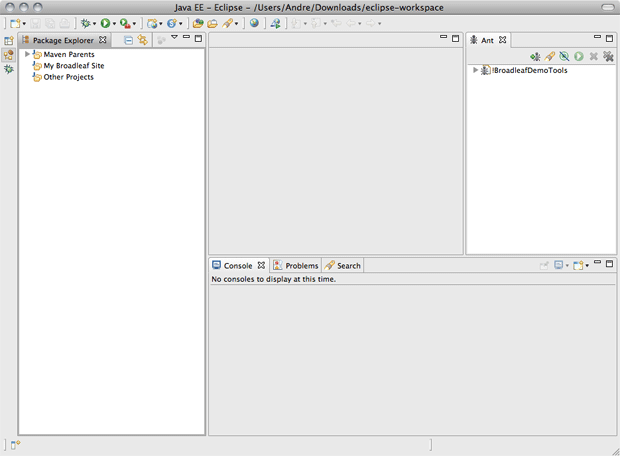
We now need to import the subprojects, core, site, and admin. We do this by going to File --> Import, and picking Existing Maven Projects, like this:
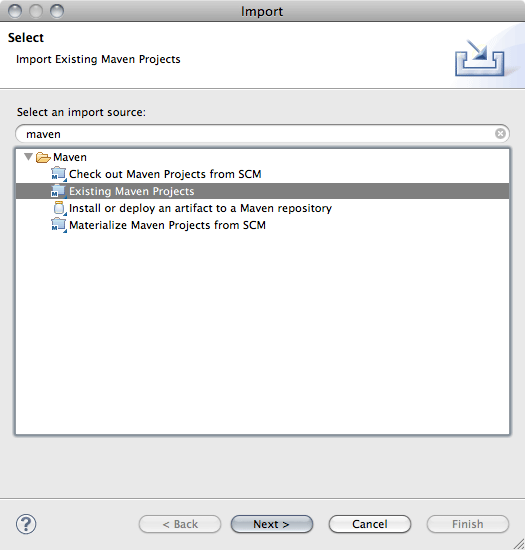
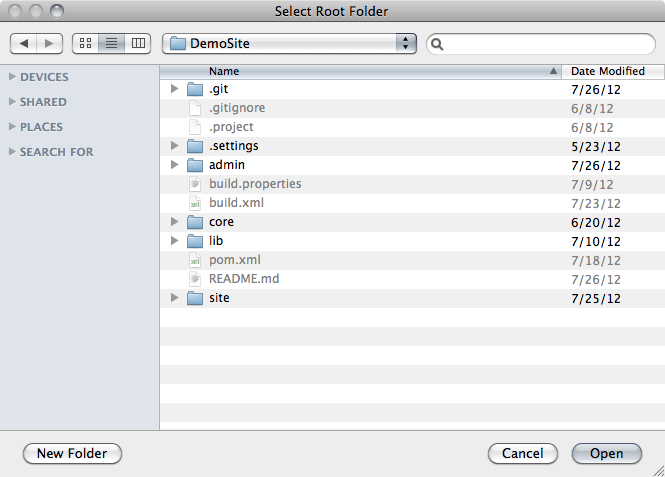
Click Browse and pick the DemoSite folder as the project root, and click Open
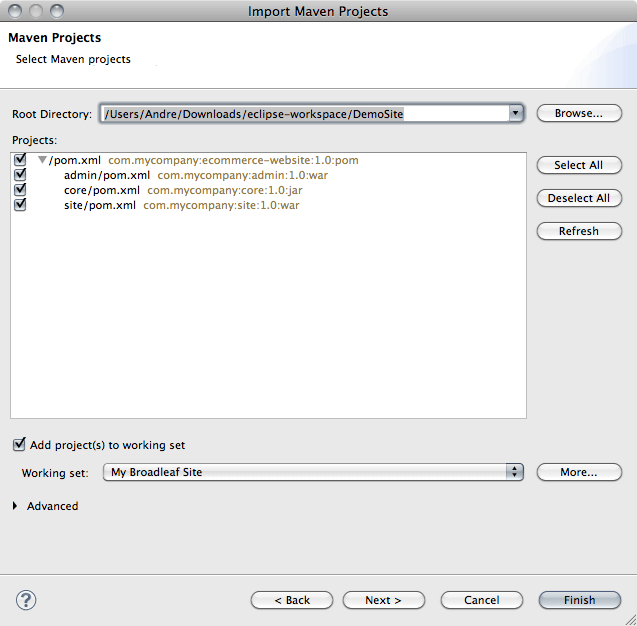
On this screen, make sure you check the Add project(s) to working set box and pick the My Broadleaf Site working set. Also make sure that all four project boxes are checked
This process may take a while. You can see the progress in the bottom right of Eclipse or open the Maven Console for more detail progress reports.
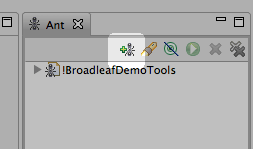
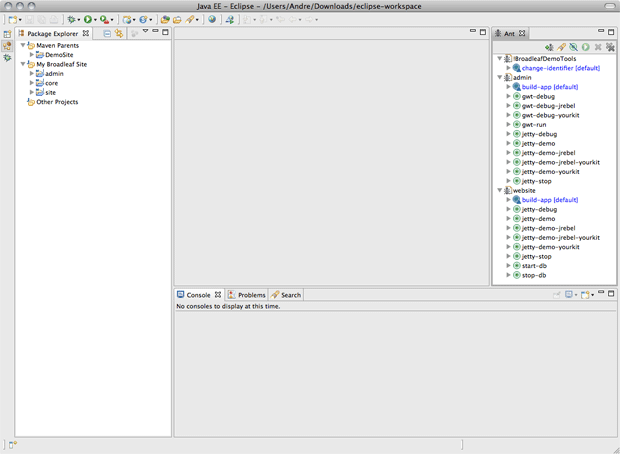
Once the import is complete, you'll have to add two buildfiles, one for site and one for admin. Click on the Add Buildfiles button on the Ant pane
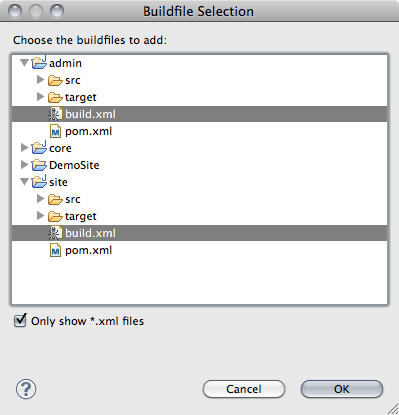
and select the two buildfiles to add:
The last thing to do is configure the path of your local maven installation. This is done in DemoSite/build.properties on the maven.home line.
NOTE Windows users must use forward slashes (/) for paths, not backslashes ()
That's it! Now you have your IDE completely setup to work with Broadleaf Commerce, and your workspace should look like this
Configuring Project Name
Note: Some have reported issues at this step. You can safely skip the "Configuring Project Name" step in its entirety. We are investigating.
The workspace project and maven artifact all refers to "com.mycompany". For your convenience, we've provided an Ant task that will perform all necessary rename and move operations to customize the project to your organization. Simply run the change-identifier Ant task and type in a suitable name.
Note: The name should be two alphabetic strings separated by a dot. For example, "com.heatclinic"
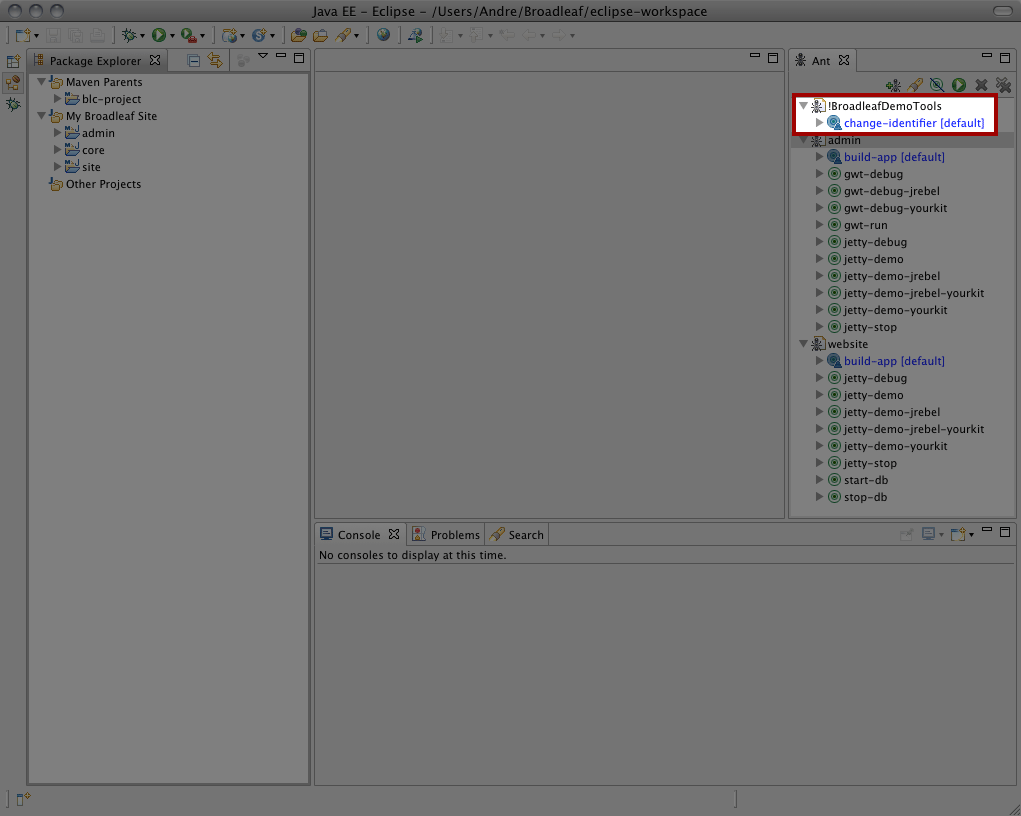
You will be prompted to confirm your selection. It should identify the Maven Group as the string you typed in and the Company Name as the part after the dot.

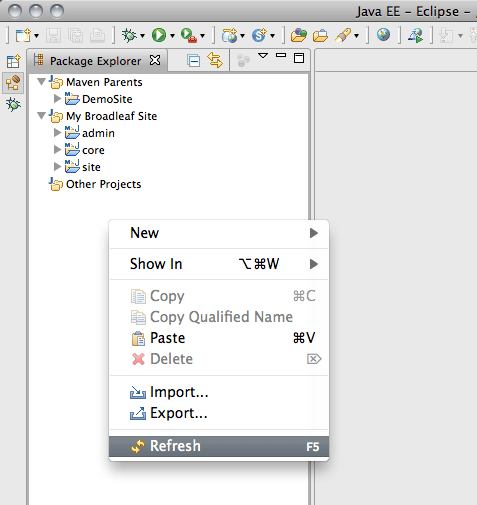
Once that task is run, Right click inside Package Explorer --> Refresh.
Note: You will only be allowed to configure the project name via this script once.
Running Site
Now that we have our workspace properly configured, we're able to get our demo site up and running. First, we will have to let Maven fetch the necessary dependencies and install our own project locally. To do that, Right click on DemoSite --> Run As --> Maven Install.
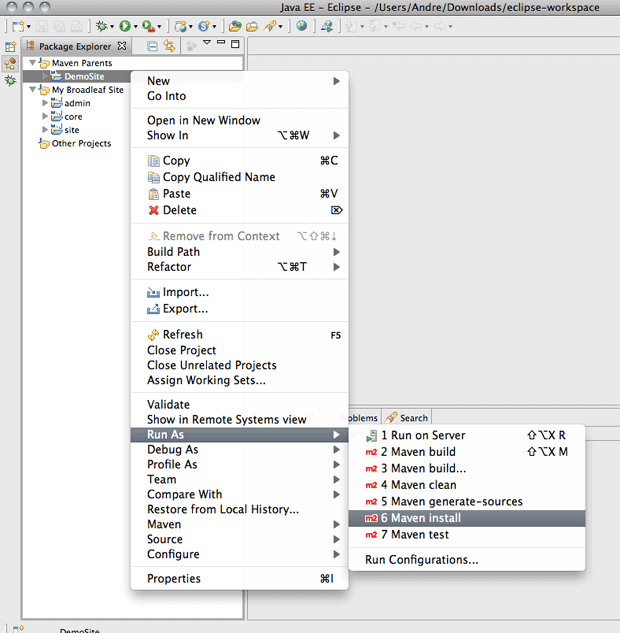
Note: Running a Maven install is only necessary initially. To shorten your development iteration times, you utilize JRebel, which will allow you to modify files without having to restart the server. We've detailed out how to setup JRebel for you.
This process will take a few minutes to execute, and will end on the following success message:
[INFO] Reactor Summary:
[INFO]
[INFO] ecommerce ......................................... SUCCESS [0.440s]
[INFO] core .............................................. SUCCESS [2.505s]
[INFO] admin ............................................. SUCCESS [3:37.628s]
[INFO] site .............................................. SUCCESS [24.109s]
[INFO] ------------------------------------------------------------------------
[INFO] BUILD SUCCESS
[INFO] ------------------------------------------------------------------------
[INFO] Total time: 4:05.052s
[INFO] Finished at: Mon Jul 30 10:01:19 CDT 2012
[INFO] Final Memory: 13M/81M
IMPORTANT NOTE: By default, the project is set up to NOT clean the GWT-compiled admin files when you run a normal Maven clean. This is because recompiling these files takes a very long time and is not necessary every time. To fully clean the project, you can use the included
full-cleanAnt task in the admin project.
At this point, we're ready to start up! Let's run the jetty-demo Ant task for the site.
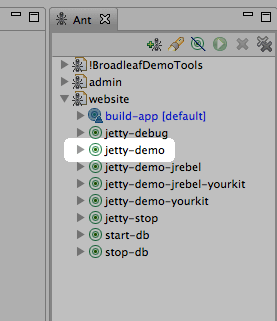
You'll see some logging messages in the Console scroll by, and eventually stop on
[artifact:mvn] 2012-07-06 11:03:20.005:INFO::Started SelectChannelConnector@0.0.0.0:8080
[artifact:mvn] [INFO] Started Jetty Server
That's it! The server's up! Let's check it out: http://localhost:8080/
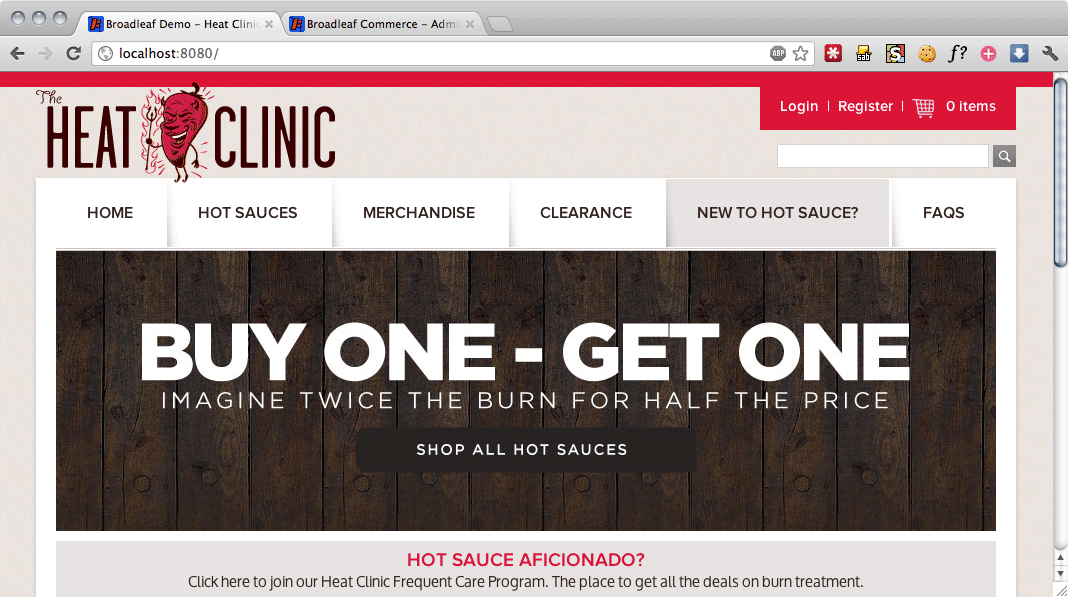
Running Admin
Once the site has been started up, we can start up the admin as well
Note: The site startup will conveniently populate some database tables, including the admin users tables. Therefore, the site must be running before starting up the admin.
This time, we'll hit the jetty-demo Ant task for the admin.
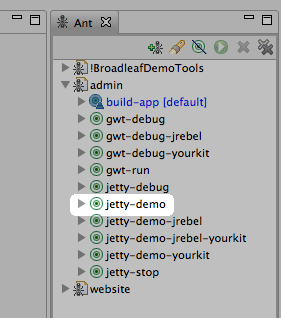
This console will end up on
[artifact:mvn] 2012-07-06 11:07:11.218:INFO::Started SelectChannelConnector@0.0.0.0:8081
[artifact:mvn] [INFO] Started Jetty Server
And now we can hit the admin! https://localhost:8444/admin. At the login prompt, enter the default username/password of admin/admin and you should see the below screen:
Note: The admin to serves all of its pages over https by default. This means that you will encounter a security exception in your browser because the certificates do not match up. You should be able to safely ignore this warning (when running locally). The admin also listens on port 8081 for http (non-SSL) connections, but this will not operate unless you make the necessary modifications to
applicationContext-admin-security.xml.
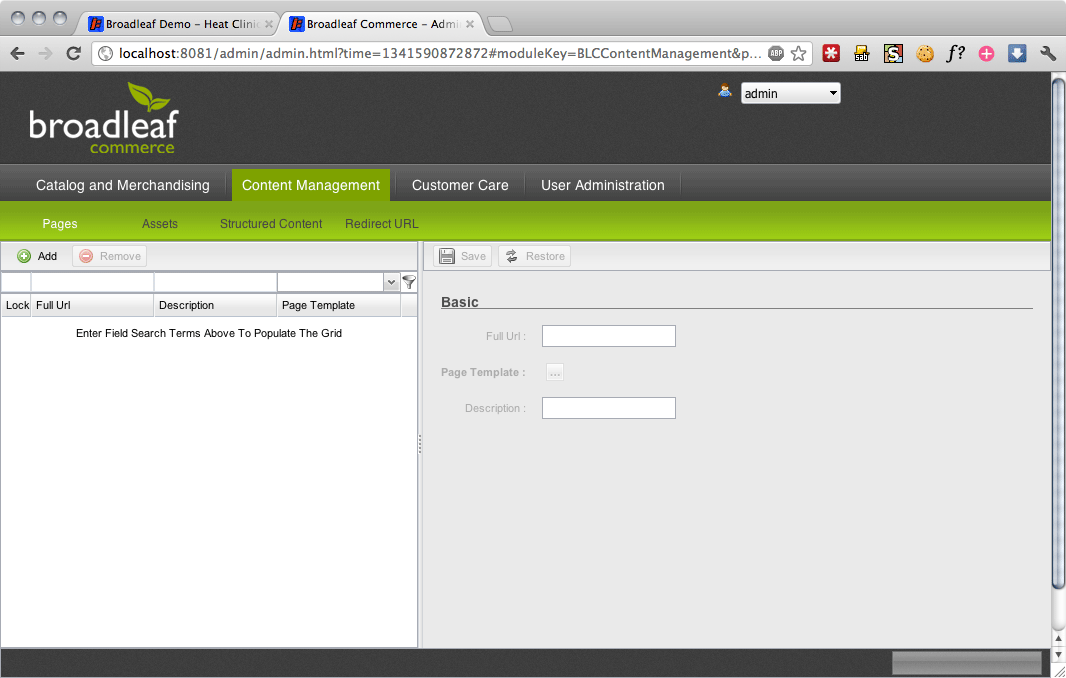
Any issues? Please come post in the Broadleaf forums - We would love to help you out!
Next Steps
So now that you have your own Broadleaf site set up, what's next? We recommend getting familiar with the framework and starting to make your own personalizations. Here are some cool things to try out:
Configuration (What you need to do to get a real site running)
-
Switching to MySQL
- Learn how to use your own MySQL database server.
-
Load Data
- Learn how to set up a clean slate for your products.
-
Customize the UI
- Learn about the Broadleaf UI strategy and patterns
- Customize key pieces of the Heat Clinic template and discover the Broadleaf Content Management System
-
Configure Checkout
- Add a shipping partner
- Configure taxes
- Handle payments
-
Production Considerations
- Ensure your security is set up properly
- Configure emails
Customization (Some fun things to try out to get your feet wet)
-
Storing additional customer properties
- Modify the registration form to prompt for user for referral code
- Store the code in a CustomerAttribute
-
Extend the Customer entity
- Add a few properties to the Customer to keep track of Heat Clinic metrics
-
Hook into the order submit workflow
- Keep track of how hot your customers like their sauces
-
Hook into the add to cart workflow
- Learn about workflows and the add to cart workflow and set up a custom activity
