Create a Google Project
To use the Google Experiments functionality, you will need to setup a Google Application. By setting up the application
Google will provide you with your own quota of API calls related to creating, updating, and syncing data between Google
and Broadleaf.
This process takes place on Google and will result in you having two data attributes that you will need to supply to
Broadleaf.
Steps
Access the Google API Console
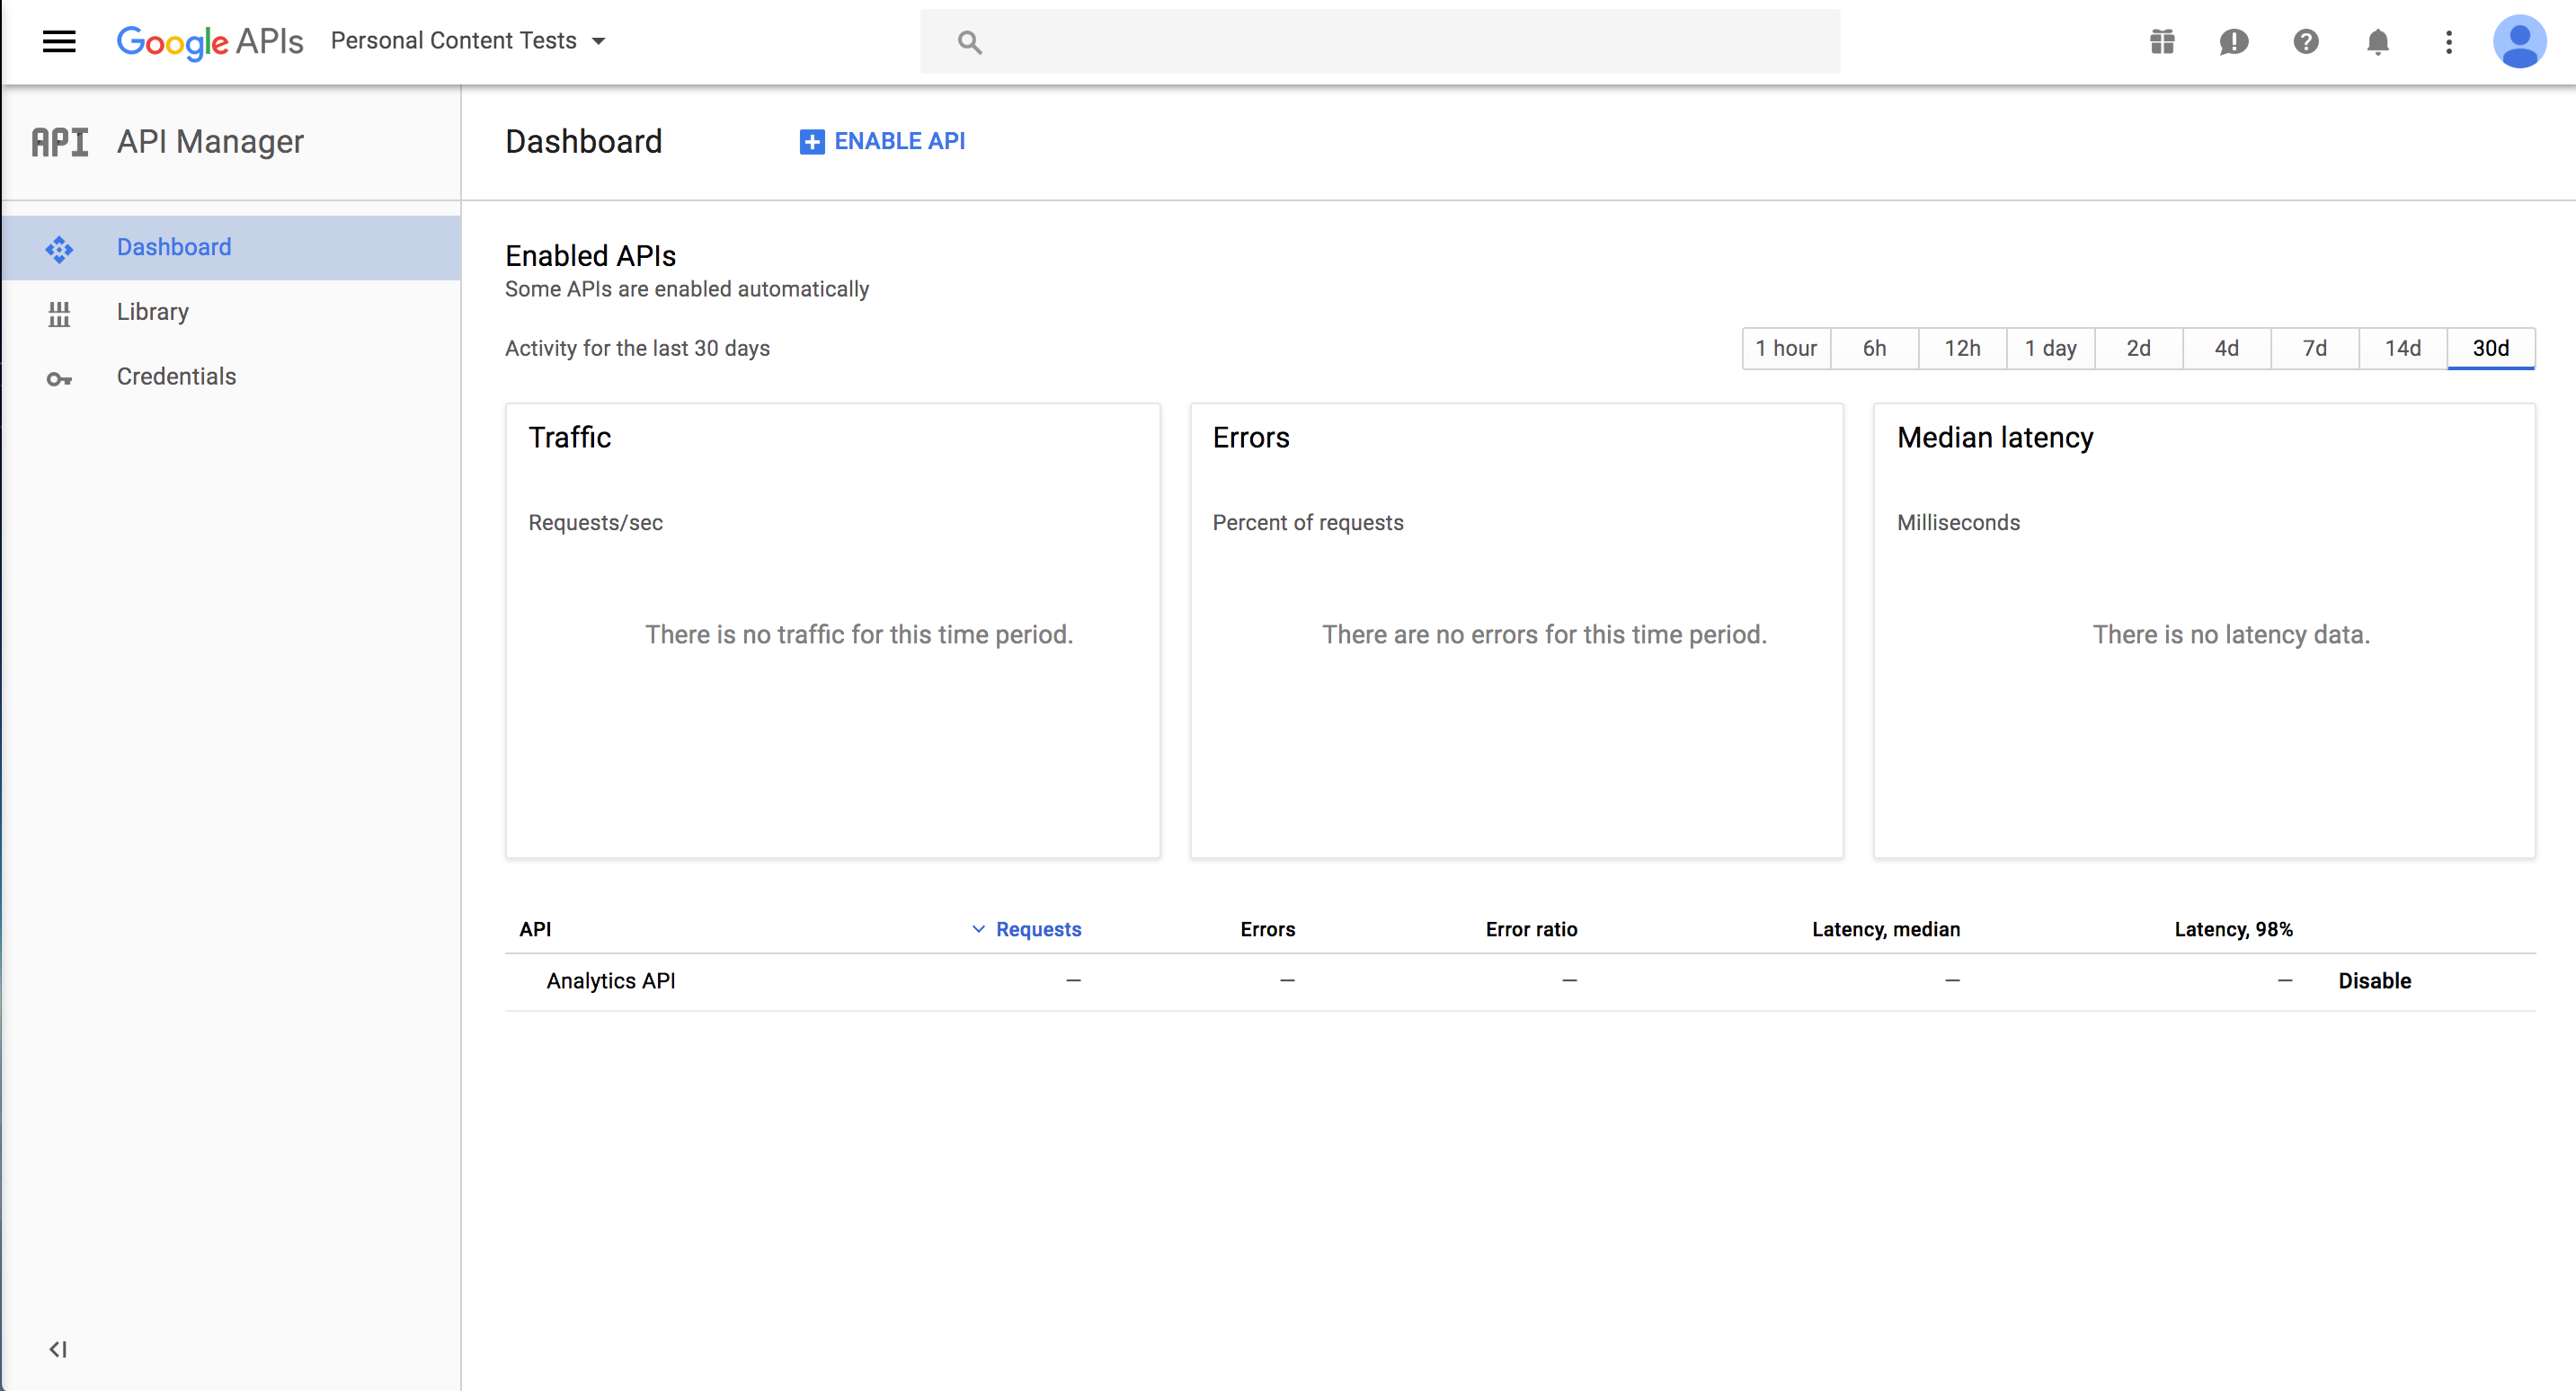
Login to your Google account and then access the Google API console here.
You will see a screen similar to the following:
Create a Google Project
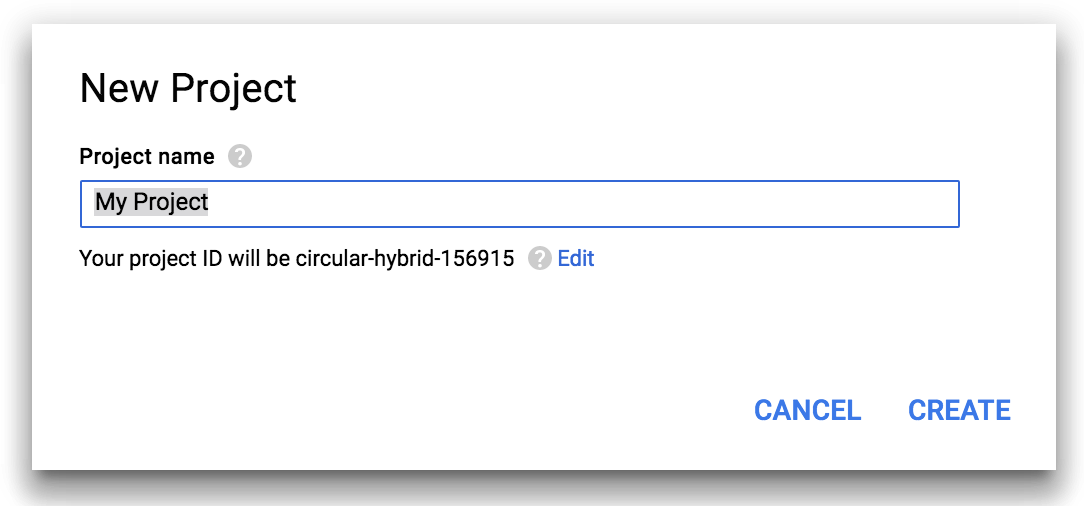
Next, Click dropdown next to Google APIs and select Create Project. A popup similar to the following will appear:
Enter a name to identify your project. You can use the default project id.
Next, hit the Create button.
Google may prompt you to agree to terms and conditions or additional account verification steps which you will need to complete.
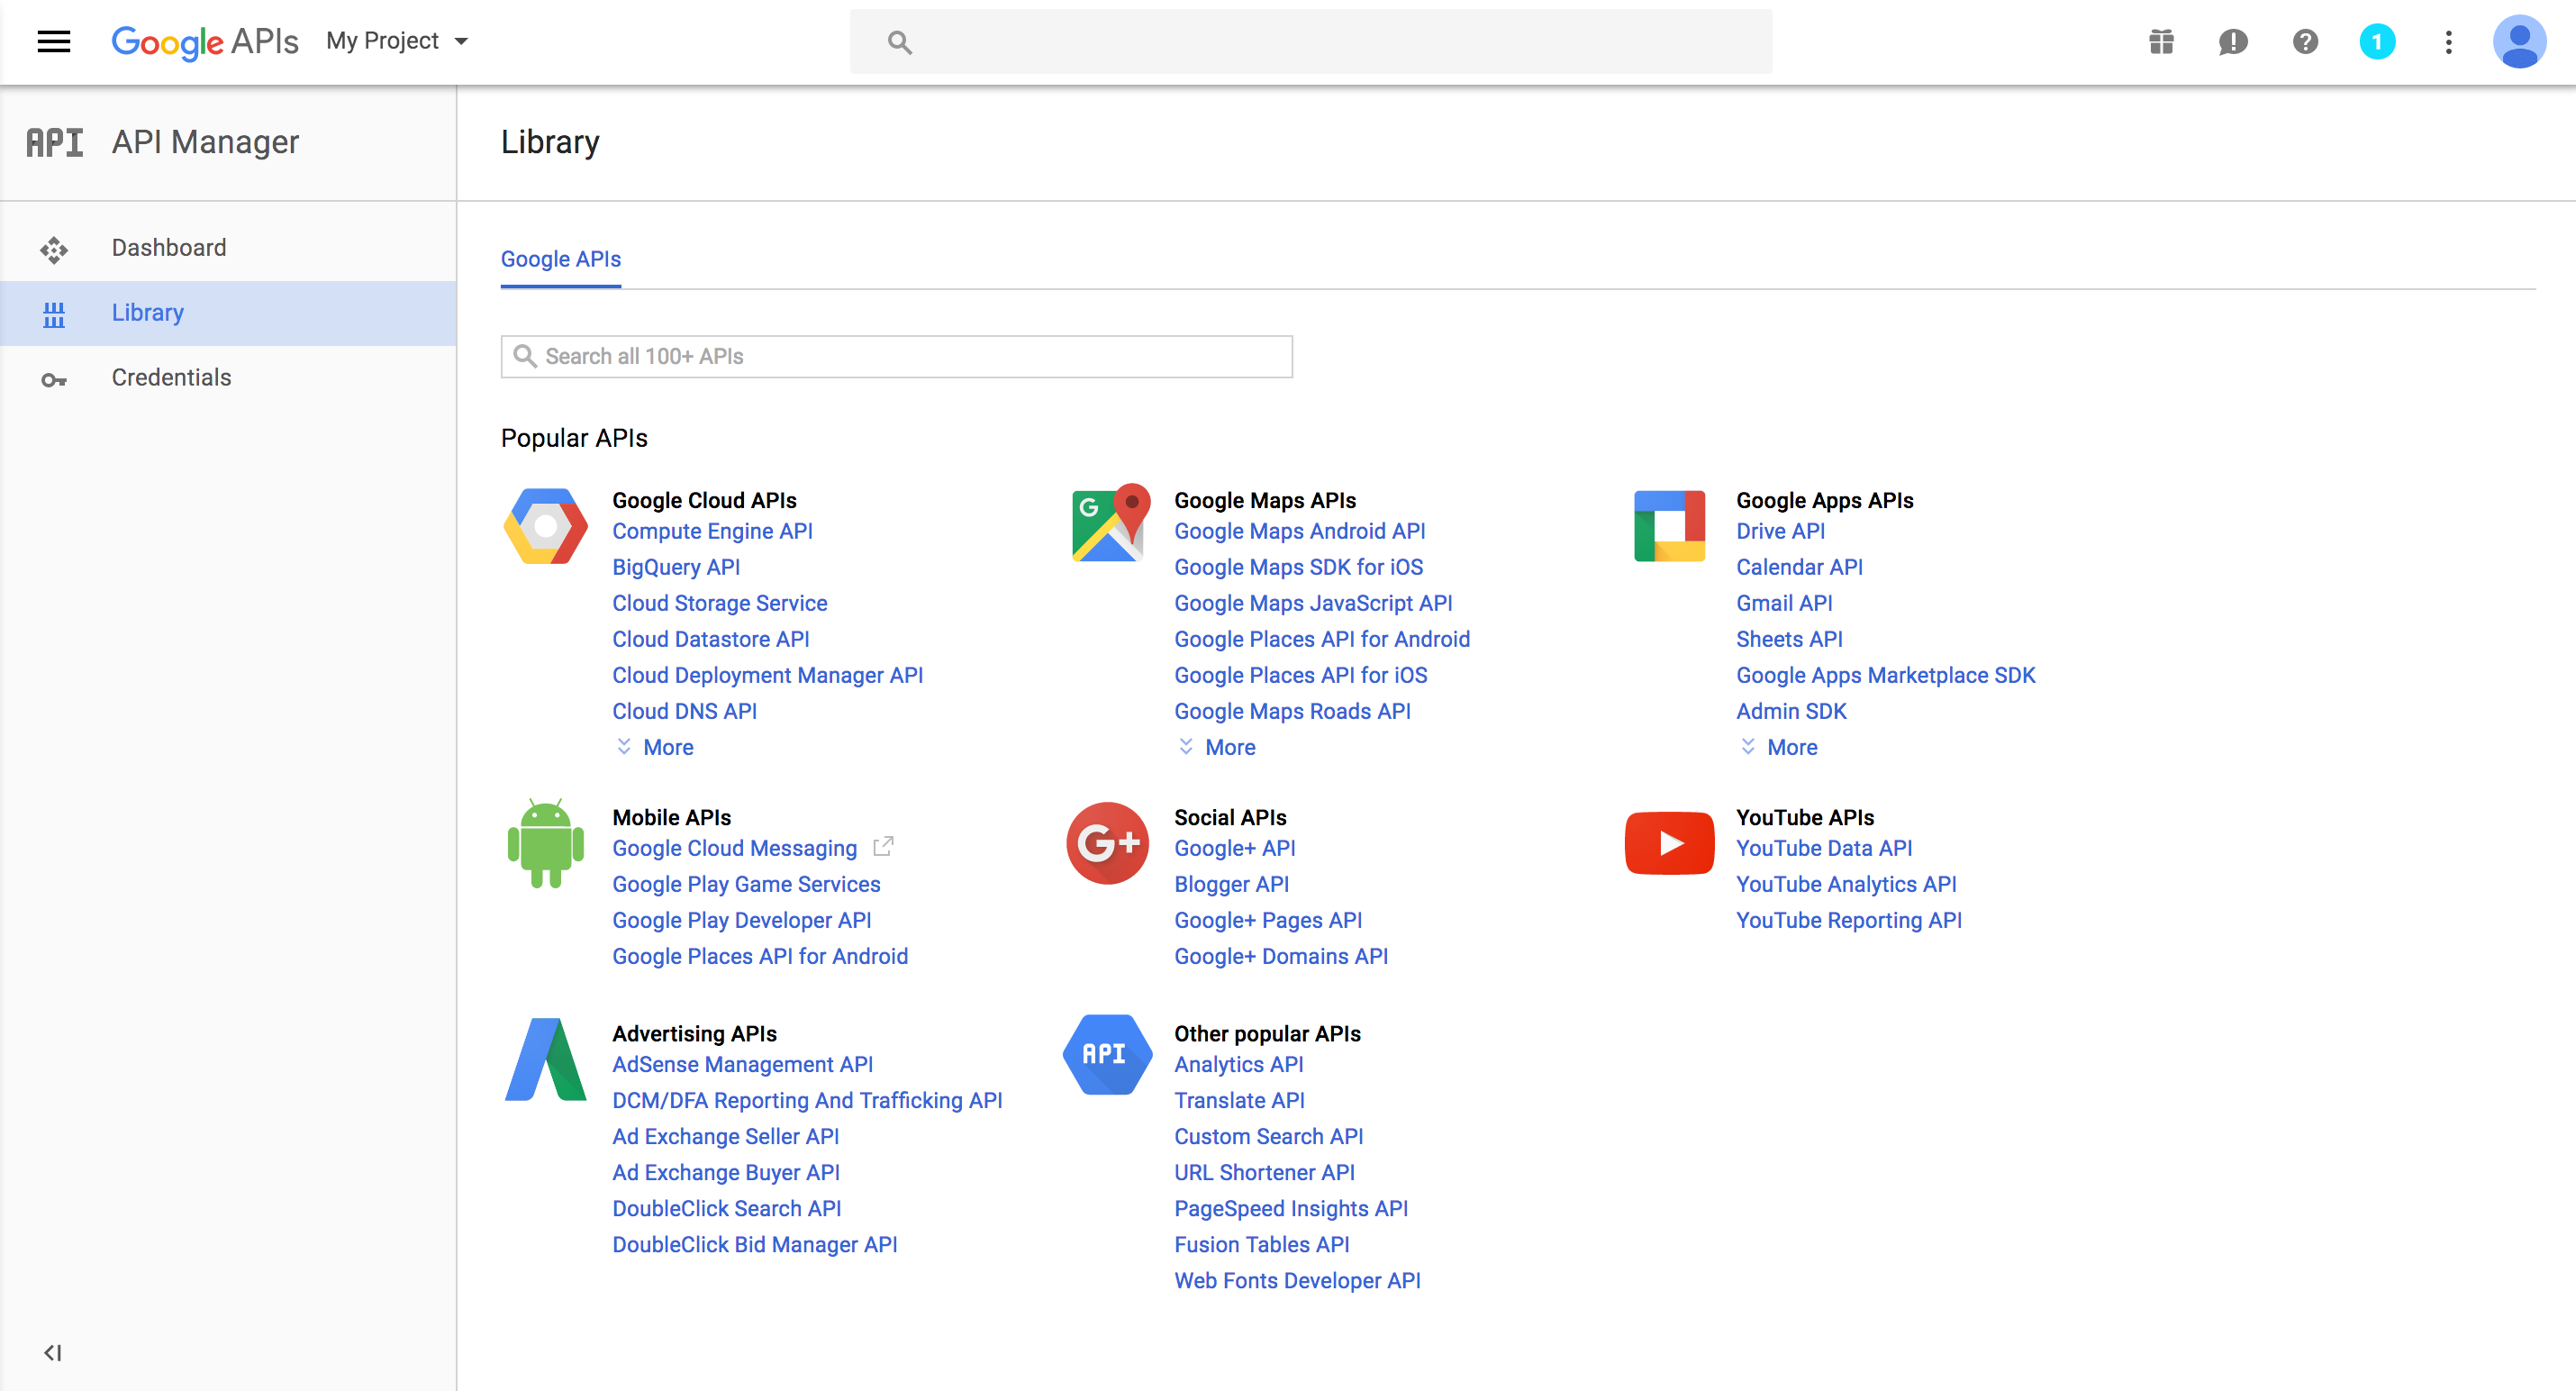
Afterwards, Google will create the project and you will see a screen similar to the one below with the header dropdown now reading your project name.
Consult Google documentation on Creating a Project to Use Google APIs if you run
into trouble.
Configure the Google Project API Access
In the previous step, you created a Google Project. Now you need to configure the Google Project.
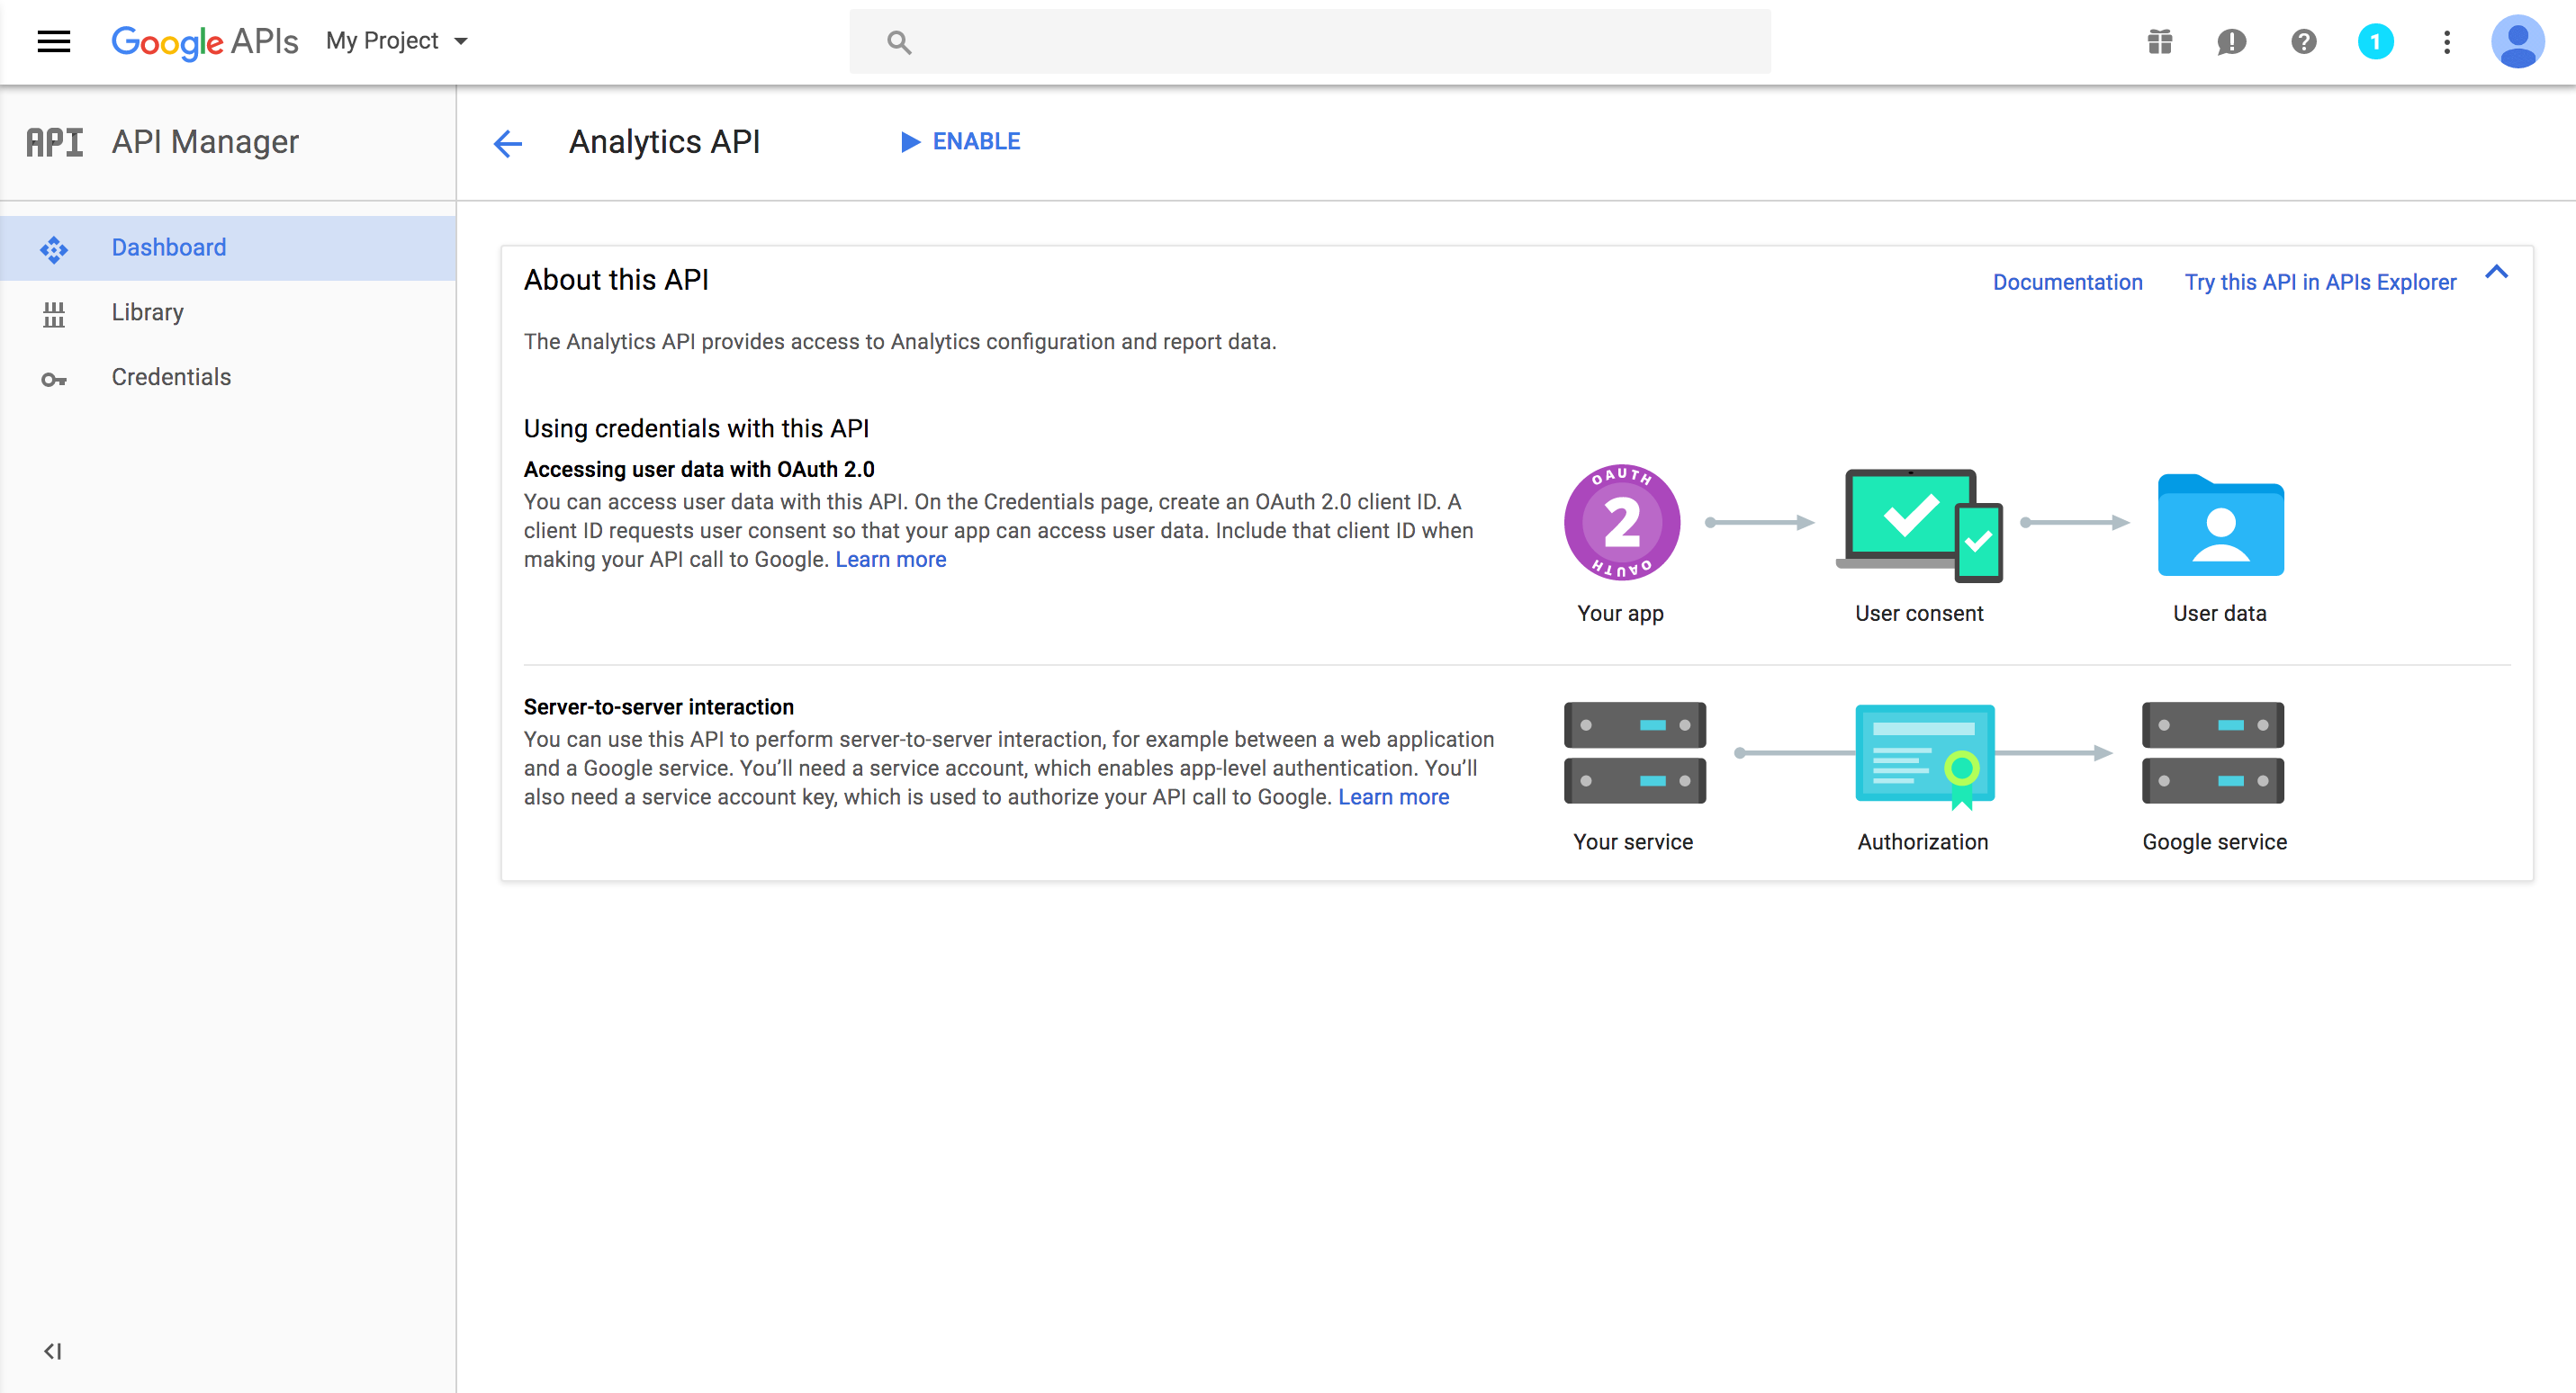
- In the Library section, click the Analytics API link. If you can't find it, you can use the search bar to search for Analytics API. You'll see a screen similar to the following:
- Enable the Analytics API access by clicking the Enable button.
Setup Credentials
The final step of configuring the Google Project is to setup credentials that Broadleaf can use to access your analytics
account.
If you are still in the Analytics API page from the previous step, you can click the Create Credentials button. Otherwise, click on the Credentials menu item on the left.
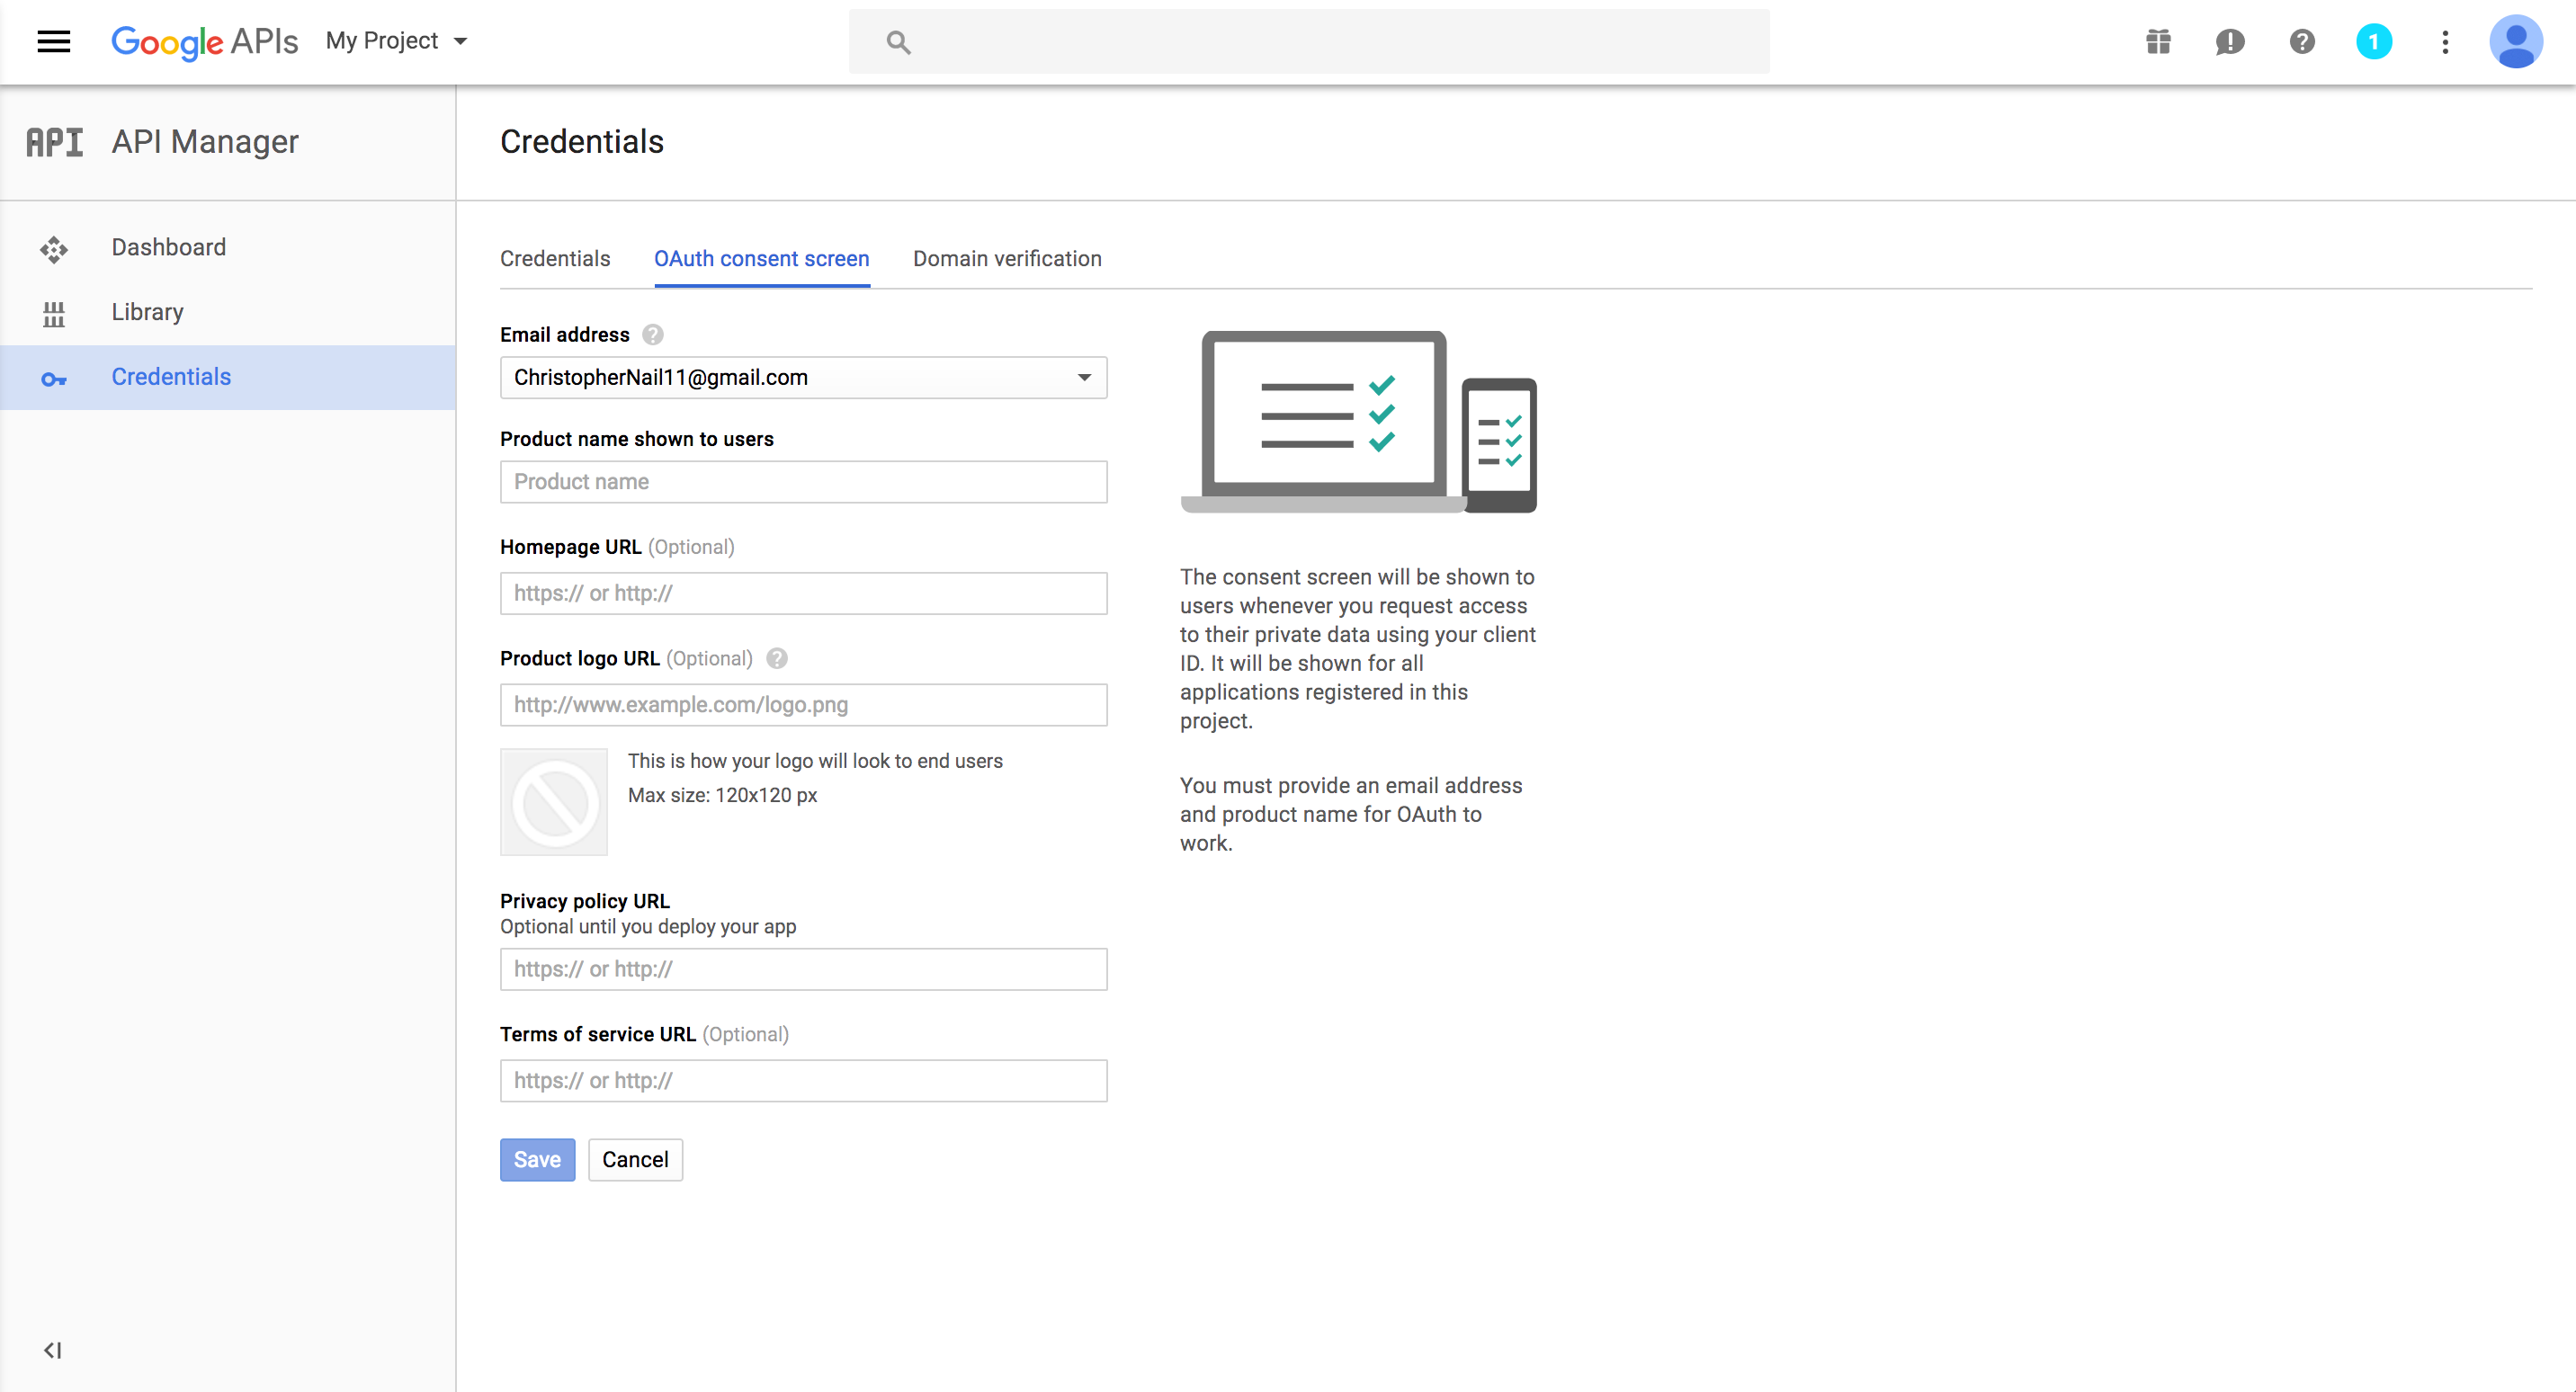
Before you can create a Client ID, you must create a consent screen by clicking the tab for OAuth Consent Screen. A screen similar to the following should appear.
Fill in the relevant fields for the consent screen. The OAuth screen is shown to users who request access your project. Only the
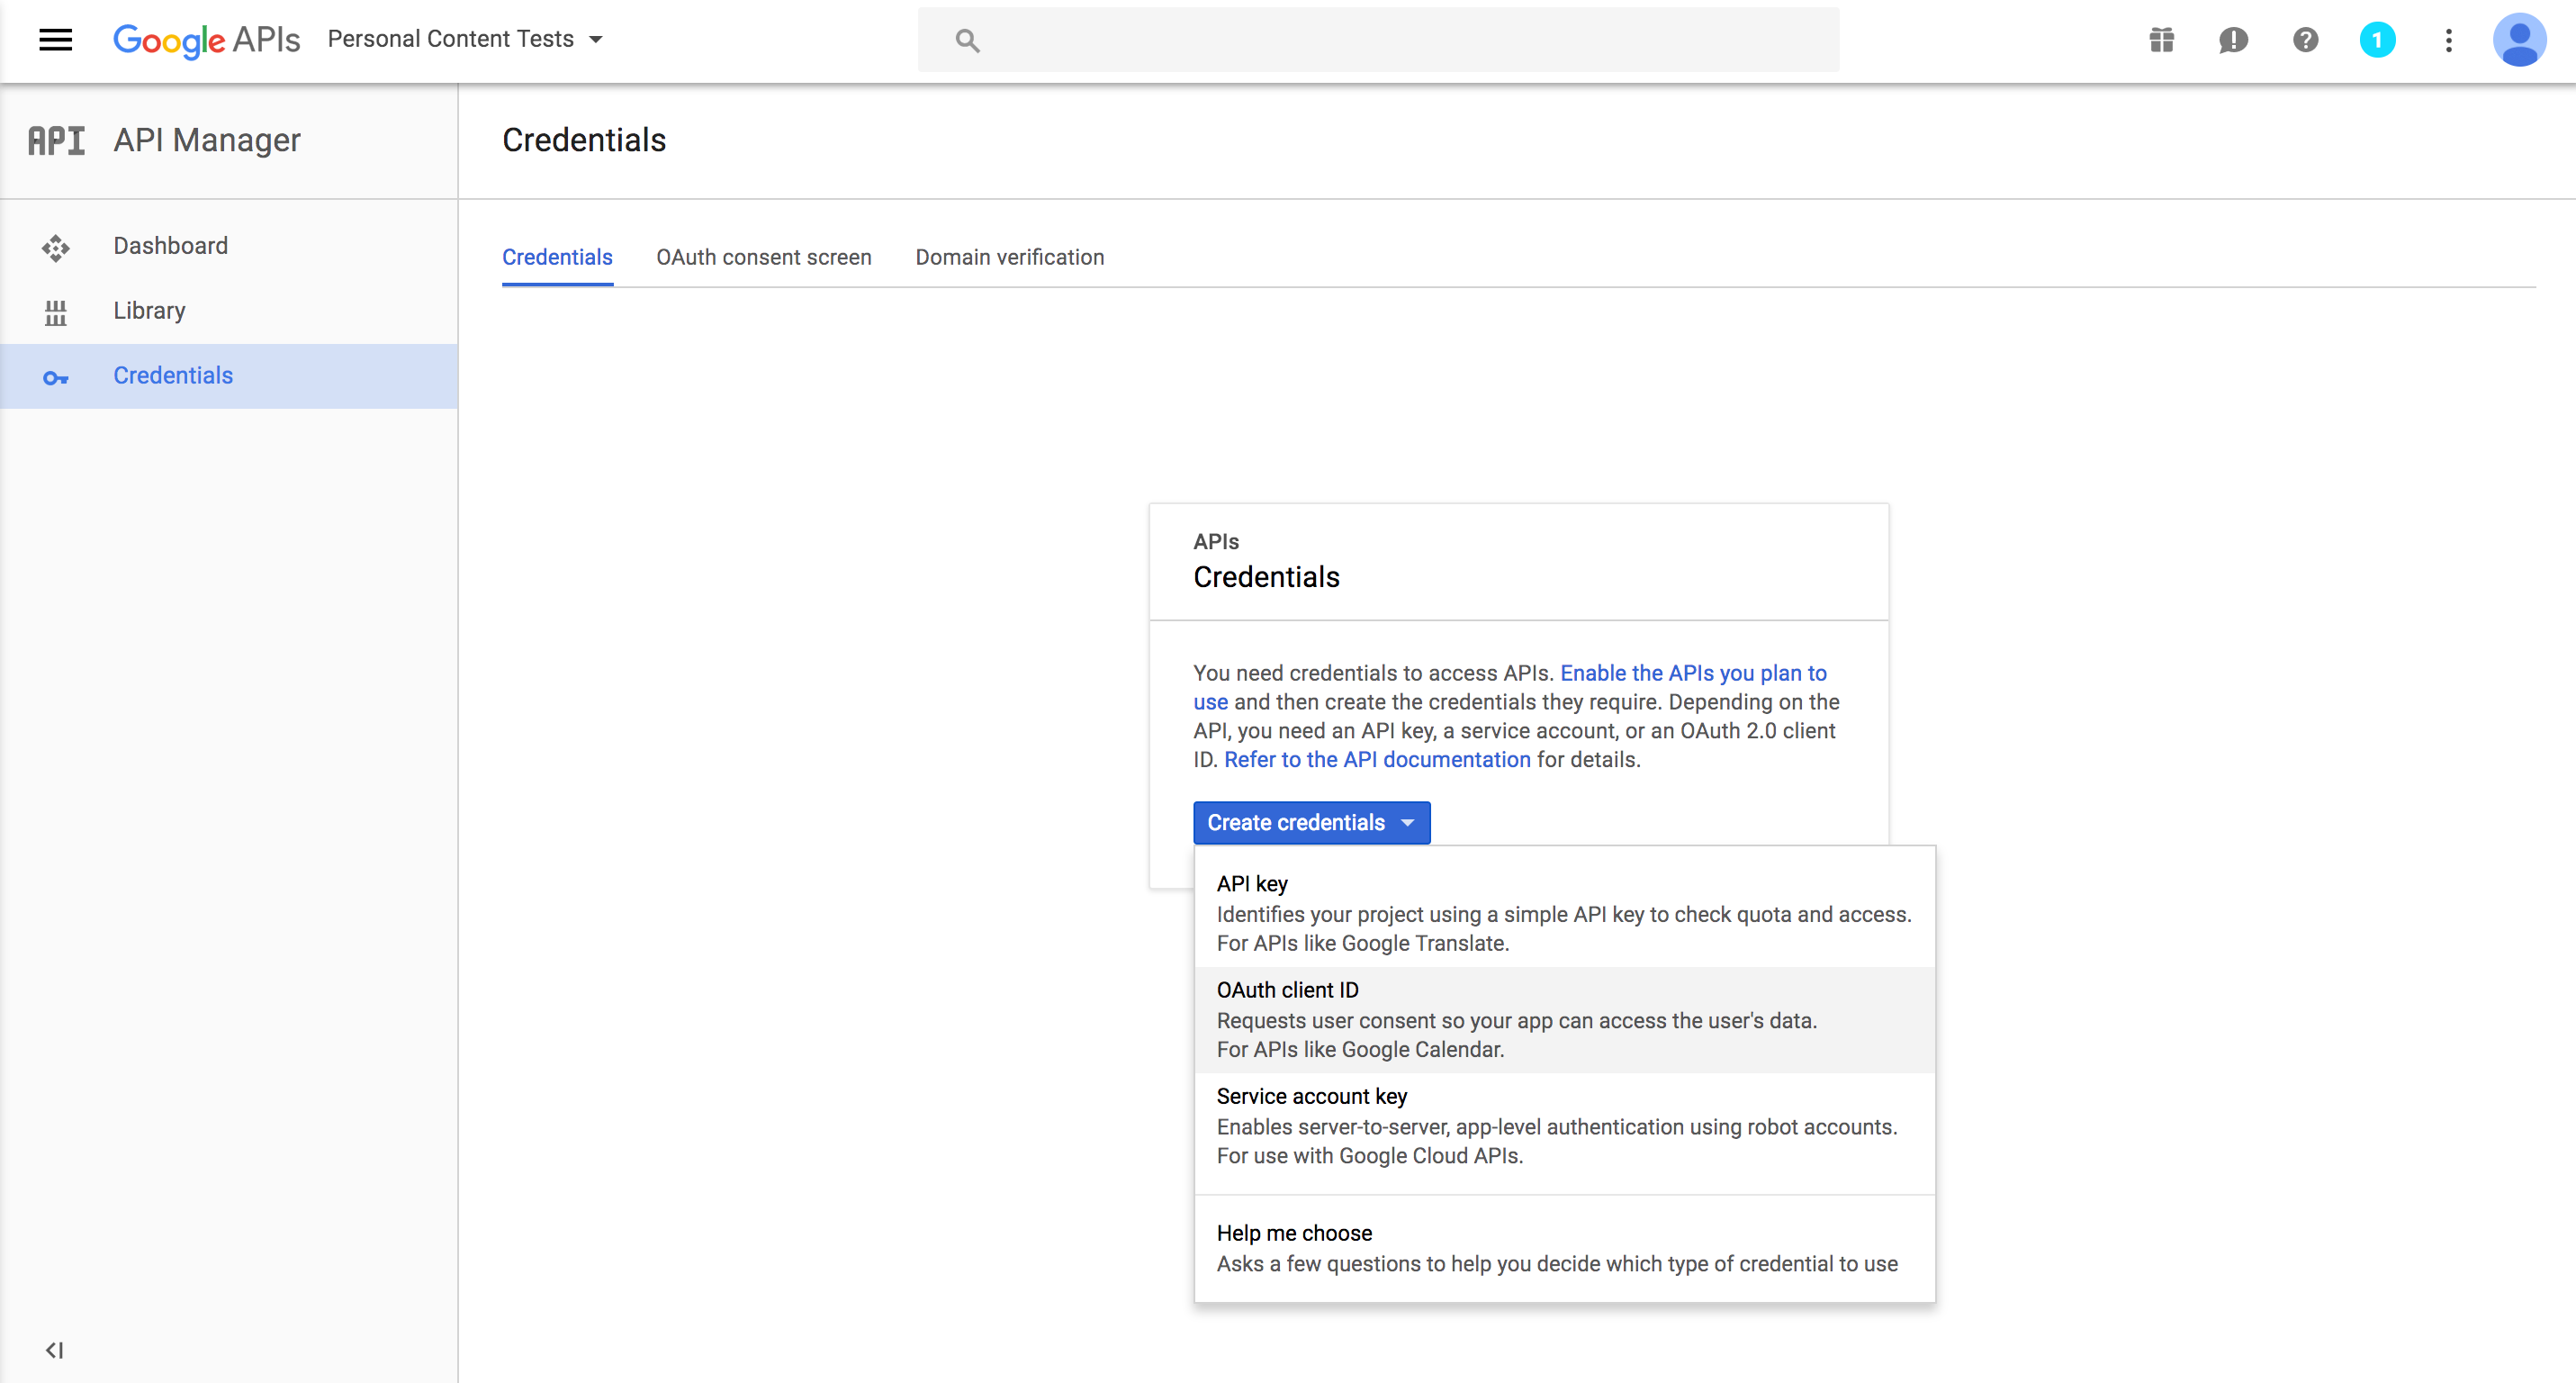
Email AddressandProduct Namefields are required. Click the Save button when doneNow, select the Credentials tab, and click the Create Credentials button. Select OAuth Client ID as shown below.
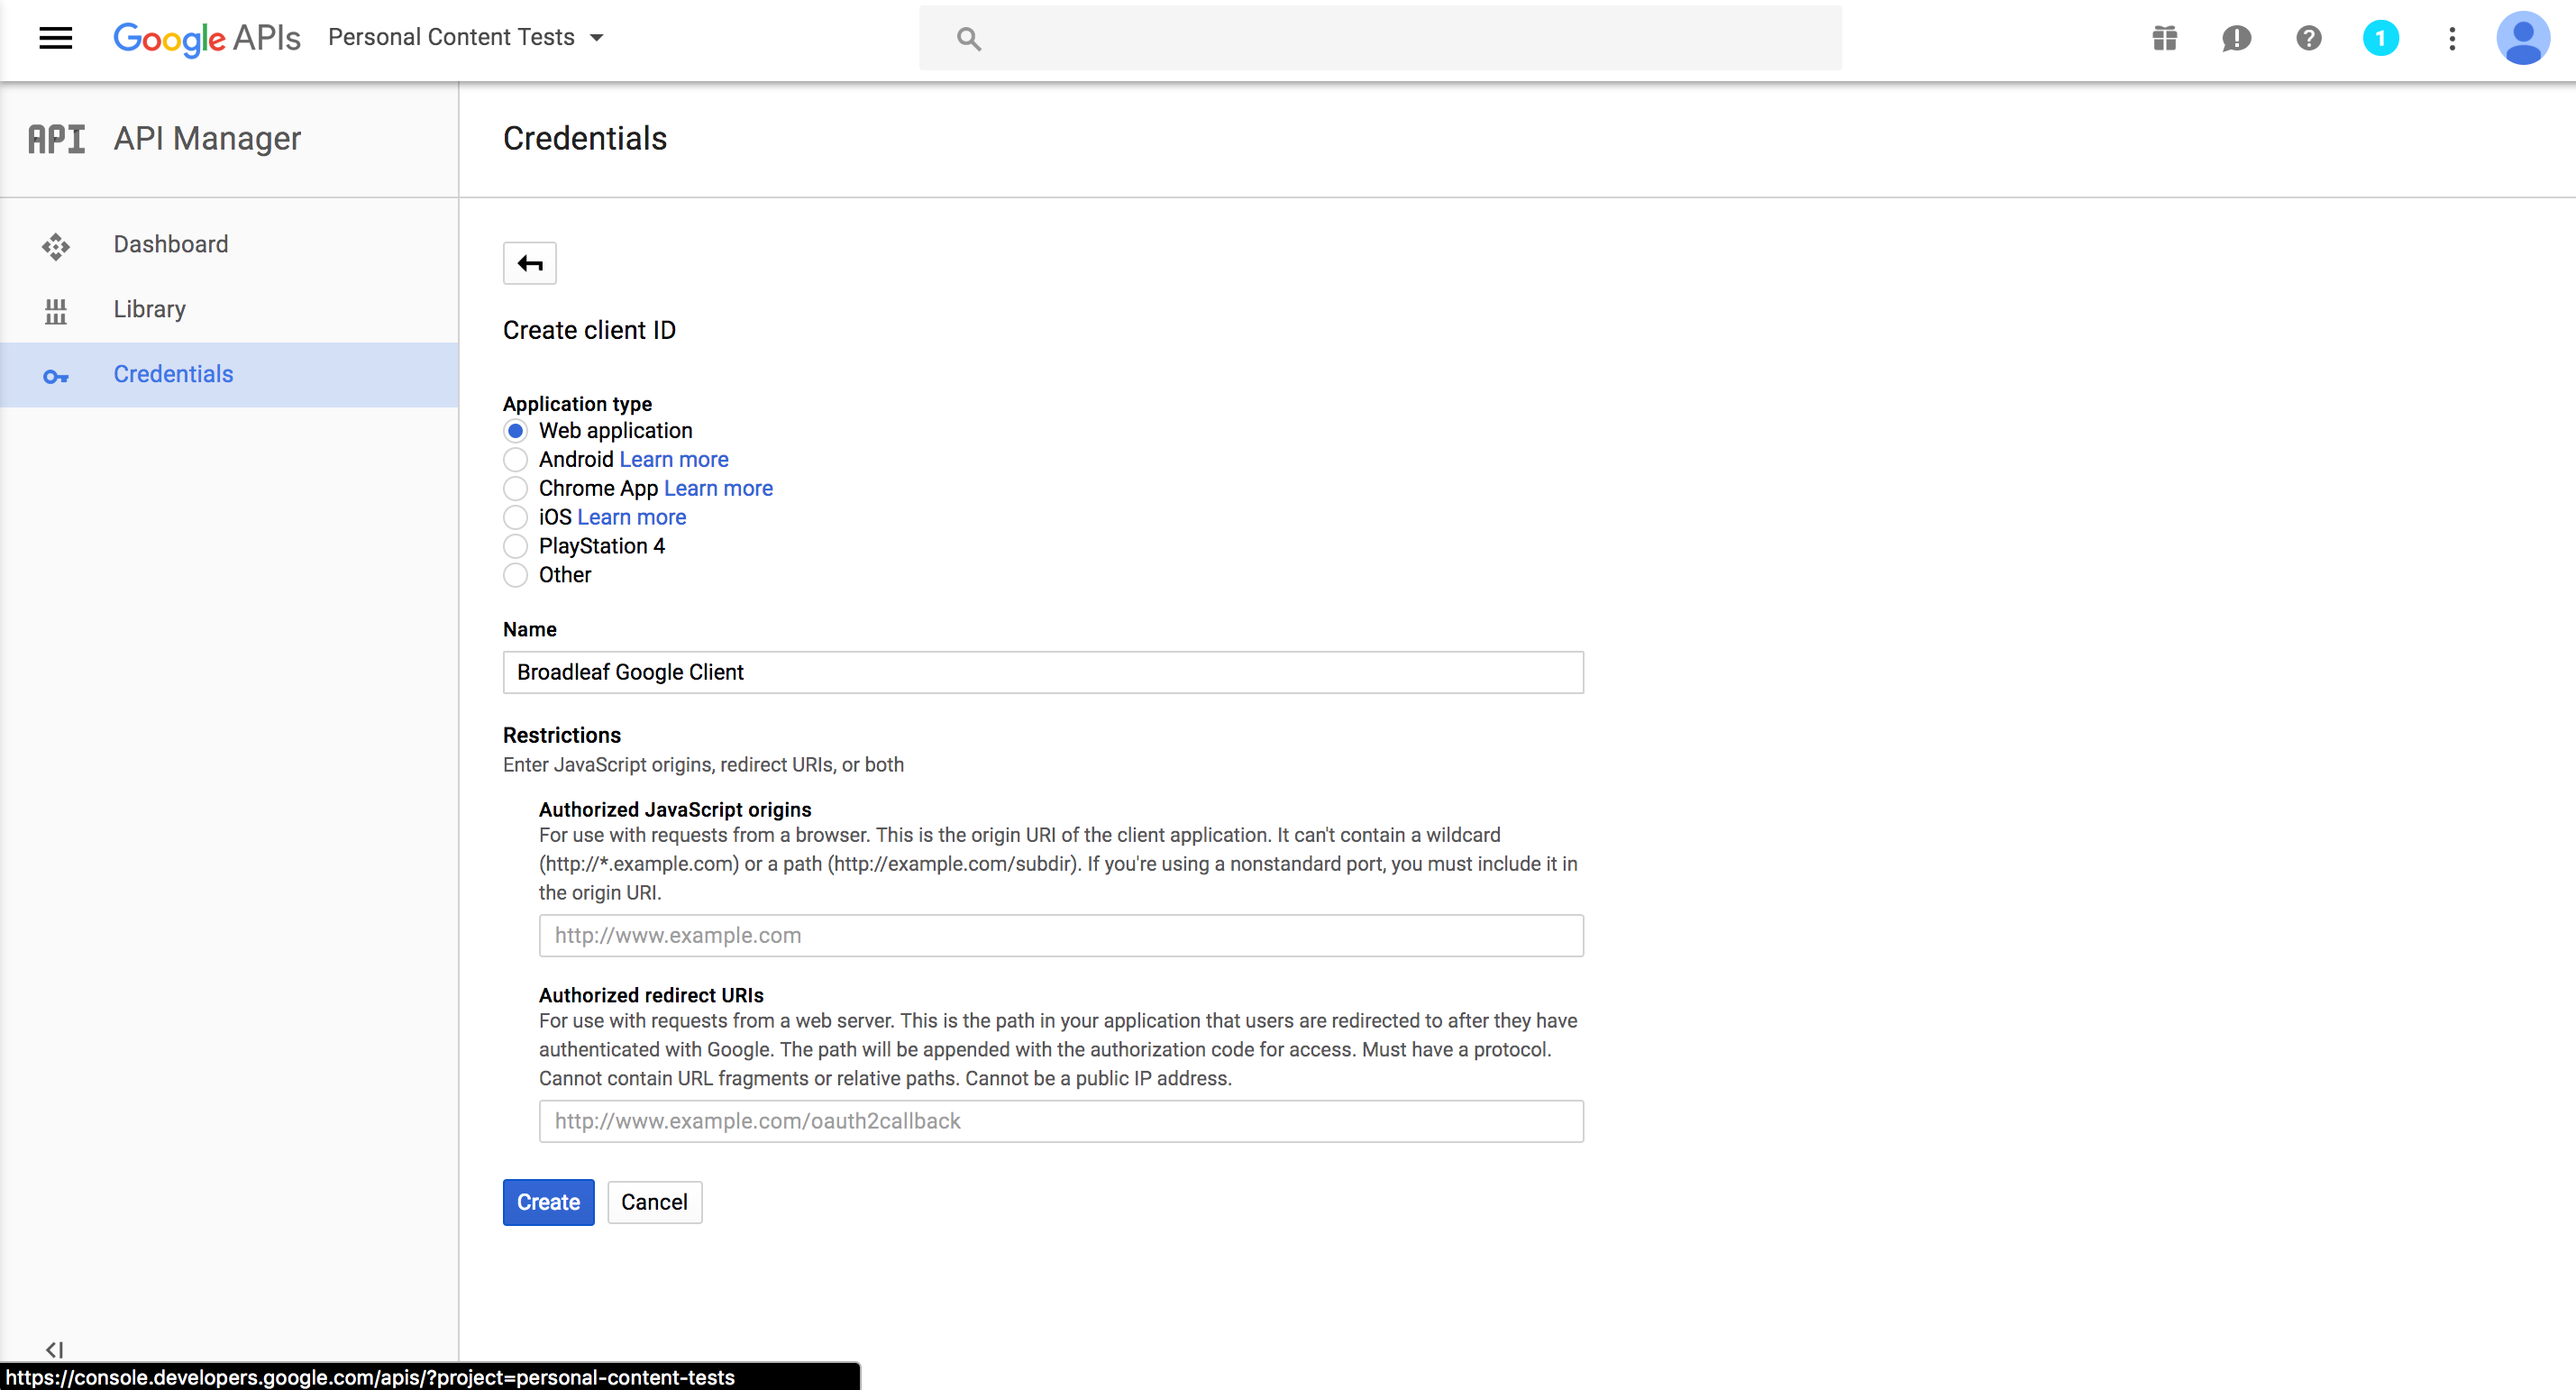
- Select the Web Application item. A screen similar to the following should appear.
Fill the Name field with a name for your Client ID, and the Authorized JavaScript origins field with your website's URL.
In the Authorized redirect URI field, add your website's URL, with "/admin/content-tests/google/process-auth" added to the end.
Click the Create button.
You will be shown your
Client IDandClient Secretvalues. Please store these values in a secure place. These will be used for the next step which is to [Configure And Authorize Broadleaf]

