Authorize Broadleaf
This section explains how to configure and authorize Broadleaf to make calls to your Google Analytics account.
Prerequisites
Before beginning this step, you should have a Client Id and Client Secret. These can be obtained by following the
instructions titled Create Google Project
Update the Google System Properties
Broadleaf needs to be configured to use the client id and client secret properties. This can be done through
code or through the Broadleaf Admin --> Settings --> System Properties menu option.
Find the Google Section and update each of the properties. In addition to the Client Id and Client Secret from the
prior step, you'll need to know your Google Analytics Account Information including your account, property, and
view (a.k.a. profile id). To find these values, login to Google Analytics, choose the account you want to sync with
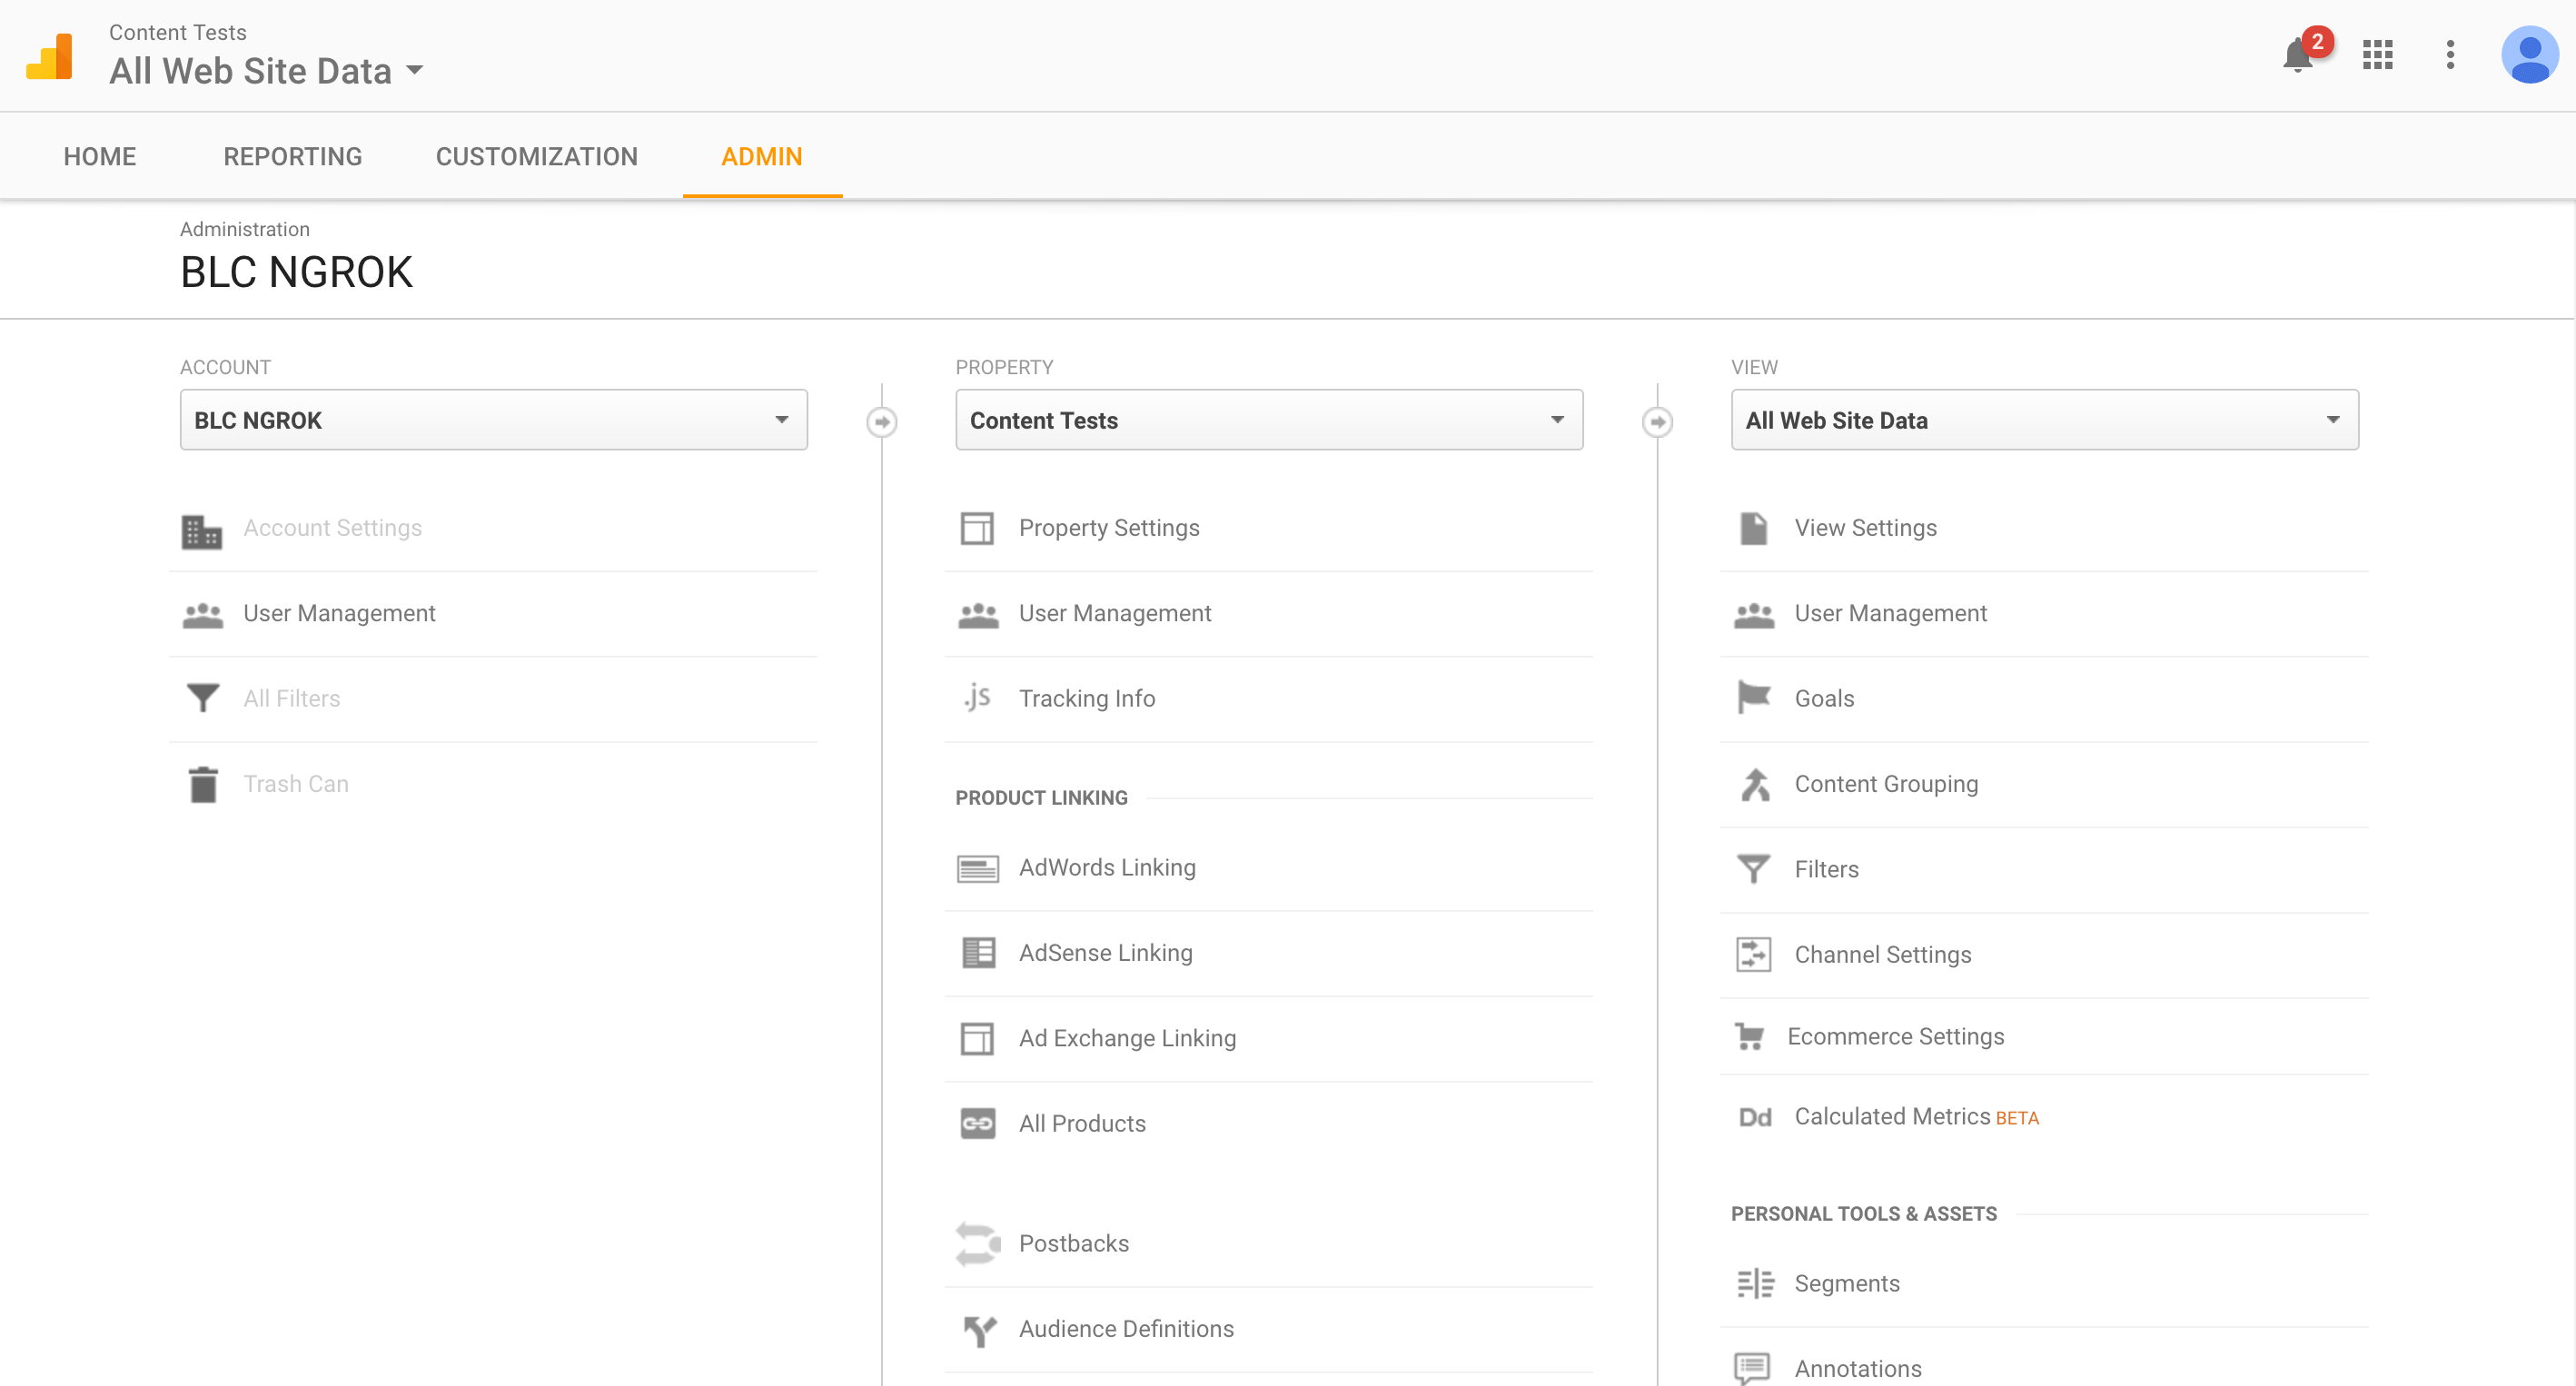
Broadleaf and then choose the admin menu. You will see three sections similar to the image below...
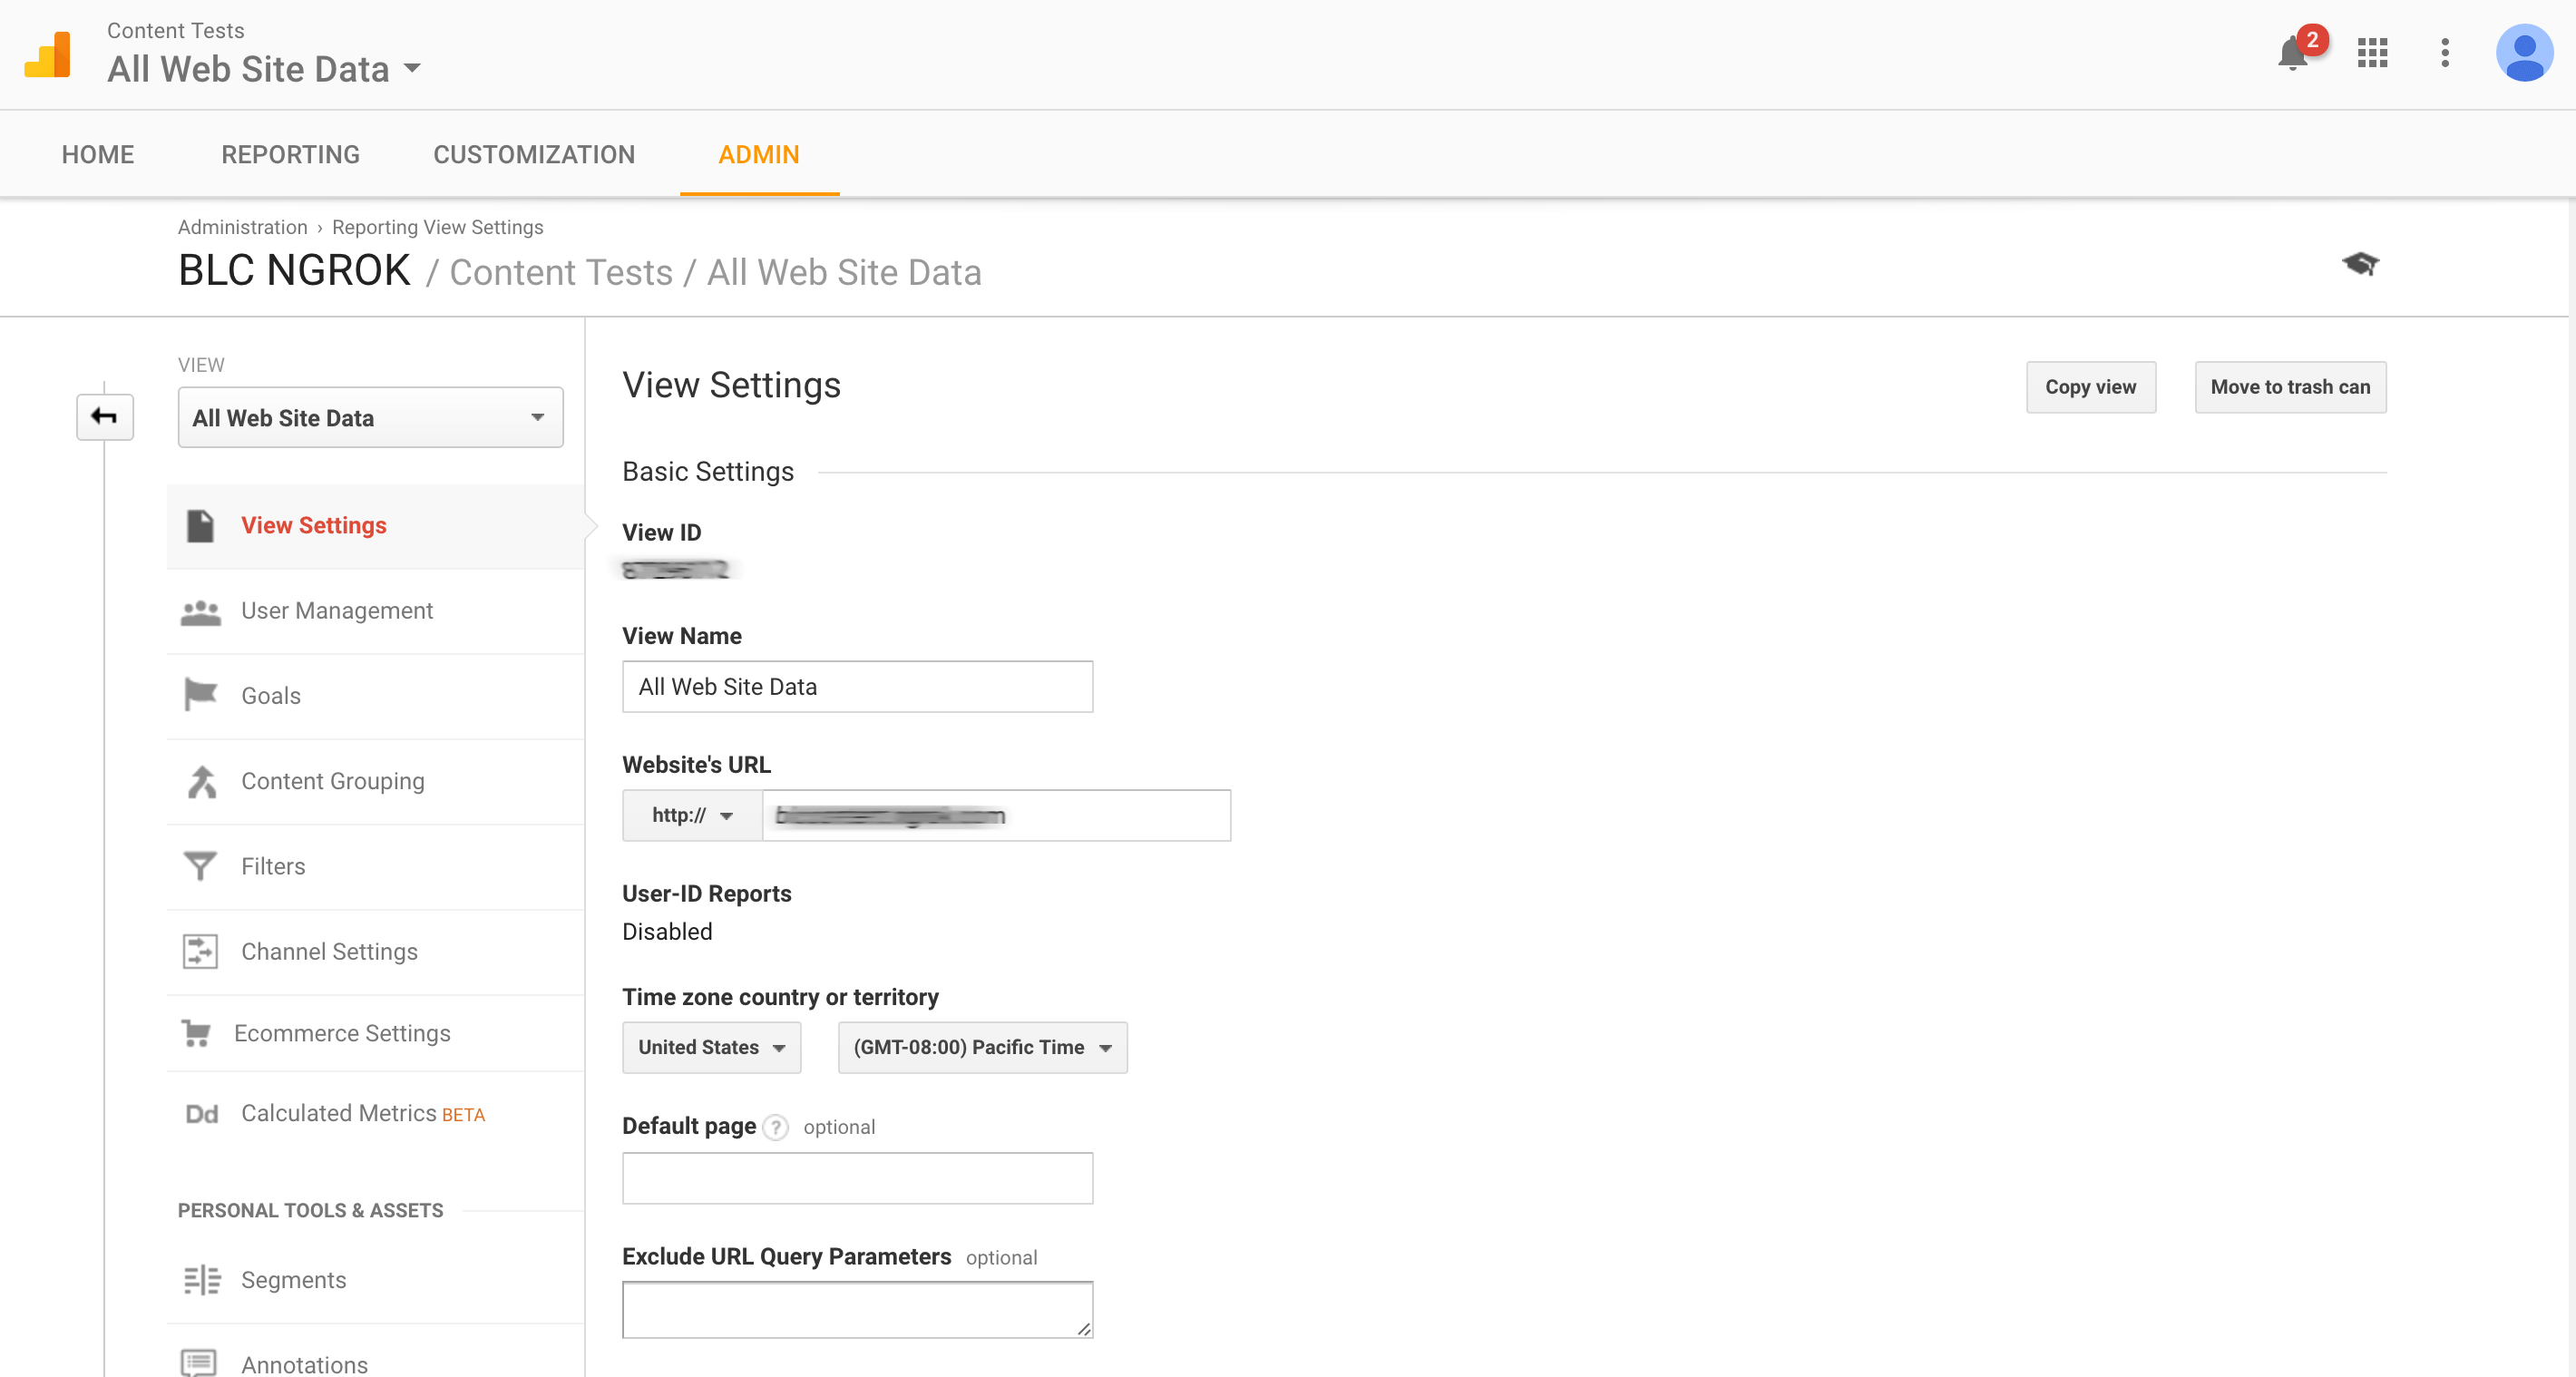
For each of these, you can choose the settings menu which contains the id. For example, here is a screenshot of the
view settings. The View ID in the screenshot is the Profile ID.
Option 1, Update Google System Properties Through The Admin Interface
As a user with Admin permissions in the Broadleaf Admin, choose System Properties from the Settings submenu.
Option 2, Update Google System Properties Through Code
For some users of Broadleaf, it may make more sense to update the properties through code instead of using the admin
interface. To update the properties in code, have a developer update the common-shared.properties file associated with
their Broadleaf project.
The properties to update are:
# These values come directly from the Create Google Project steps
googleAnalytics.clientId=?????????????????????????????????????????????
googleAnalytics.clientSecret=???????????????

# These values come from your Google Analytics Account
googleAnalytics.accountId=???????
googleAnalytics.webPropertyId=????????????
googleAnalytics.profileId=????????
Replace the question marks to add your values. Ensure that your values are on a single line with no whitespace
Authorize Broadleaf
For the final step before you begin creating experiments, you will need to authorize Broadleaf to make calls on behalf of a
specific Google Analytics login
From the Broadleaf Commerce Admin, choose the Content Tests menu option.
Since your account has not yet been authorized, you should see a message asking you to authorize your google account.
Click the link to authorize which will take you to a Google Approval Screen.
Summary
That's a lot of work but if you are now seeing the Add Test button you are good to start creating experiments. Otherwise, you should see an error that helps you troubleshoot your configuration.


