The following code will not use actual data for values but instead use unique key identifiers to help identify relationships between tables and where data is coming from.
Prerequisites:
Before you can start creating Content Zones, Content Items, and Widgets in the Admin, you will need to make some database entries. The following are a list of BLC tables and the kind of inserts made to that table that will be required.
First, you should create a Field Group for your eventual Field Definitions to be tied to:
<insert tableName="BLC_FLD_GROUP">
    <column name="FLD_GROUP_ID" valueNumeric="FGID" />
    <column name="NAME" value="Field Group Name" />
</insert>
- FGID - The Field Group ID for this Field Group entry.
- "Field Group Name" - The Name you wish to list this Field Group by.
Then you can create a Structured Content Field Template entry that will tie to that Field Group:
<insert tableName="BLC_SC_FLD_TMPLT">
    <column name="SC_FLD_TMPLT_ID" valueNumeric="SFTI" />
    <column name="NAME" value="SC Field Template Name" />
</insert>
- SFTI - The Structured Content Field Template ID for this Structured Content Field Template entry.
- "SC Field Template Name" - The Name you wish to list this Structured Content Field Template by.
The following creates the entry that ties your Structured Content Field Template to your Field group:
<insert tableName="BLC_SC_FLDGRP_XREF">
    <column name="SC_FLD_TMPLT_ID" valueNumeric="SFTI" />
    <column name="FLD_GROUP_ID" valueNumeric="FGID" />
</insert>
- SFTI - The ID relating to an entry from
BLC_SC_FLD_TMPLT. - FGID - The ID relating to an entry from
BLC_FLD_GROUP.
After creating the Field Group, you can create a number of the next entry to create Field Definitions for that Field Group:
<insert tableName="BLC_FLD_DEF">
    <column name="FLD_DEF_ID" valueNumeric="FDID" />
    <column name="ALLOW_MULTIPLES" valueBoolean="AM" />
    <column name="COLUMN_WIDTH" value="*" />
    <column name="FLD_TYPE" value="FTE" />
    <column name="FLD_ORDER" valueNumeric="FO" />
    <column name="FRIENDLY_NAME" value="Field Friendly Name" />
    <column name="HIDDEN_FLAG" valueBoolean="FHF" />
    <column name="MAX_LENGTH" valueNumeric="FML" />
    <column name="NAME" value="Field Name" />
    <column name="TEXT_AREA_FLAG" valueBoolean="FTAF" />
    <column name="FLD_GROUP_ID" valueNumeric="FGID" />
</insert>
- FDID - The Field Definition ID for this Field Definition entry.
- AM - A Boolean that designates if multiples of this Field Definition are allowed.
- FTE - The Field Type Enumerated value for athis Field Definition entry. These enumerations exist in the class SupportedFieldType.
- FO - The Order by which this Field Definition is organized for display purposes.
- "Field Friendly Name" - The Name you wish to use when displaying this Field Definition in the Admin during the construction of a Content Item.
- FHF - A Boolean that designates if the field is hidden or not by default.
- FML - Defines the max length for Field Definitions that involve text, NULL otherwise.
- "Field Name" - The Name you wish to reference this Field Definition by in Thymeleaf templates. These references will be consumed in the Thymeleaf templates stored in the HTML section of a Widget.
- FTAF - Designates if this Field Definition will consist of a Text Area.
- FGID - The ID relating to an entry from
BLC_FLD_GROUP.
Finally, you will need to create a Structured Content Type entry, which will connect to your Structured Content Field Template and be used by Widgets:
<insert tableName="BLC_SC_TYPE">
    <column name="SC_TYPE_ID" valueNumeric="STID" />
    <column name="NAME" value="SC Type Name" />
    <column name="DESCRIPTION" value="SC Type Description" />
    <column name="SC_FLD_TMPLT_ID" valueNumeric="SFTI" />
</insert>
- STID - The Structured Content Type ID for this Structured Content Type.
- "SC Type Name" - The Name you wish to list this Structured Content Type by.
- "SC Type Description" - A Description of this Structured Content Type.
- SFTI - The ID relating to an entry from
BLC_SC_FLD_TMPLT.
Further Database Setup
The following can be done in the Admin, but may be better to do through an sql script. We have provided a series of liquibase entries if you choose to go this route.
To create a new Content Zone Definition:
<insert tableName="BLC_CONTENT_ZONE_DEF">
    <column name="ZONE_DEF_ID" valueNumeric="CZDID" />
    <column name="NAME" value="Content Zone Def Name" />
</insert>
- CZDID - The Content Zone Definition ID for this Content Zone Definition entry.
- "Content Zone Def Name" - The Name you wish to list this Content Zone Definition by.
To create a new Content Zone:
<insert tableName="BLC_CONTENT_ZONE">
    <column name="CONTENT_ZONE_ID" valueNumeric="CZID" />
    <column name="DESCRIPTION" value="Content Zone Description" />
    <column name="NAME" value="Thymeleaf Reference Name" />
    <column name="DEFAULT_CONTENT_ITEM" value="NULL" />
    <column name="CONTENT_ZONE_DEF" valueNumeric="CZDID" />
</insert>
Thymeleaf Reference Namemust be unique, this will be a specific value you will use in your Thymeleaf Templates to signify that the content zone should be used at that location.
- CZID - The Content Zone ID for this Content Zone entry.
- "Content Zone Description" - A Description of this Content Zone.
- "Thymeleaf Reference Name" - A Name to reference this Content Zone by in Thymeleaf Templates. The templates that will consume this content zone exist in Site, not the templates created in your Widgets.
- "DEFAULT_CONTENT_ITEM" - This will probably be set to
NULL, unless you already have aBLC_SCentry you wish to place here, if so, it will be theSC_IDvalue of thatBLC_SCentry. As this attribute can be done in the Admin, it might be better to do so there. - CZDID - The ID relating to an entry from
BLC_CONTENT_ZONE_DEF.
To create a new Widget:
<insert tableName="BLC_WIDGET">
    <column name="WIDGET_ID" valueNumeric="WID" />
    <column name="CSS_CONTENTS" value="Widget CSS" />
    <column name="DESCRIPTION" value="Widget Description" />
    <column name="HANDLE_MULTIPLE_ITEMS" valueBoolean="HMI" />
    <column name="HTML_CONTENTS" value="Widget HTML" />
    <column name="JS_CONTENTS" value="Widget JS" />
    <column name="NAME" value="Widget Name" />
</insert>
- WID - The Widget ID for this Widget entry.
- "Widget CSS" - CSS code this Widget should use for styling content.
- "Widget Description" - A Description of this Widget.
- HMI - A Boolean that designates the ability to handle multiple items.
- "Widget HTML" - HTML code this Widget should use for displaying content. This should be structured as a Thymleaf template so that you may make references to the Field Definitions connected to the Structured Content Type linked to this Widget.
- "Widget JS" - JavaScript code this Widget should use for manipulating content. An example of this would be Javascript to cycle through a series of ads to create a rotating banner ad. Do know that the javascript in this section has the potential to affect things other than this Widget, as javascript is globally scoped. To limit its area of effect, try to make all references in this code specific enough to only effect the Widget itself.
- "Widget Name" - The Name you wish to list this Widget by.
To tie a Widget to a Content Zone Definition:
<insert tableName="BLC_CON_ZONE_DEF_WDGT_XREF">
    <column name="CONTENT_ZONE_DEF_XREF_ID" valueNumeric="CZDXI" />
    <column name="ZONE_DEF_ID" valueNumeric="CZDID" />
    <column name="WIDGET_ID" valueNumeric="WID" />
</insert>
- CZDXI - The Content Zone Definition Widget Crossreference ID for this crossreference.
- CZDID - The ID relating to an entry from
BLC_CONTENT_ZONE_DEF. - WID - The ID relating to an entry from
BLC_WIDGET.
To tie the Structured Content Type to a Widget:
<insert tableName="BLC_SC_TYPE_WIDGET_XREF">
    <column name="SC_TYPE_WIDGET_XREF_ID" valueNumeric="STWXID" />
    <column name="WIDGET_ID" valueNumeric="WID" />
    <column name="SC_TYPE_ID" valueNumeric="STID" />
</insert>
- STWXID - The Structured Content Type Widget Crossreference id for this crossreference.
- WID - The ID relating to an entry from
BLC_WIDGET. - STID - The ID relating to an entry from
BLC_SC_TYPE.
Admin Processes
To create a new Content Zone Definition:
- Select 'Design' from the sidebar, and then choose 'Content Zone Definitions'.
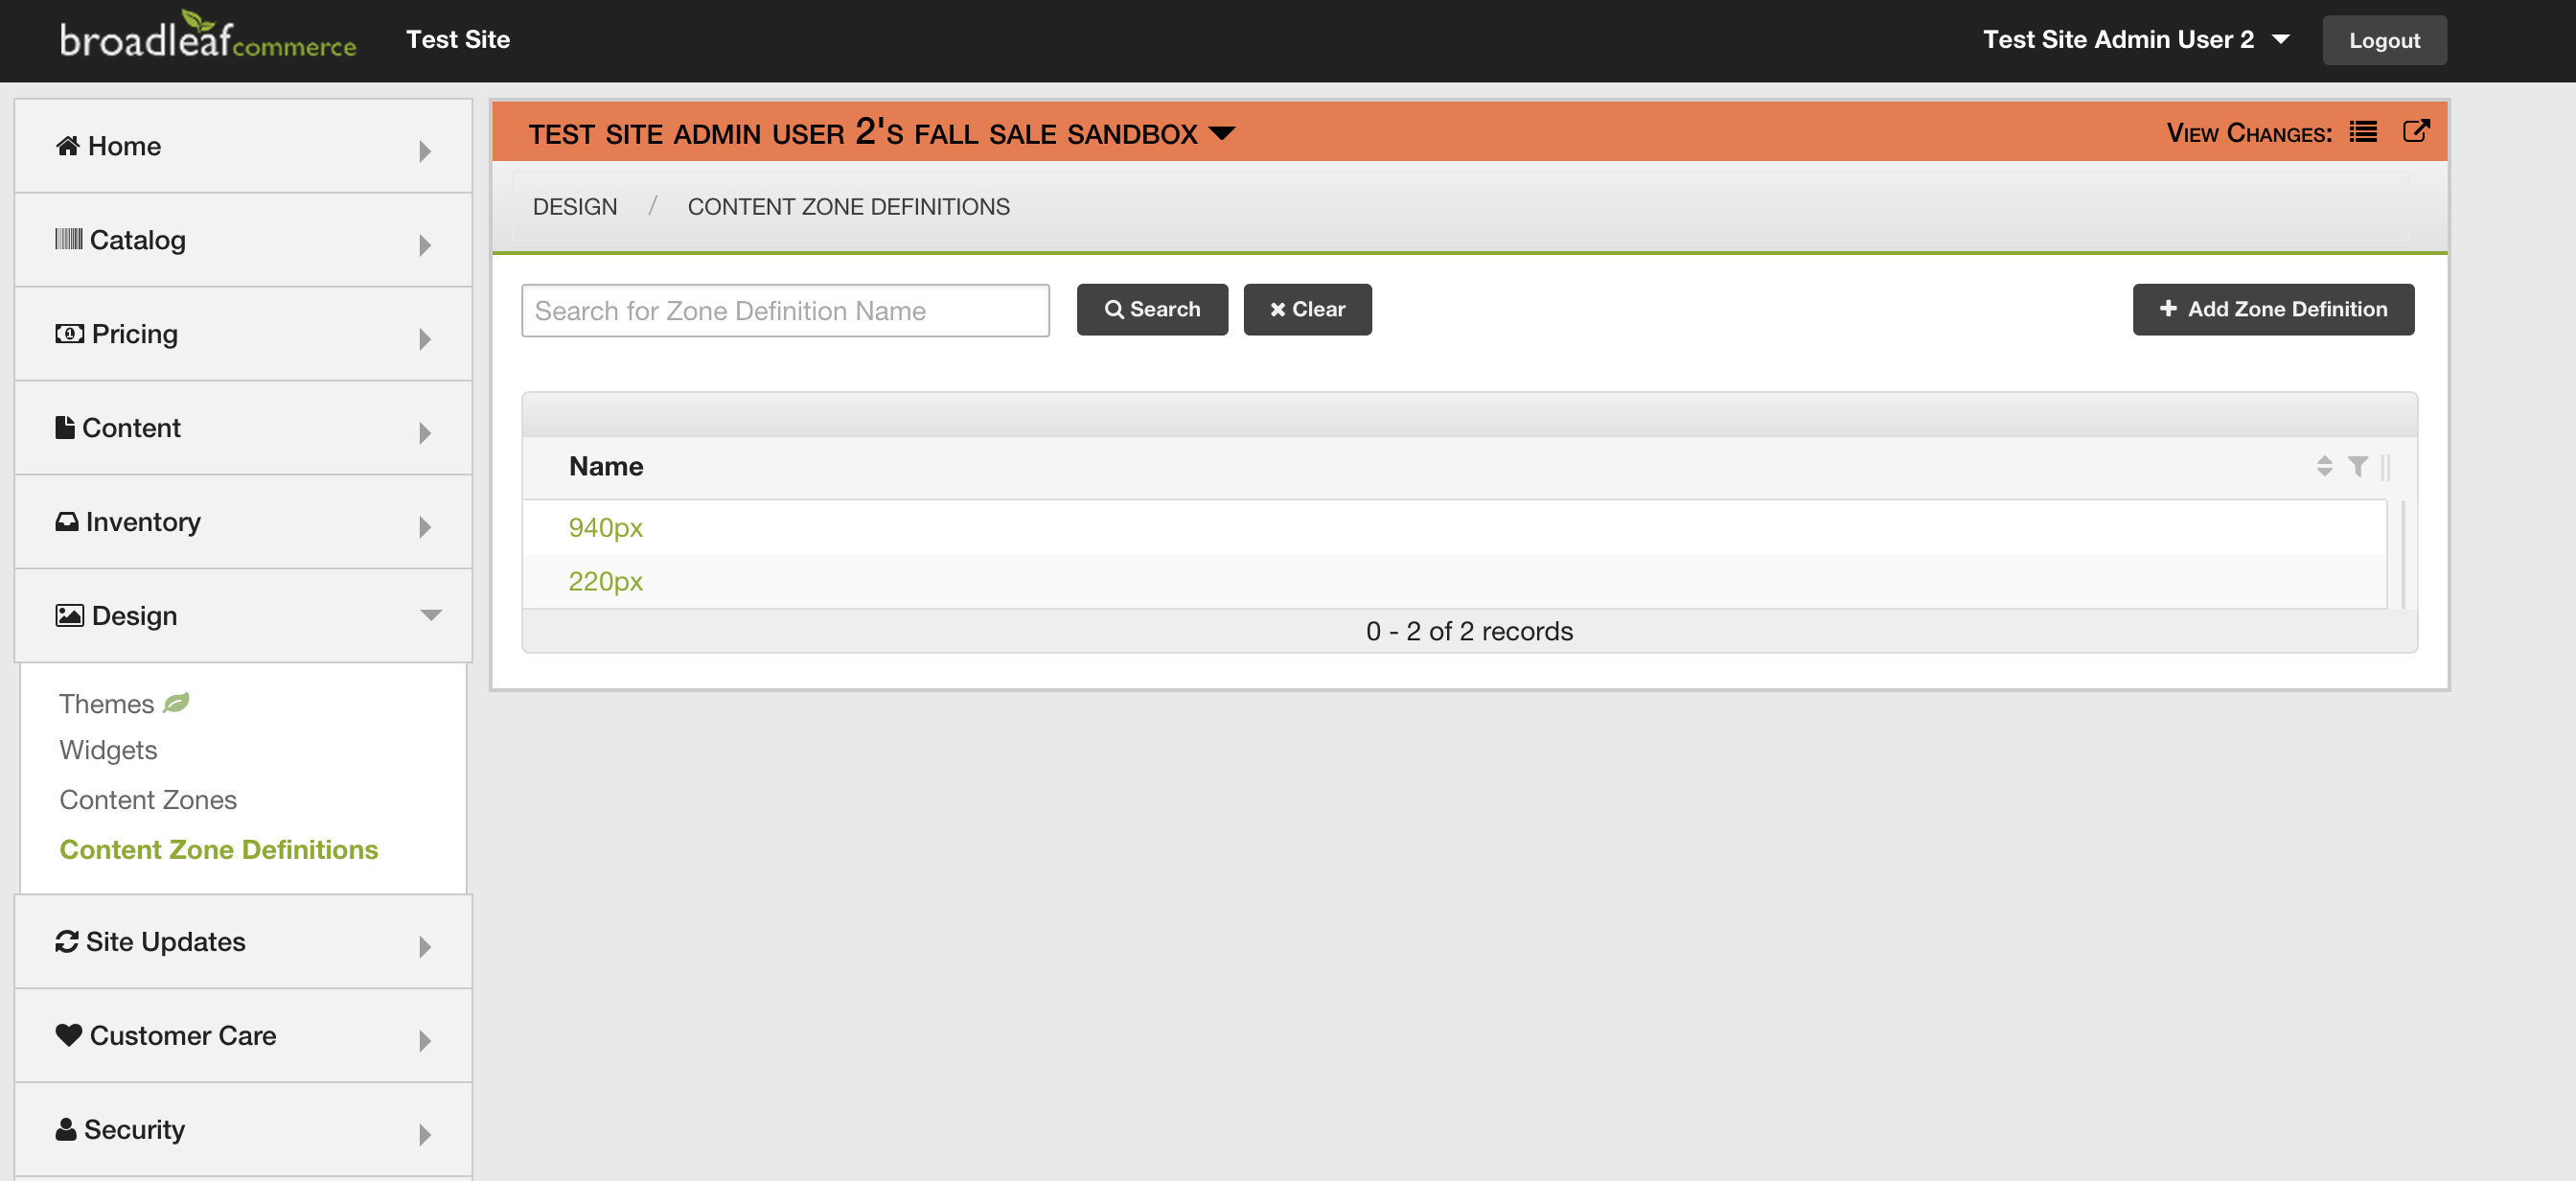
- From this page, select the '+ Add Zone Definition' button in the upper right corner of the page.
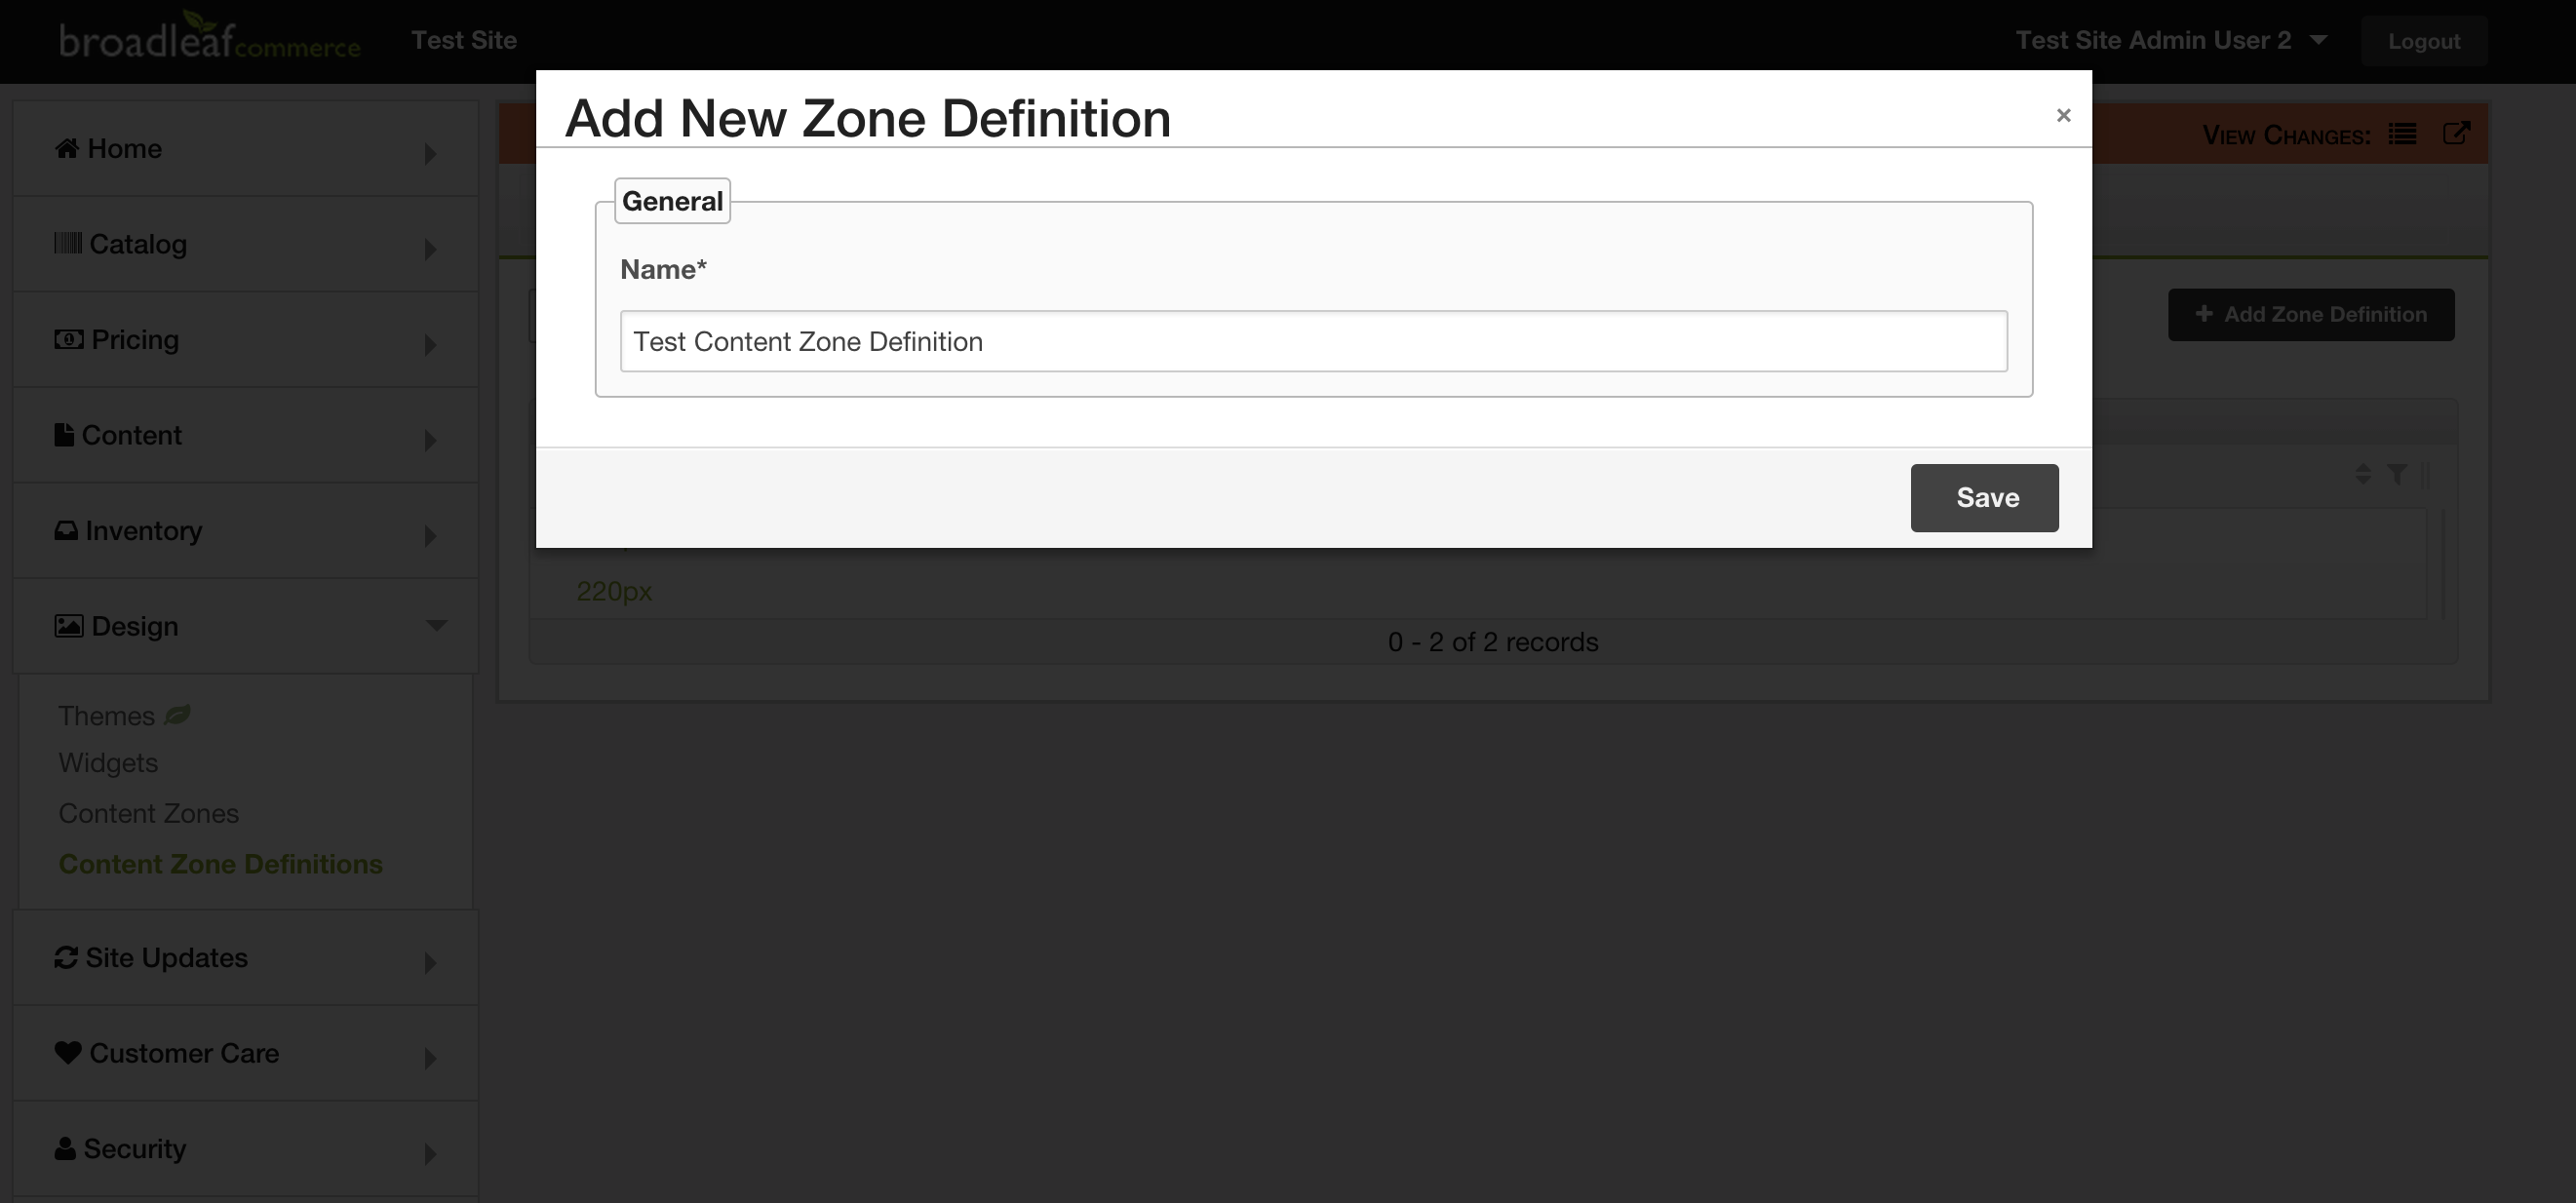
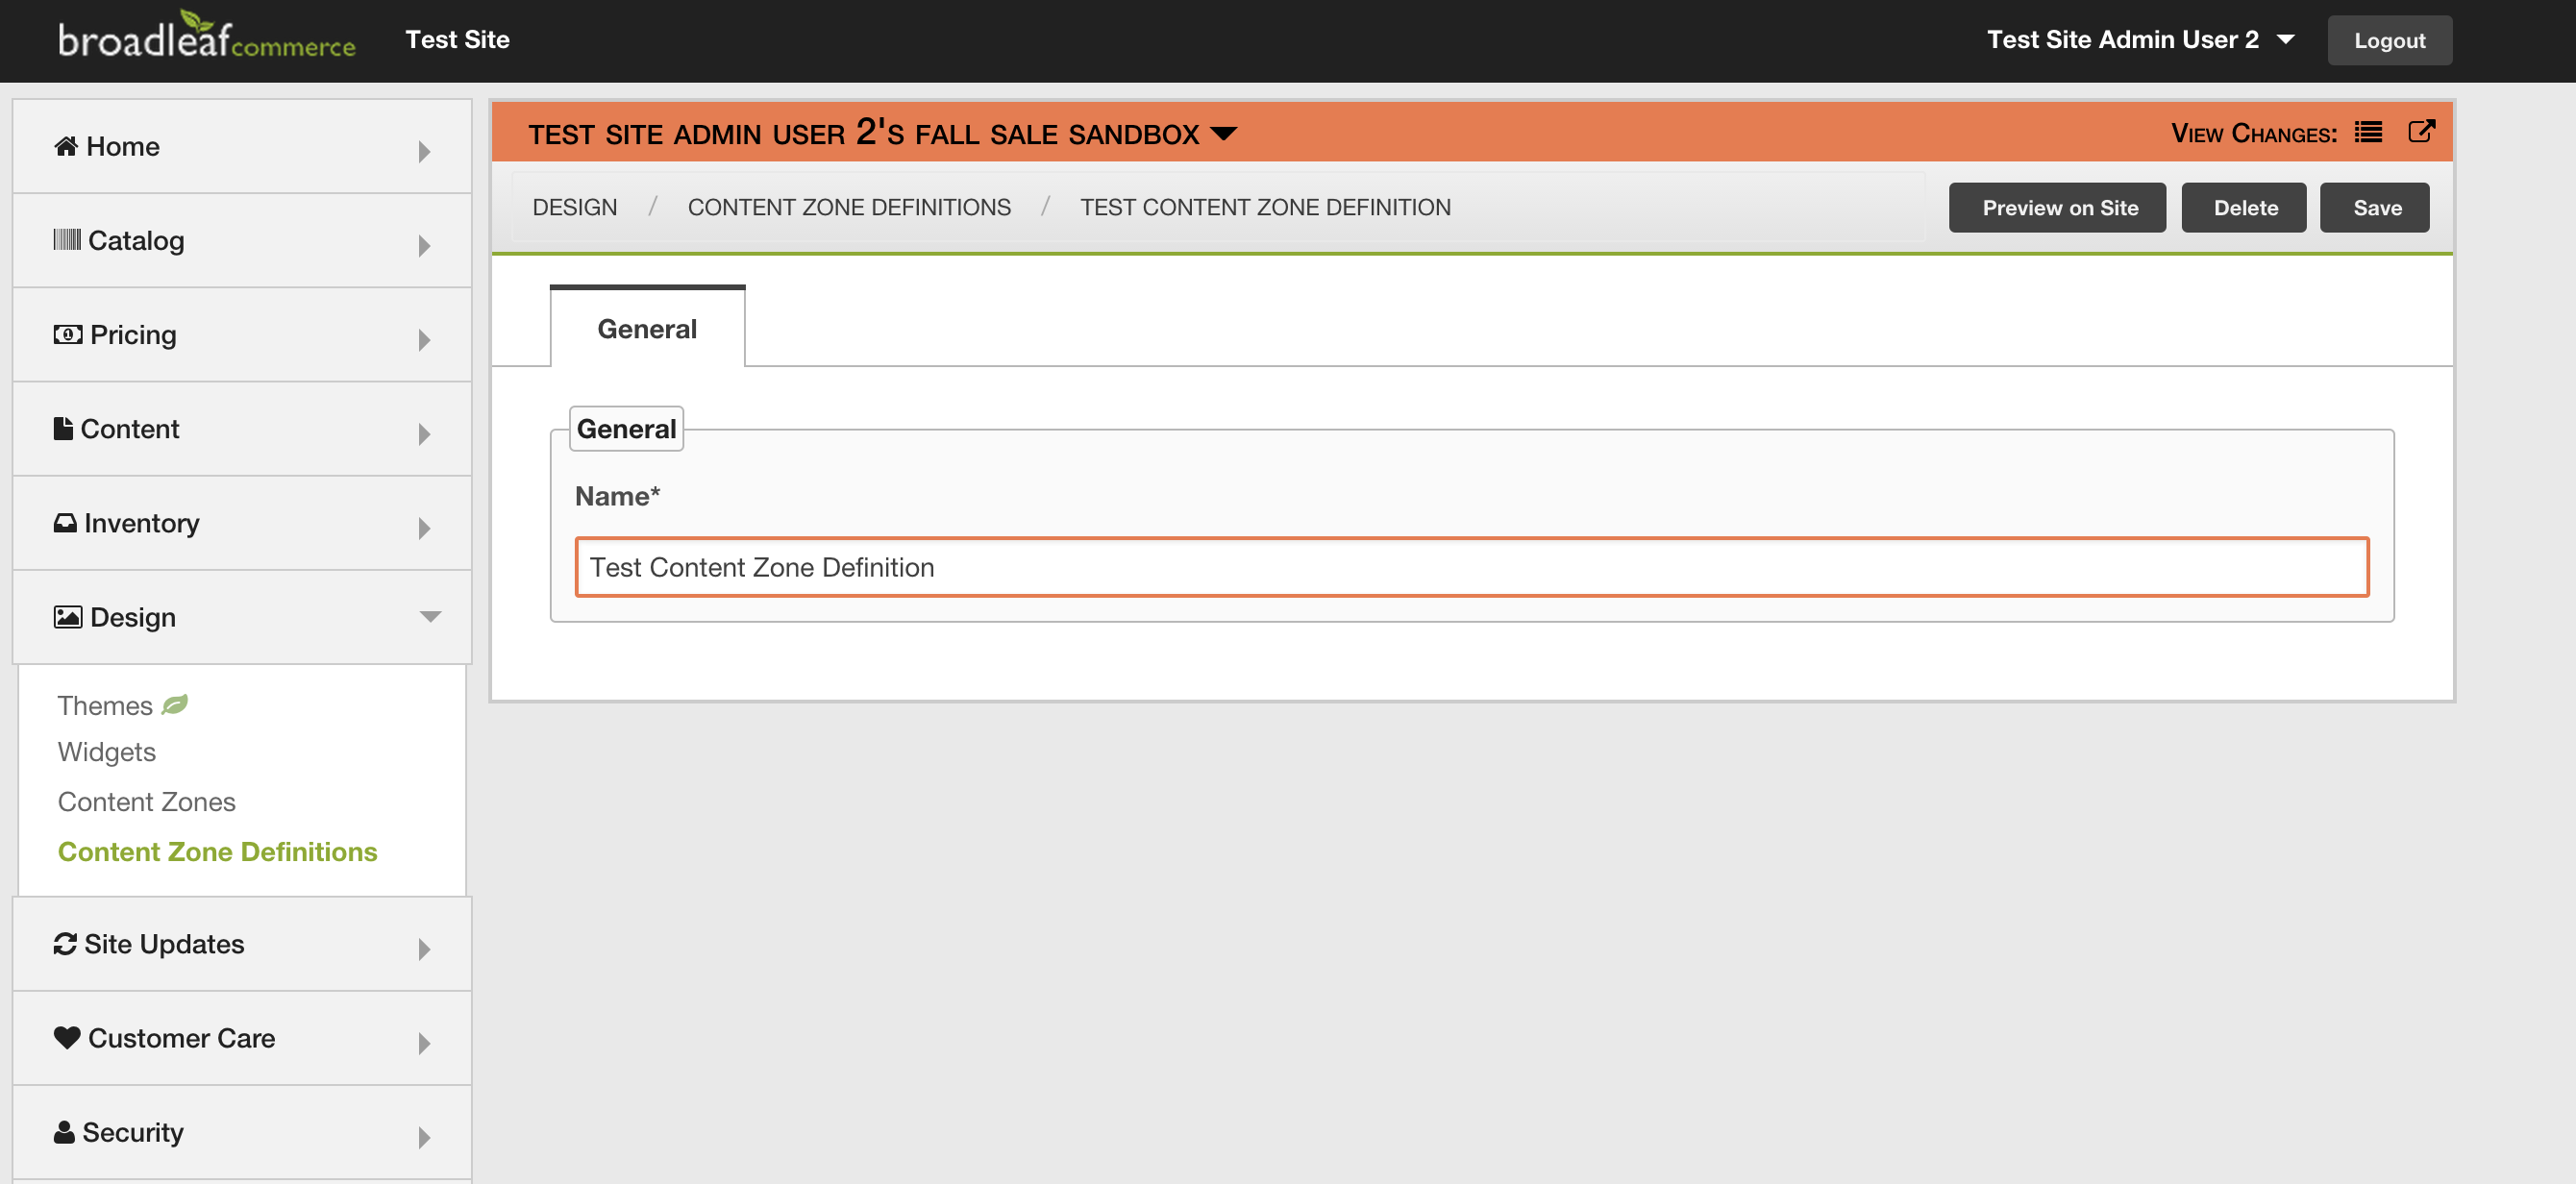
- In the small window that pops up, please provide a name for the Content Zone Definition, and then select the 'Save' button.
To create a new Content Zone:
- Select 'Design' from the sidebar, then choose 'Content Zones'.
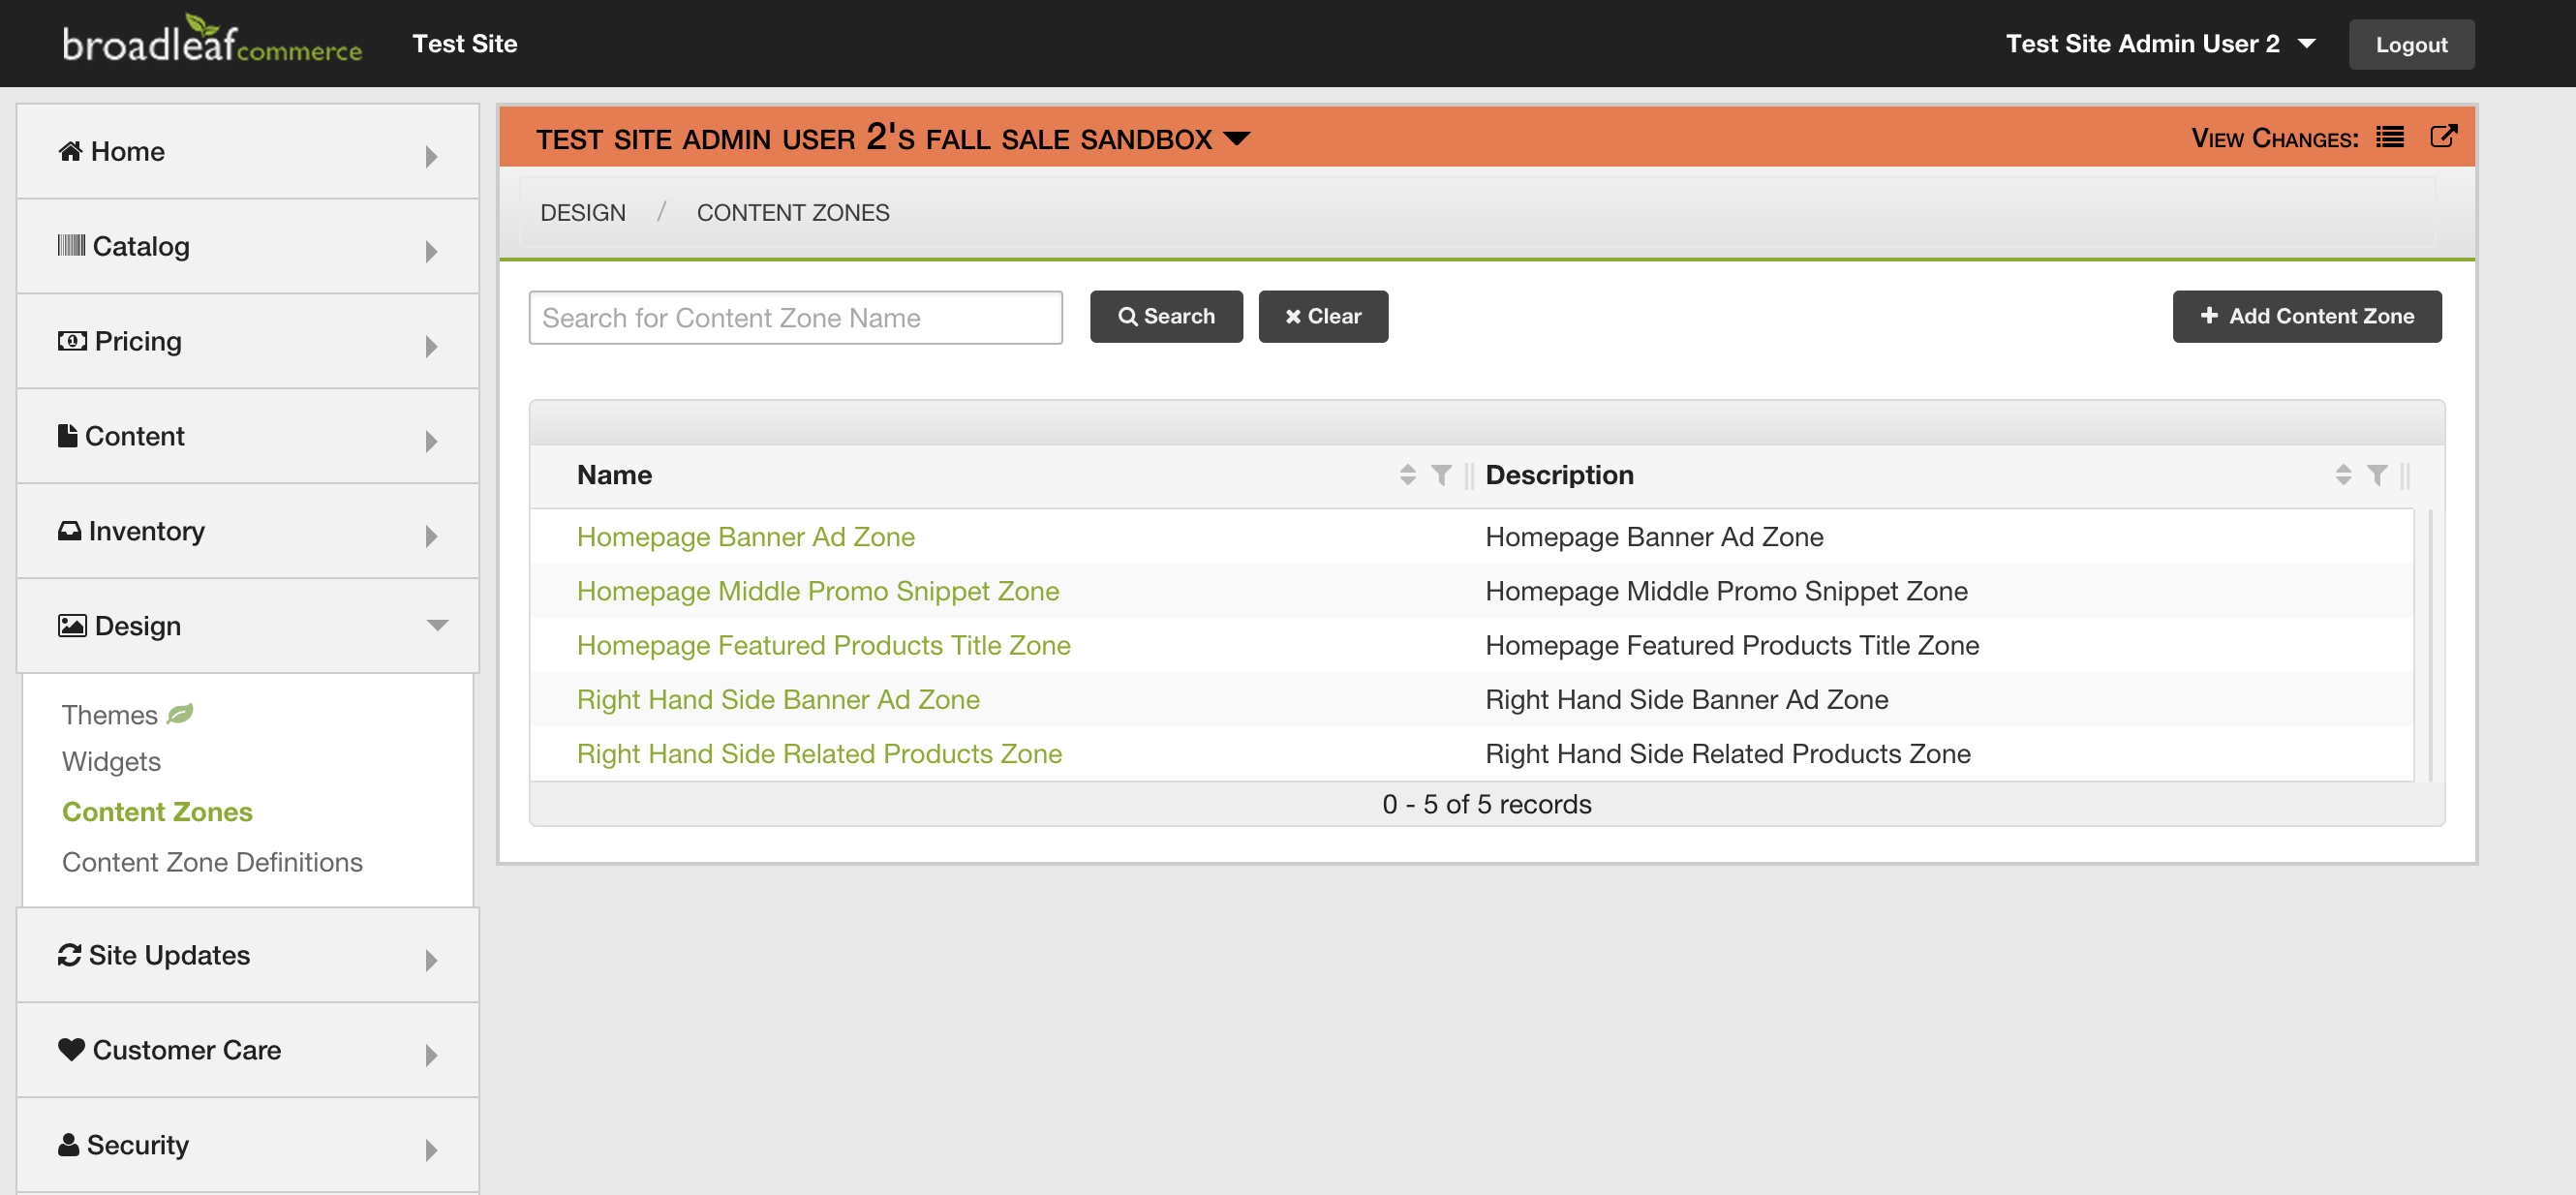
- From this page, select the '+ Add Content Zone' button in the upper right corner of the page.
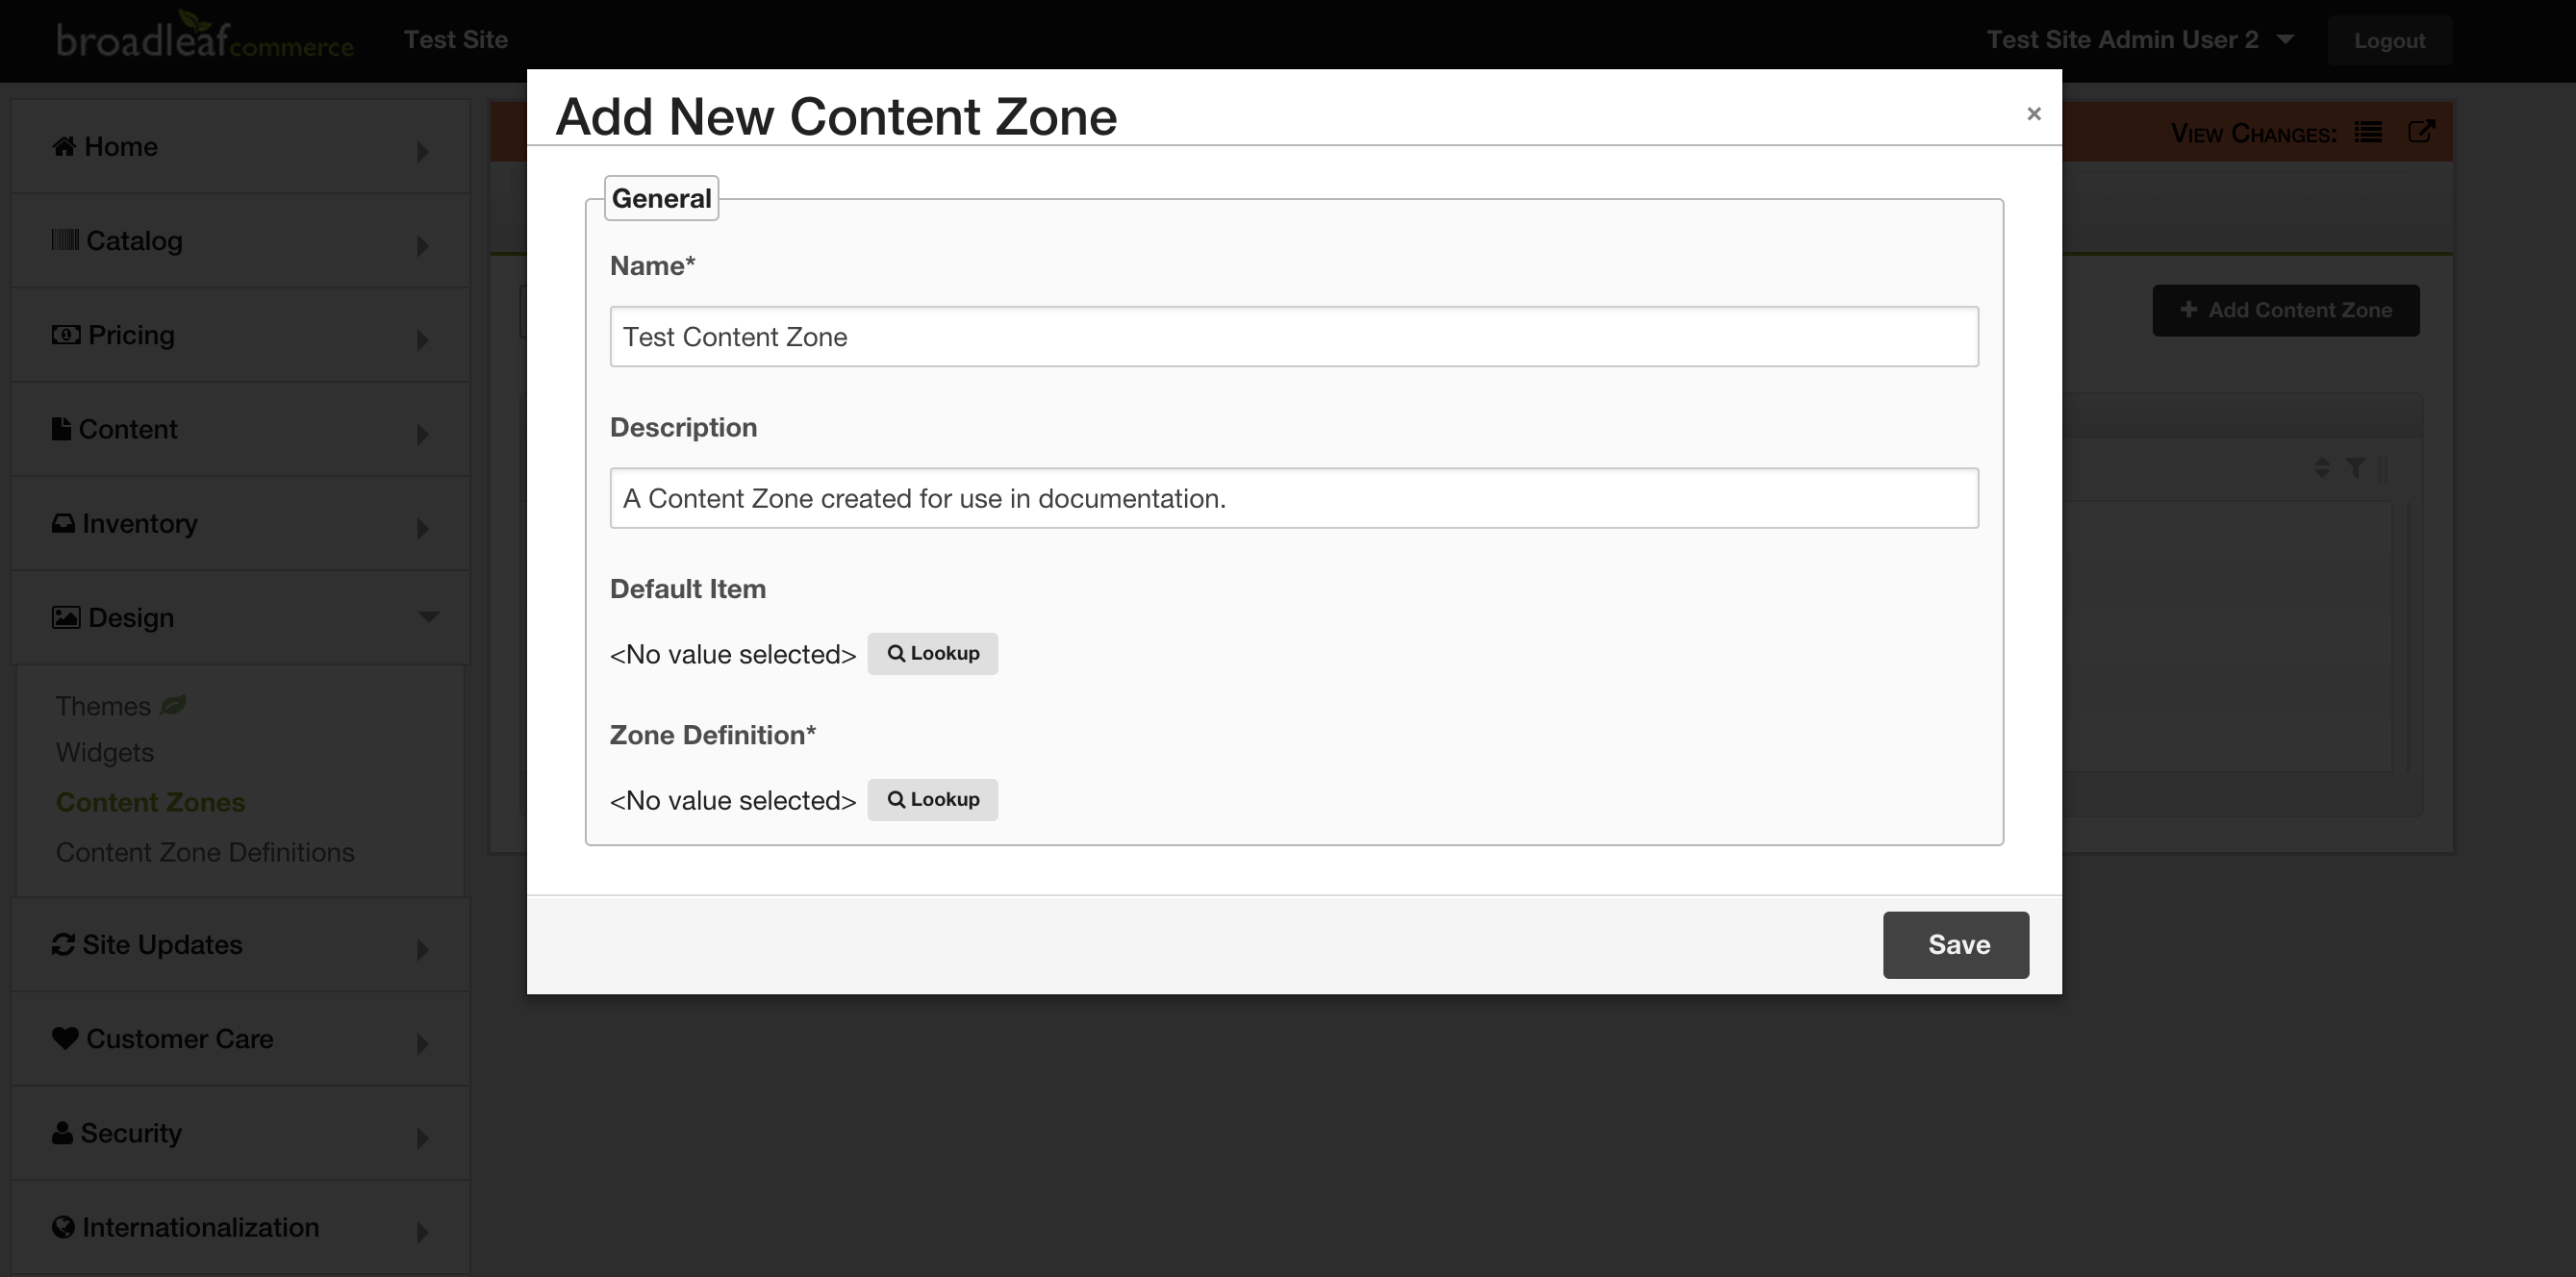
- In the small window that pops up, please provide a name and description for the Content Zone.
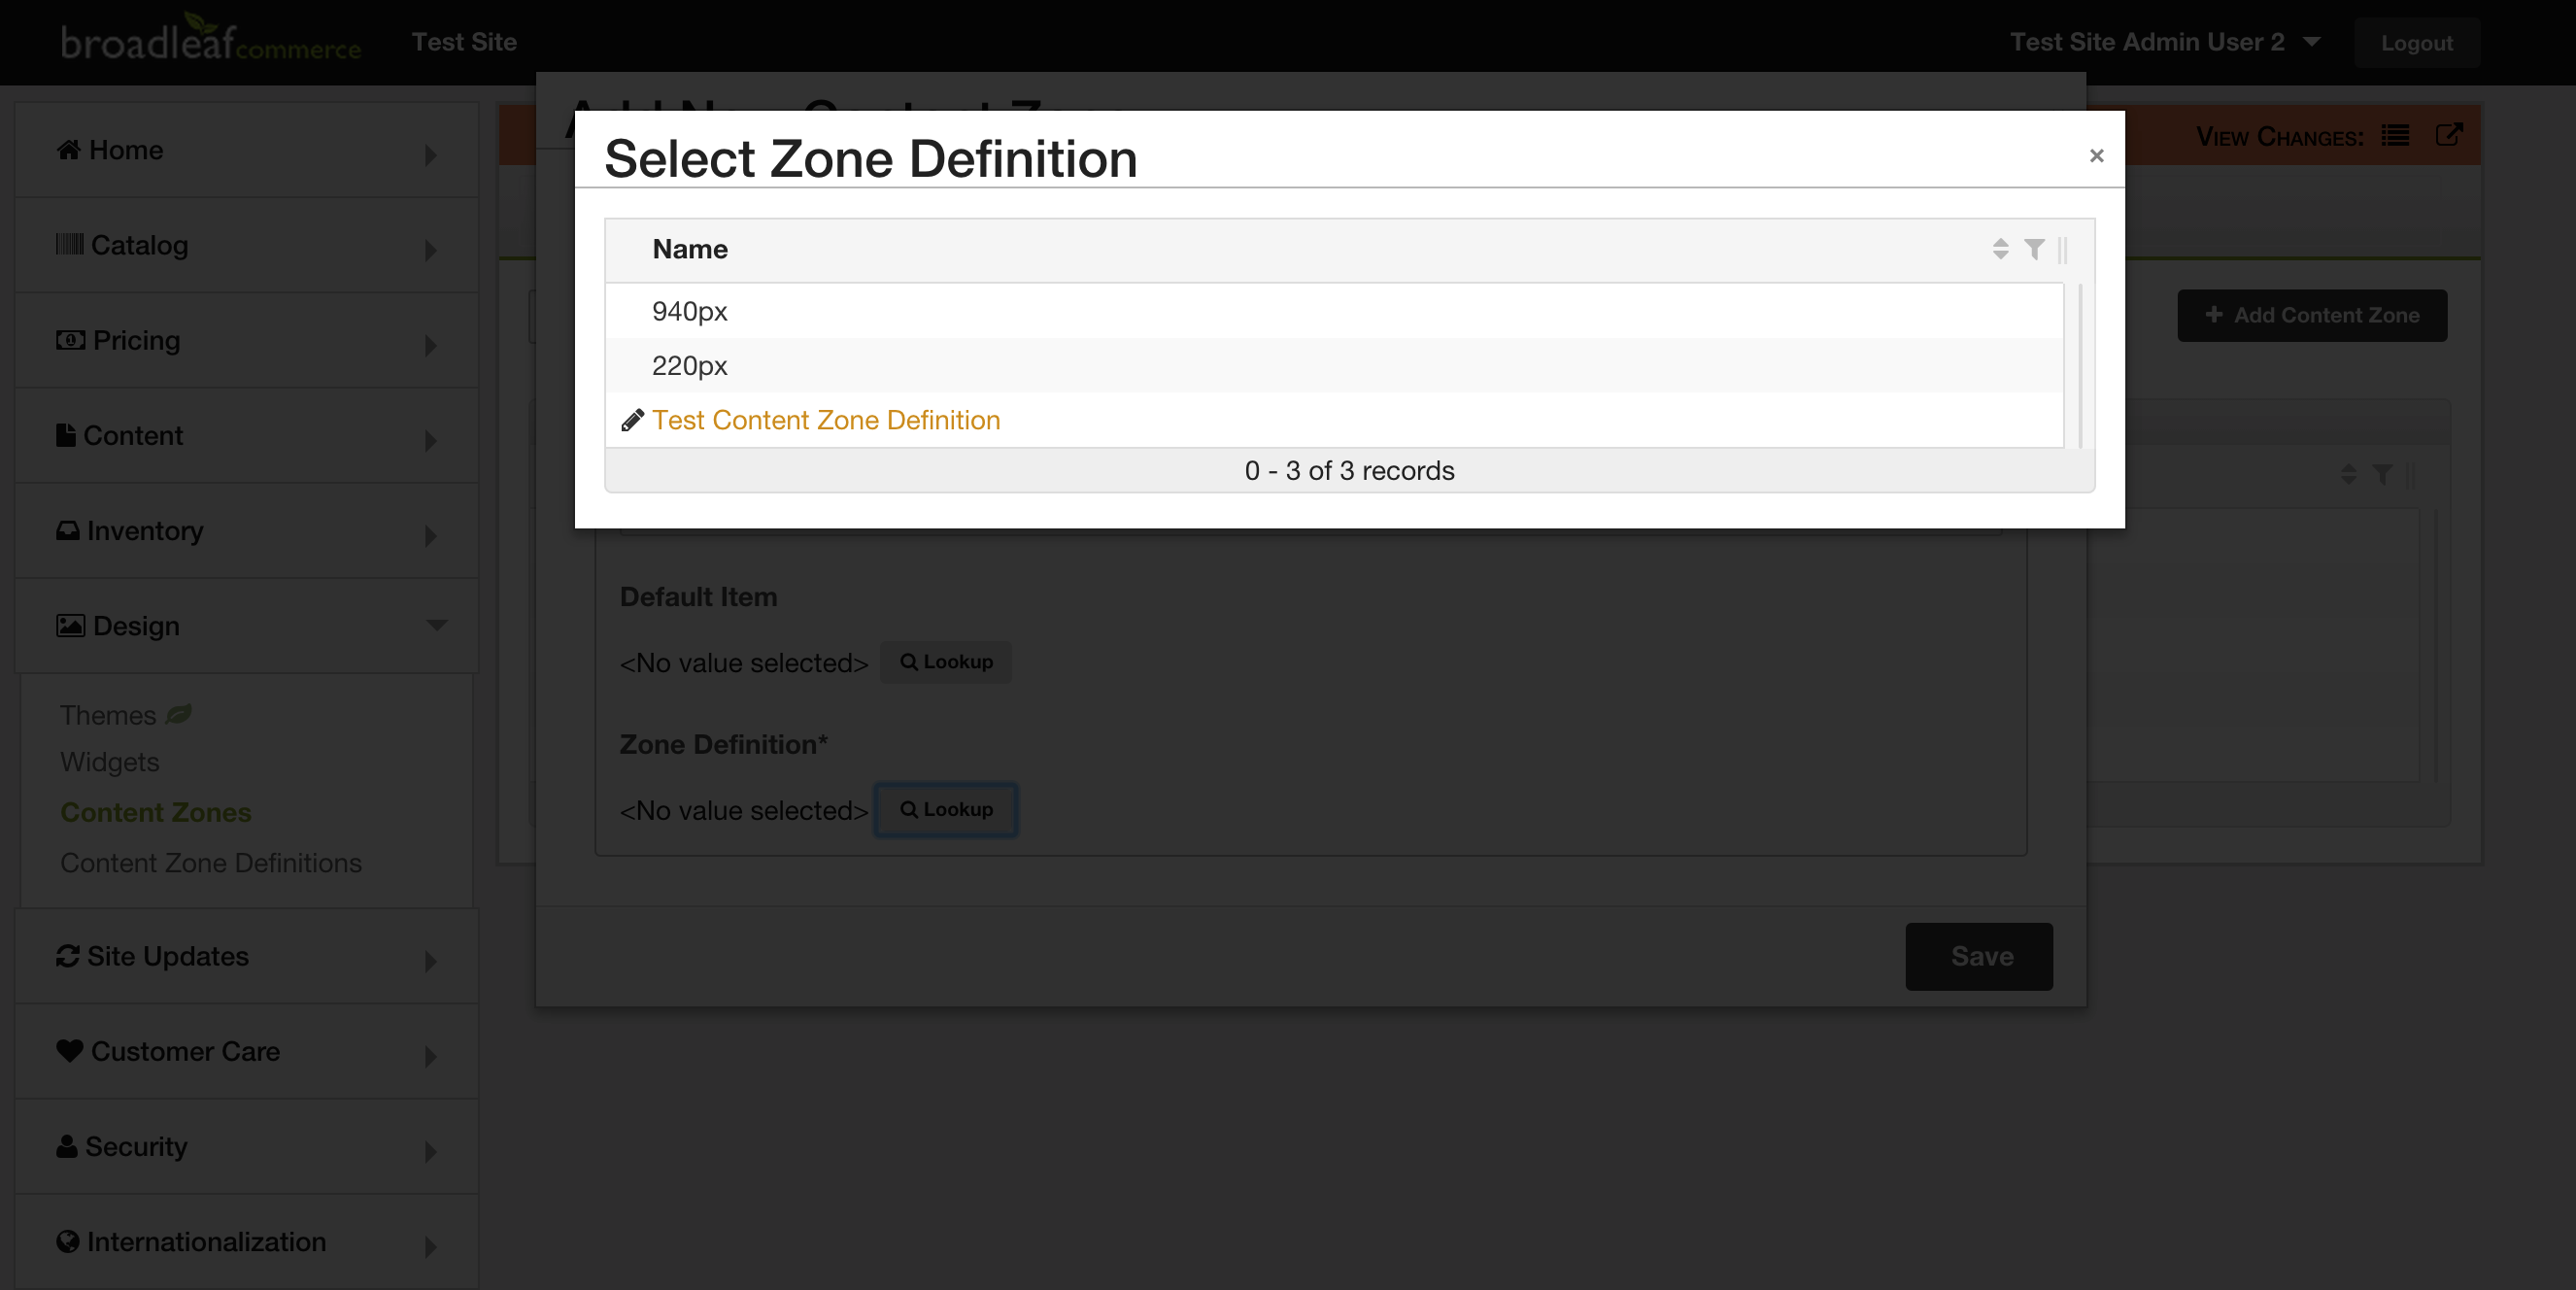
- You will also be required to provide a Content Zone Definition. To do so, select the 'Lookup' button under the Zone Definition, and choose a Content Zone Definition from the list provided.
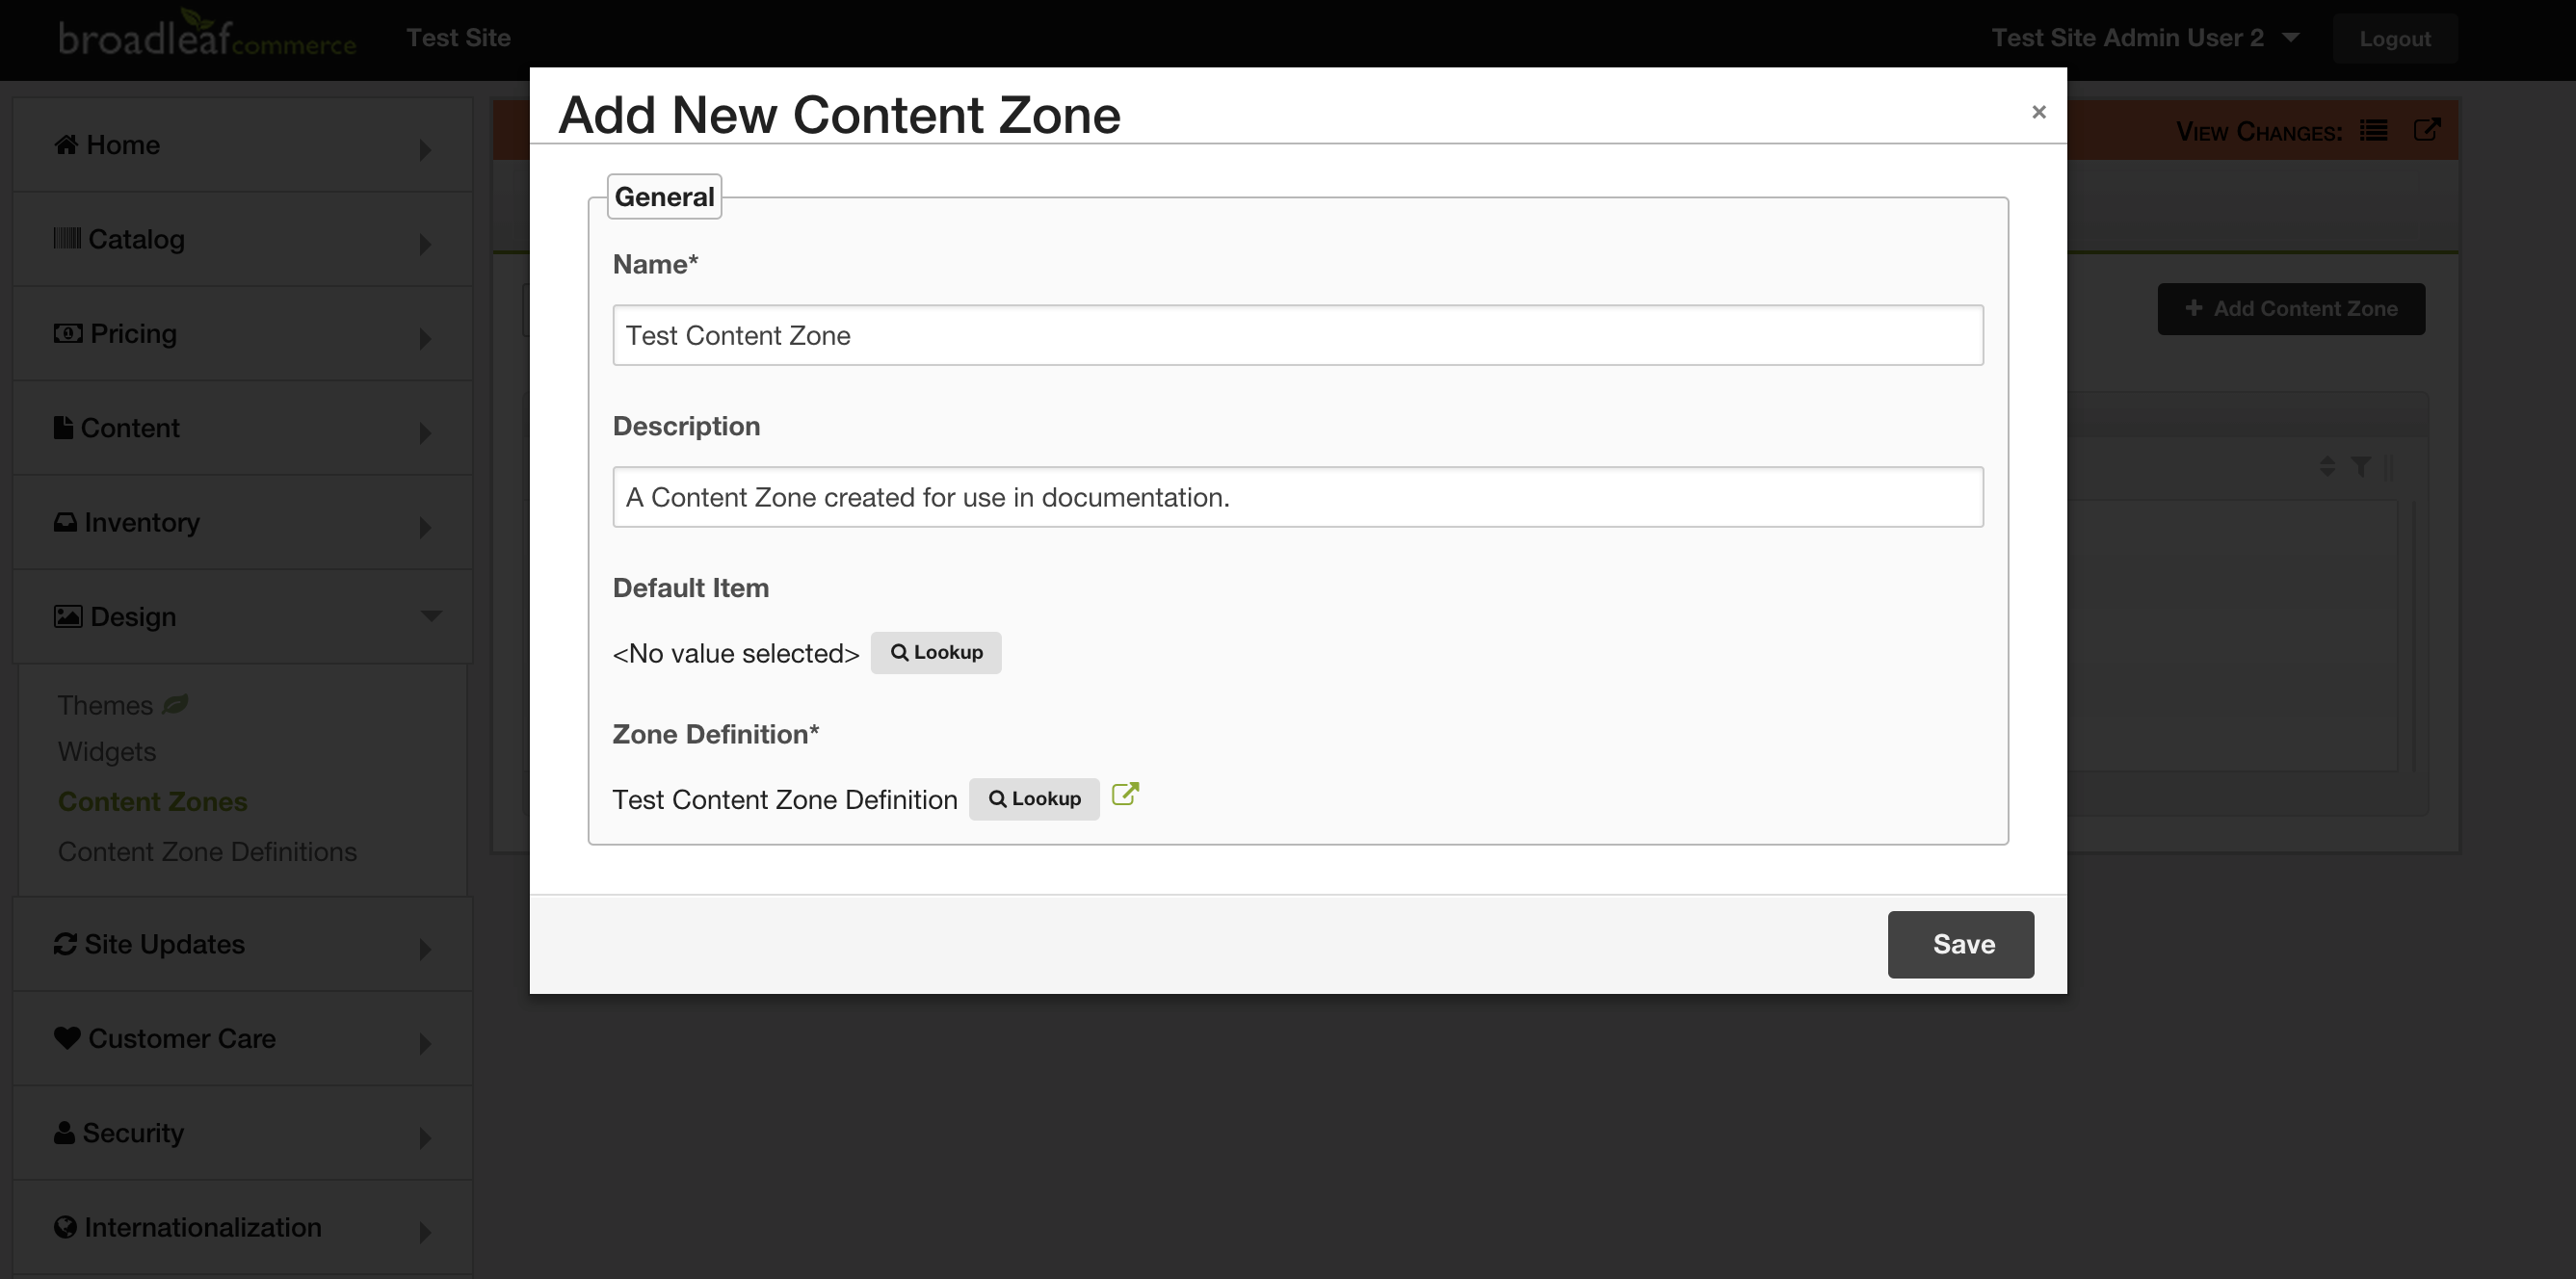
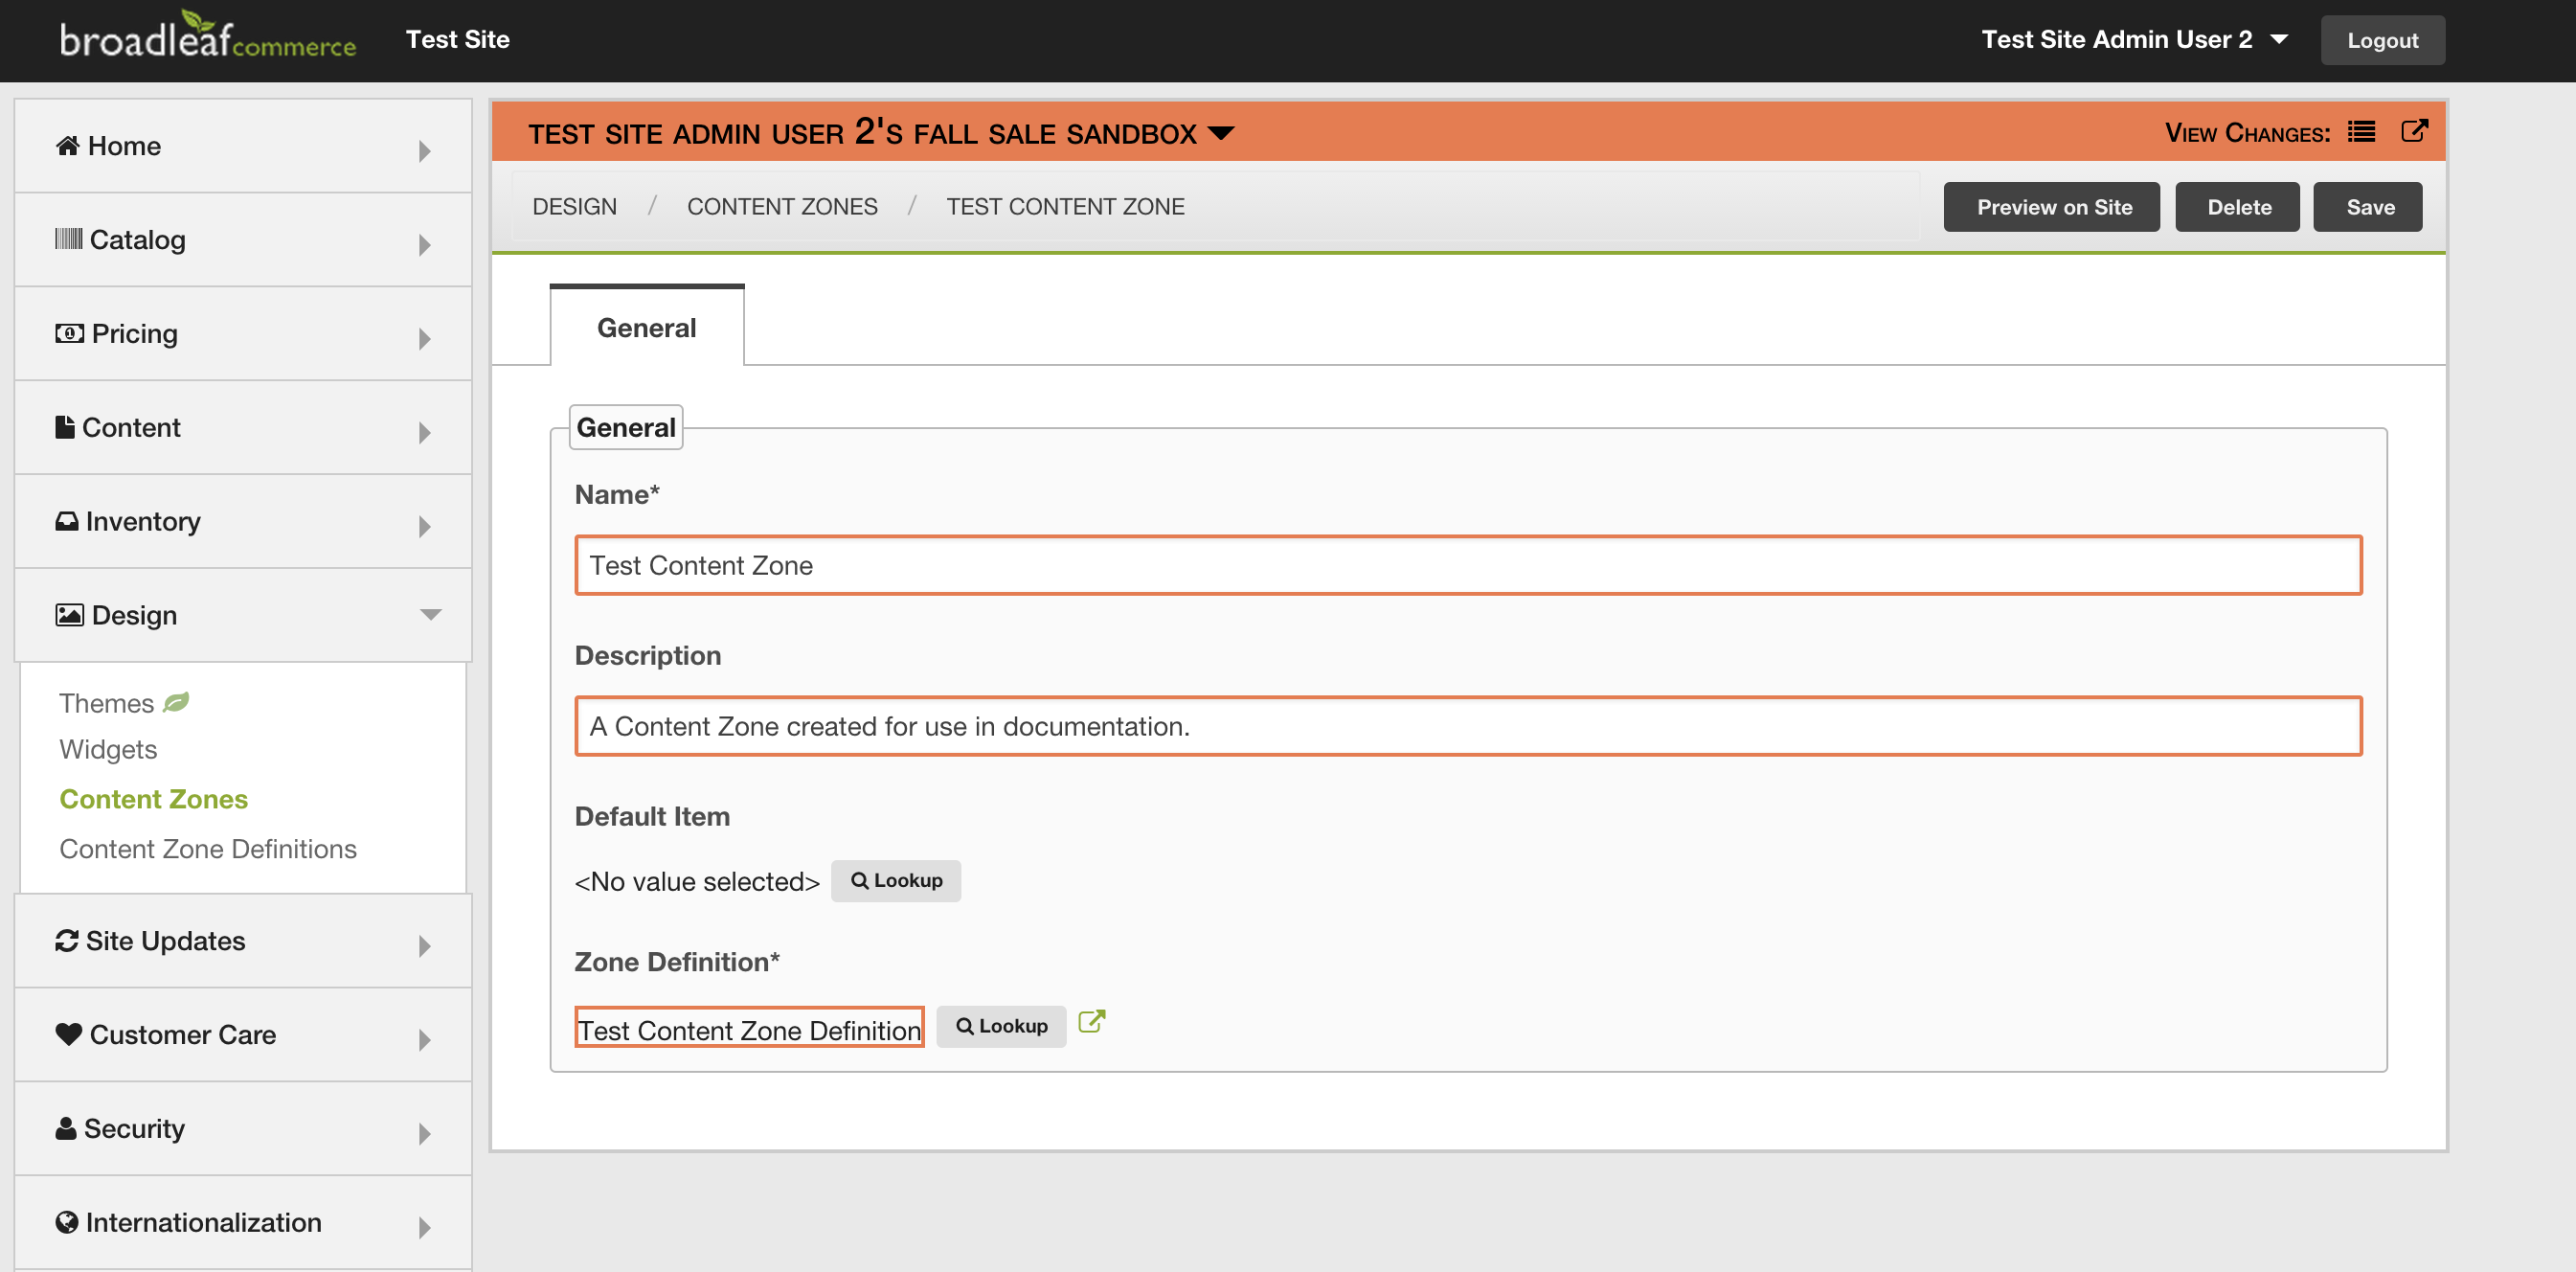
- Select the 'Save' button to create the Content Zone and you will be redirected to the details page of the new Content Zone.
To create a new Widget:
- Select 'Design' from the sidebar, then choose 'Widgets'.
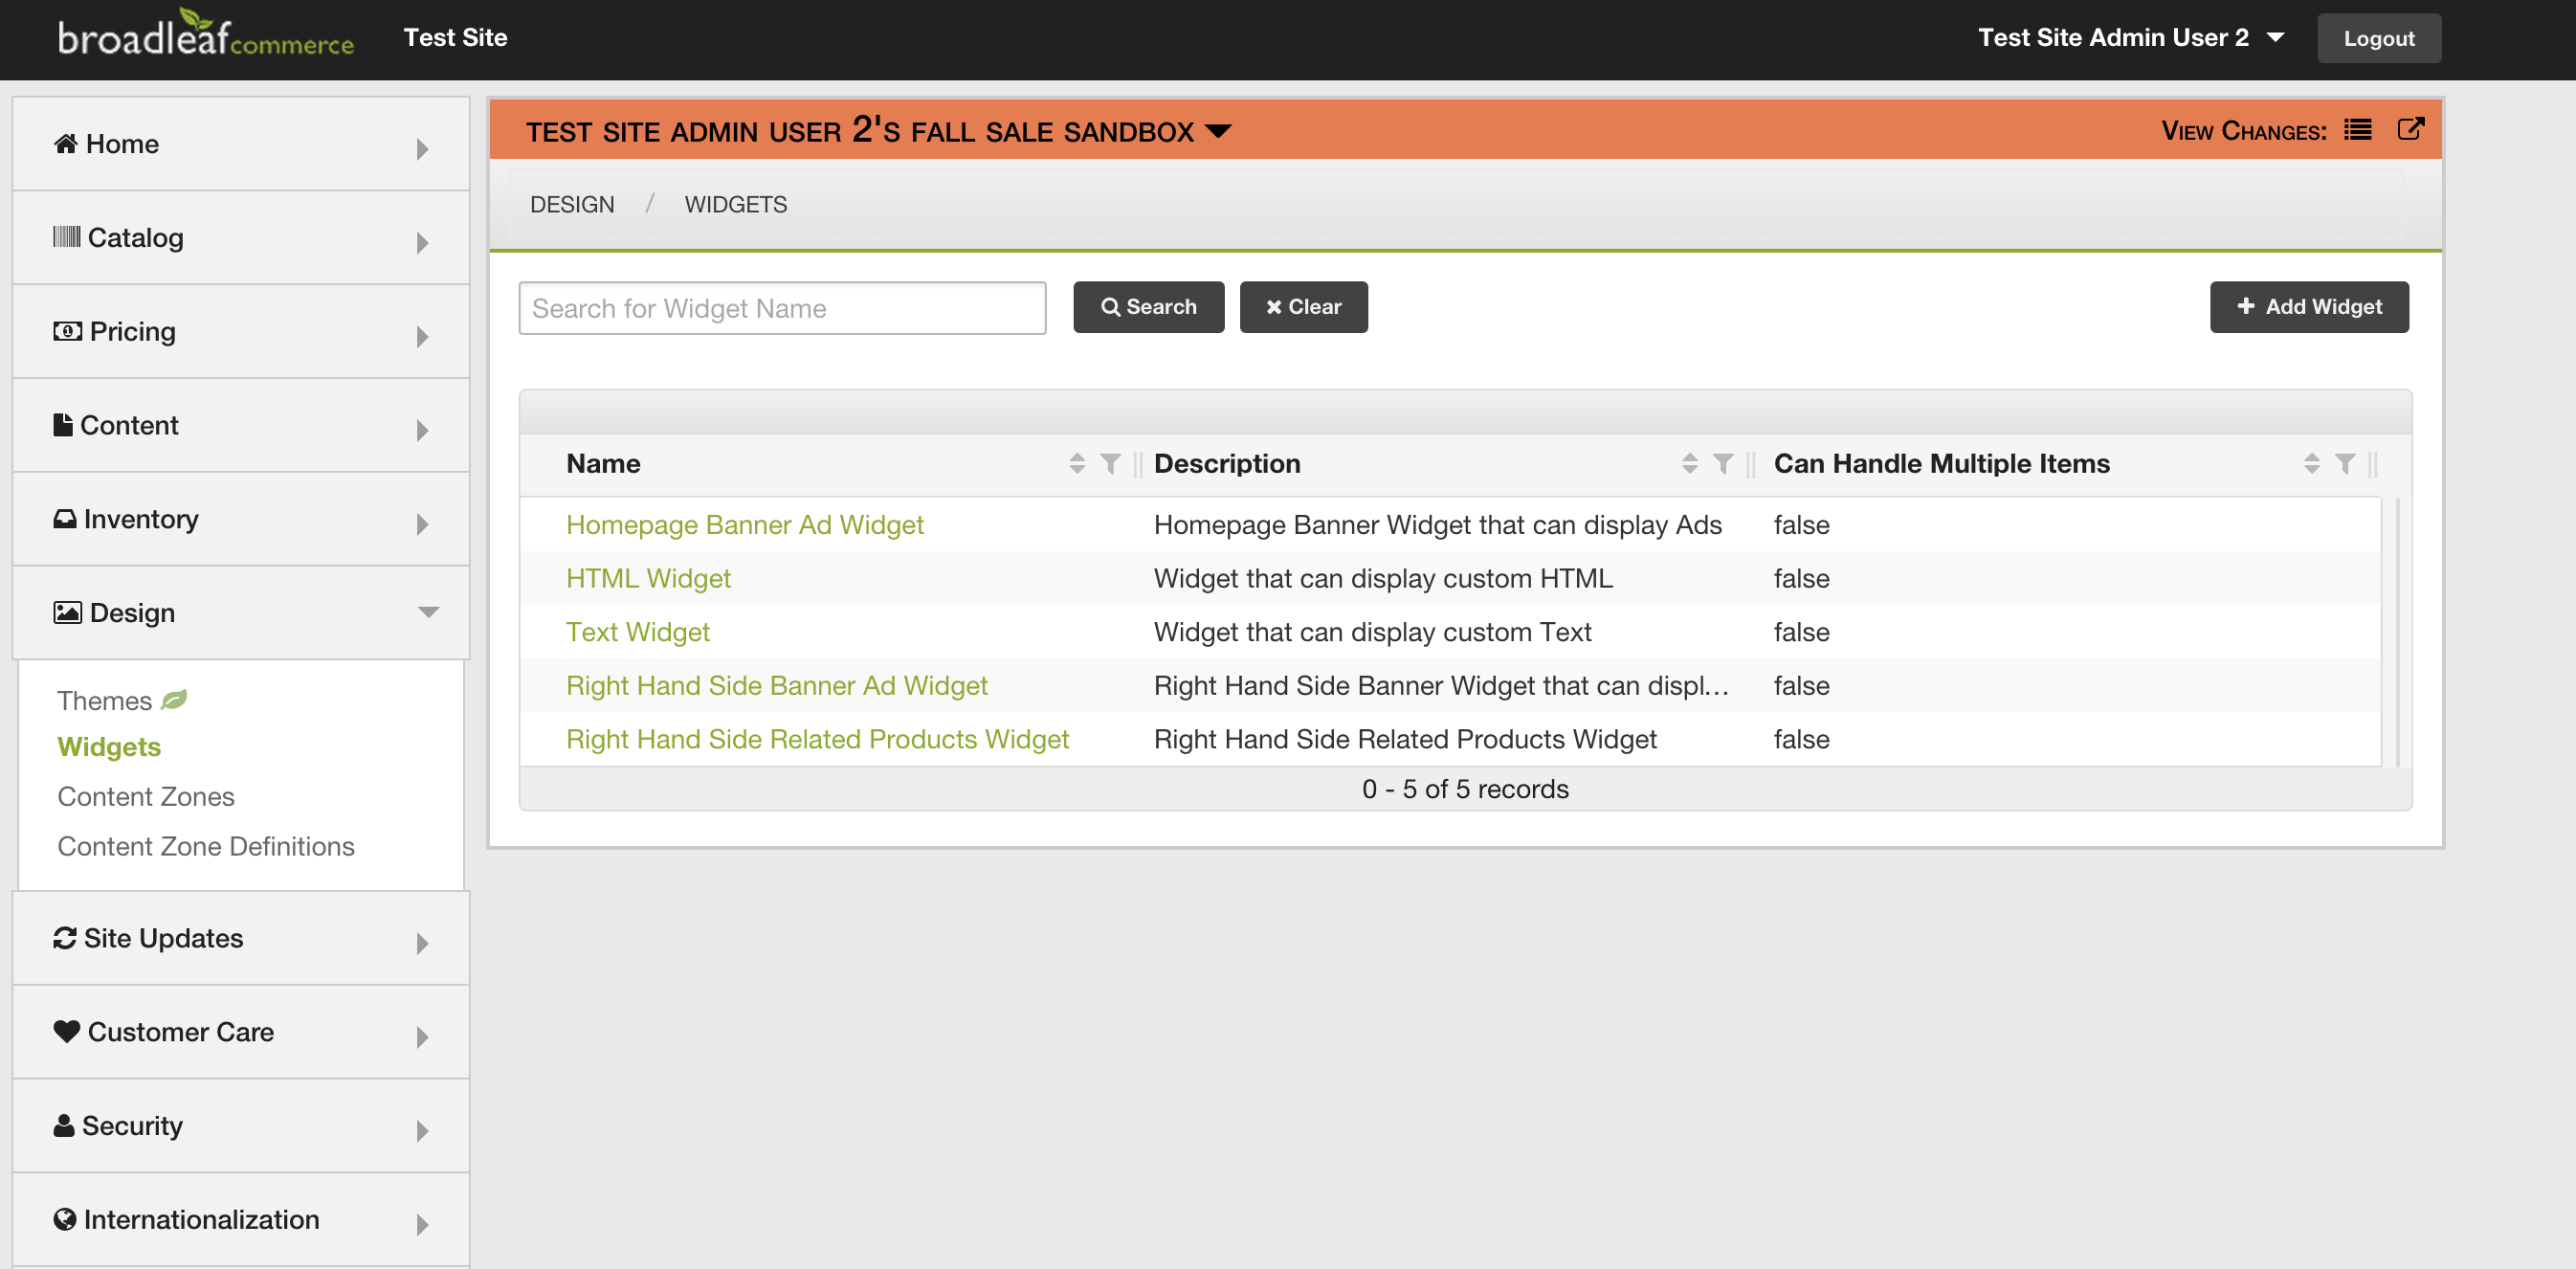
- From this page, select the '+ Add Widget' button in the upper right corner of the page.
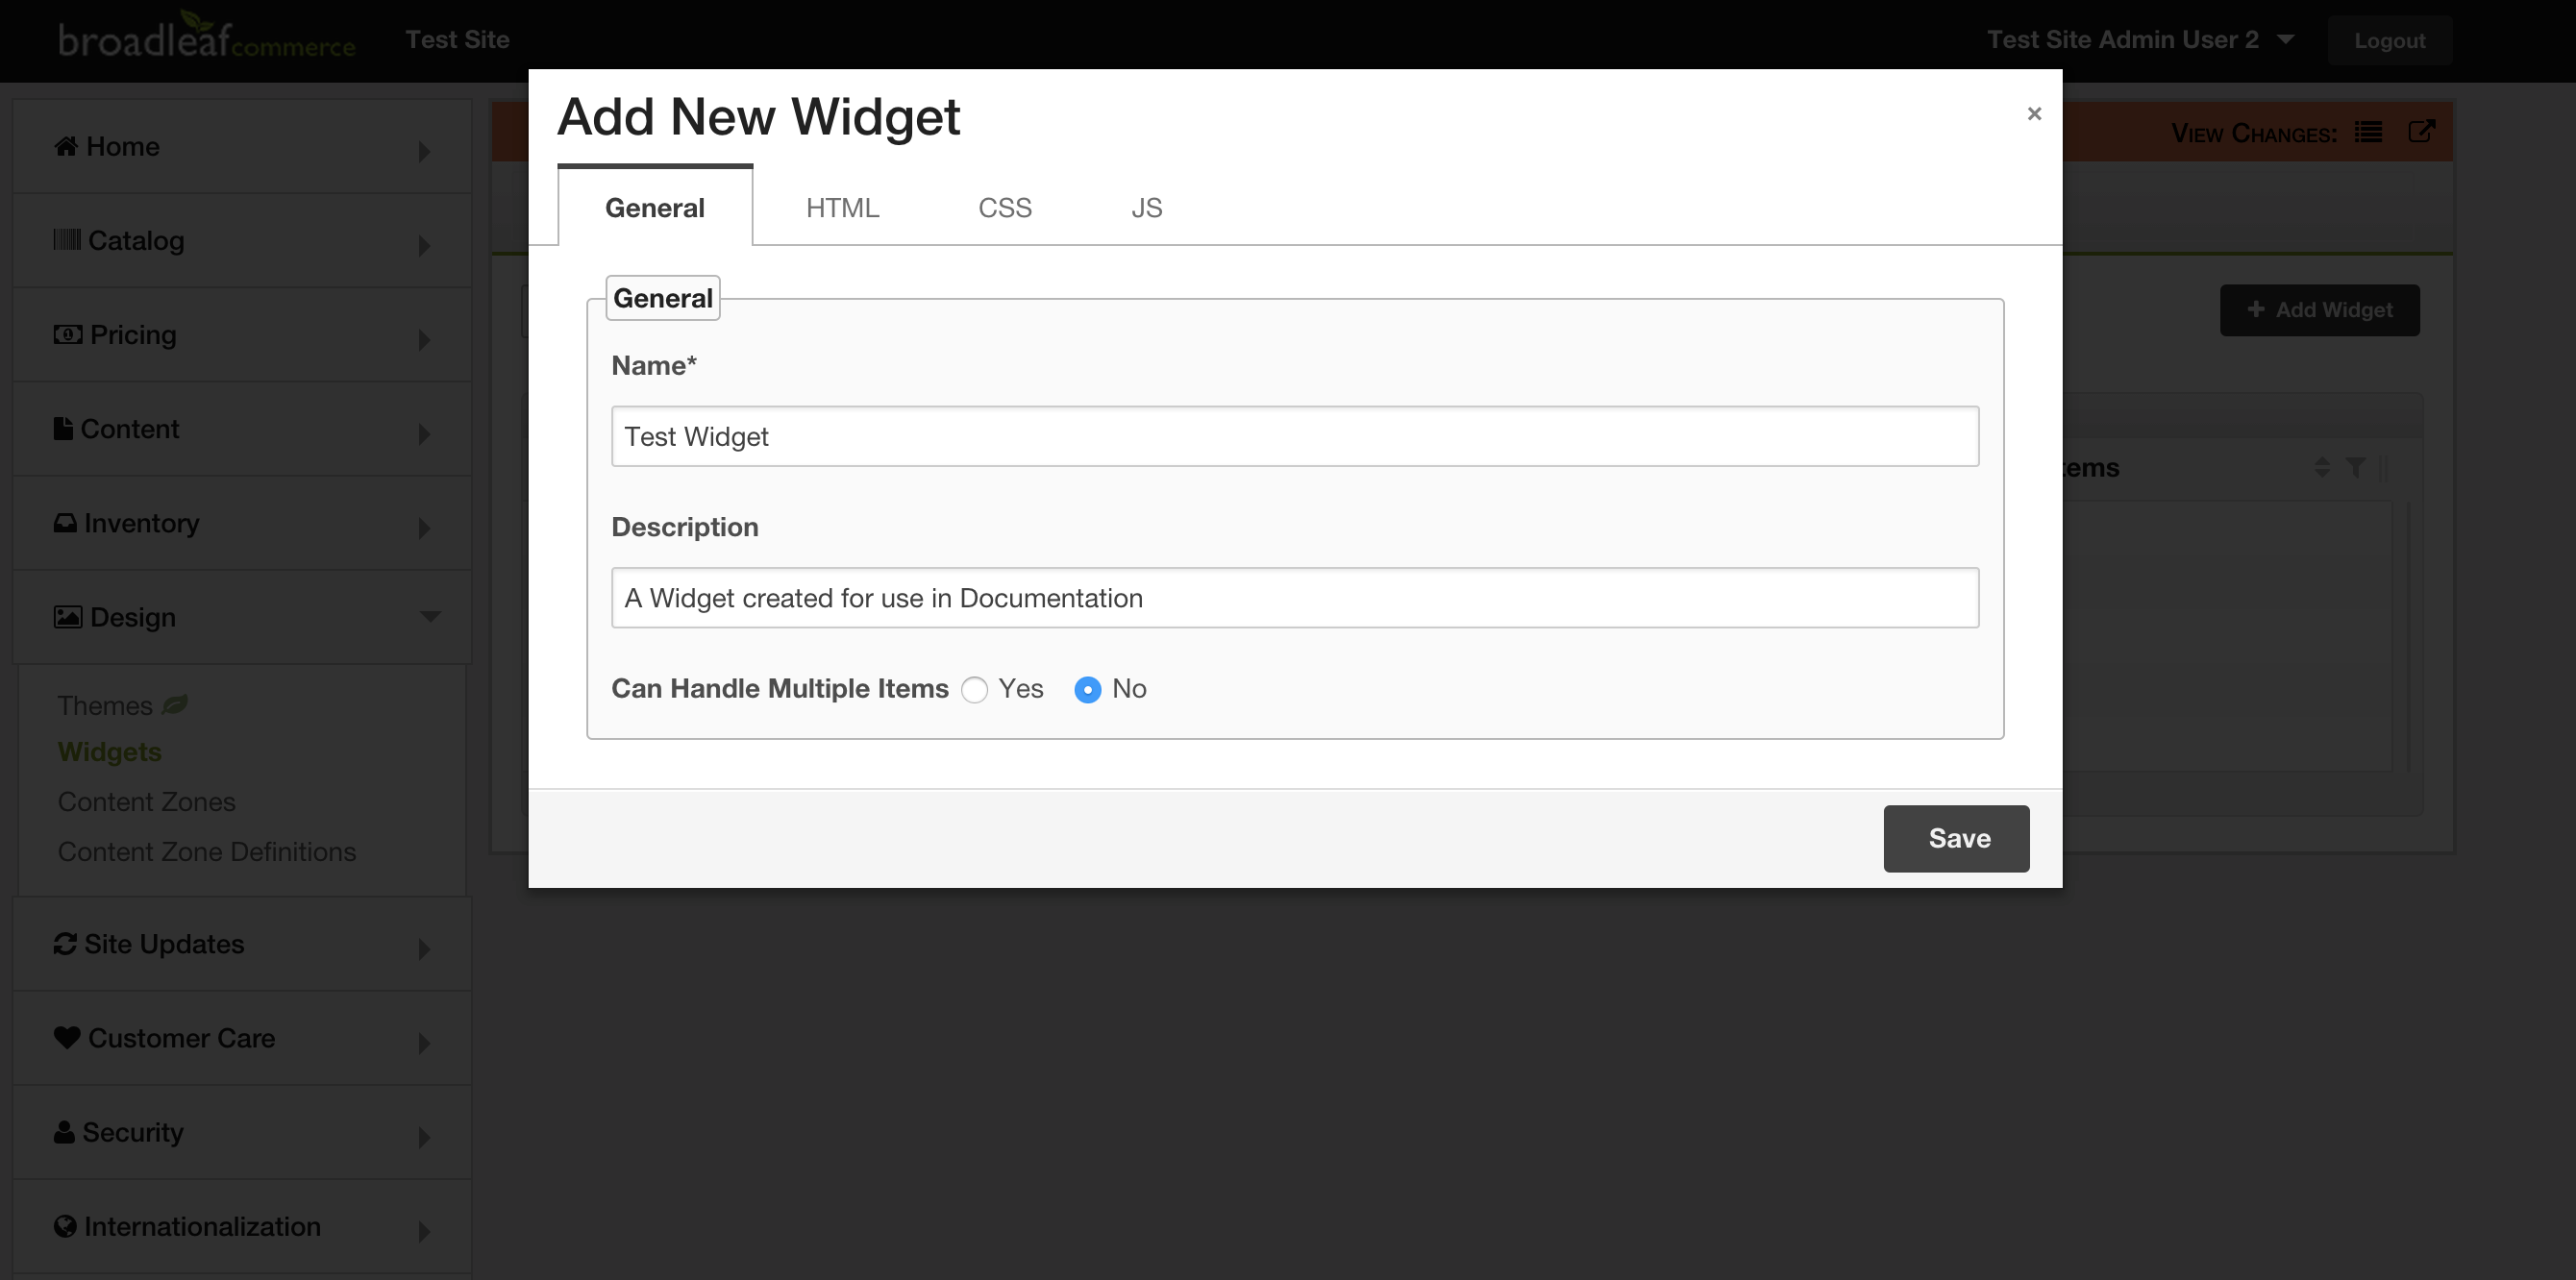
- In the small window that pops up, please provide a name, description, Html, Css, and Javascript, in the relevant tabs of the window for this Widget.
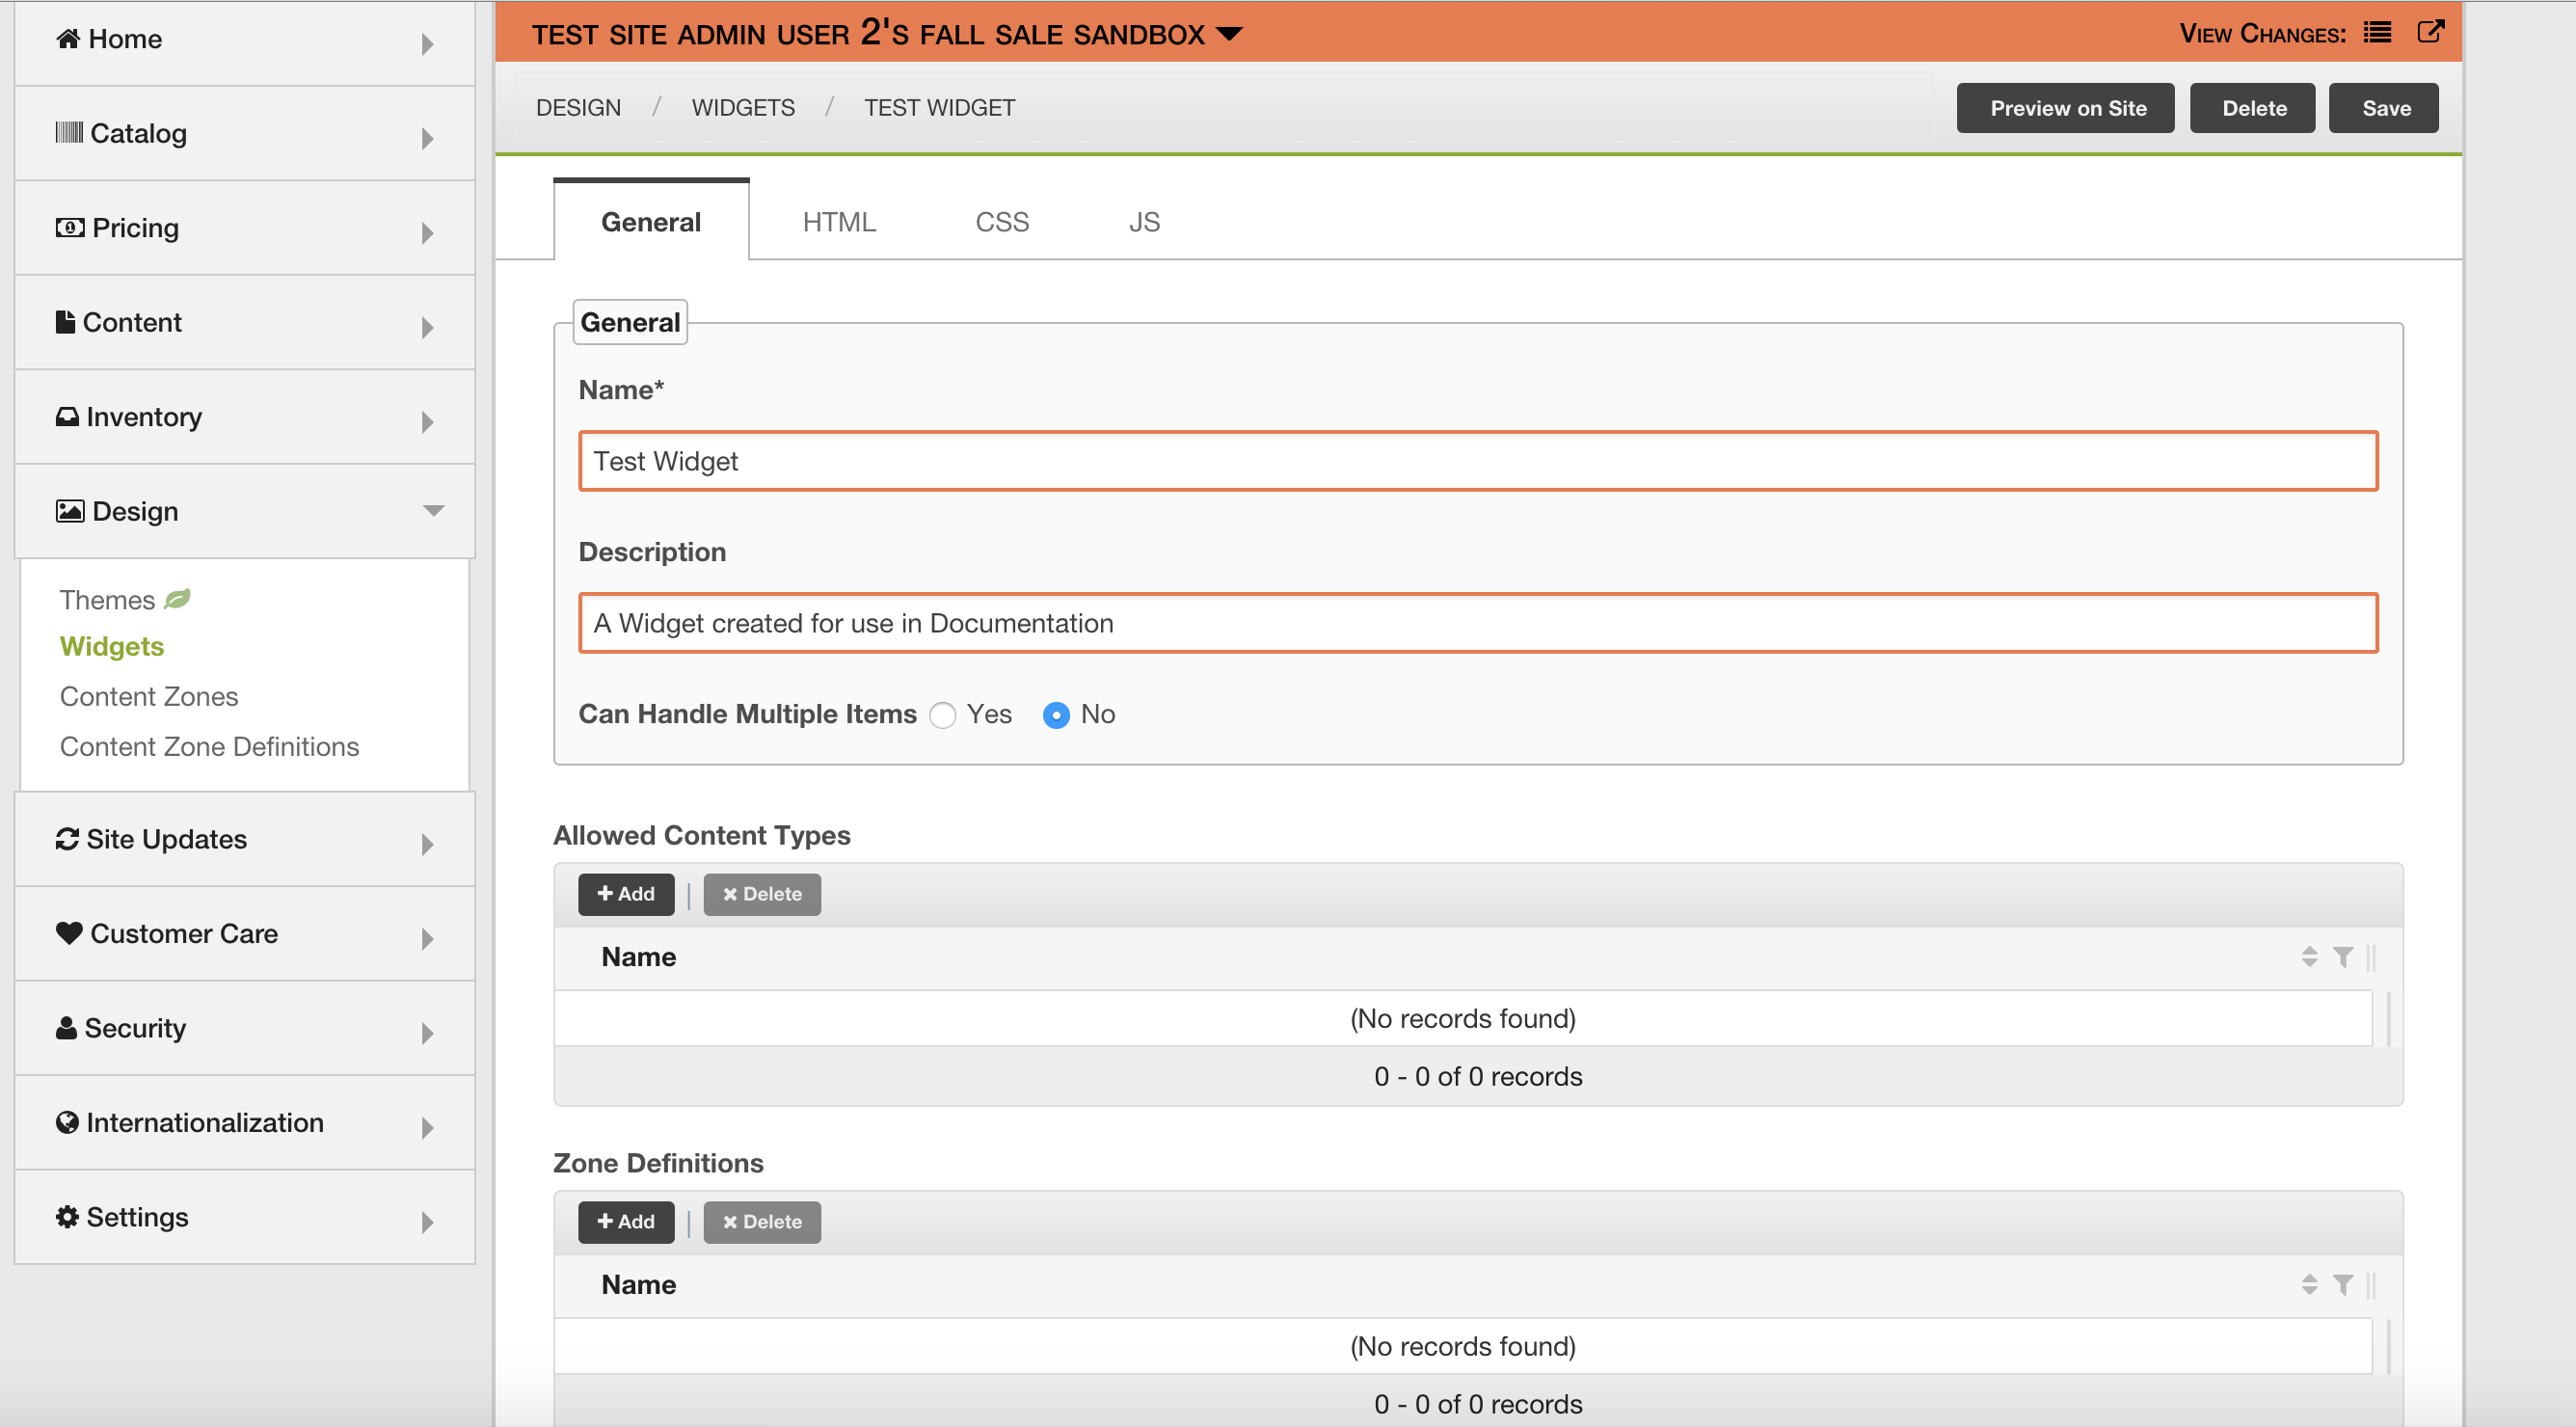
- Select the 'Save' button to create the Widget, and you will be redirected to the details page of the new Widget.
To add a Content Zone Definition to a Widget:
- Select 'Design' from the sidebar, then choose 'Widgets'.

- From this page, please select the Widget you wish to add a Content Zone Definition to, and you will be taken to that Widget's detail page.

- On this page, select the '+Add' button on the Zone Definitions table.
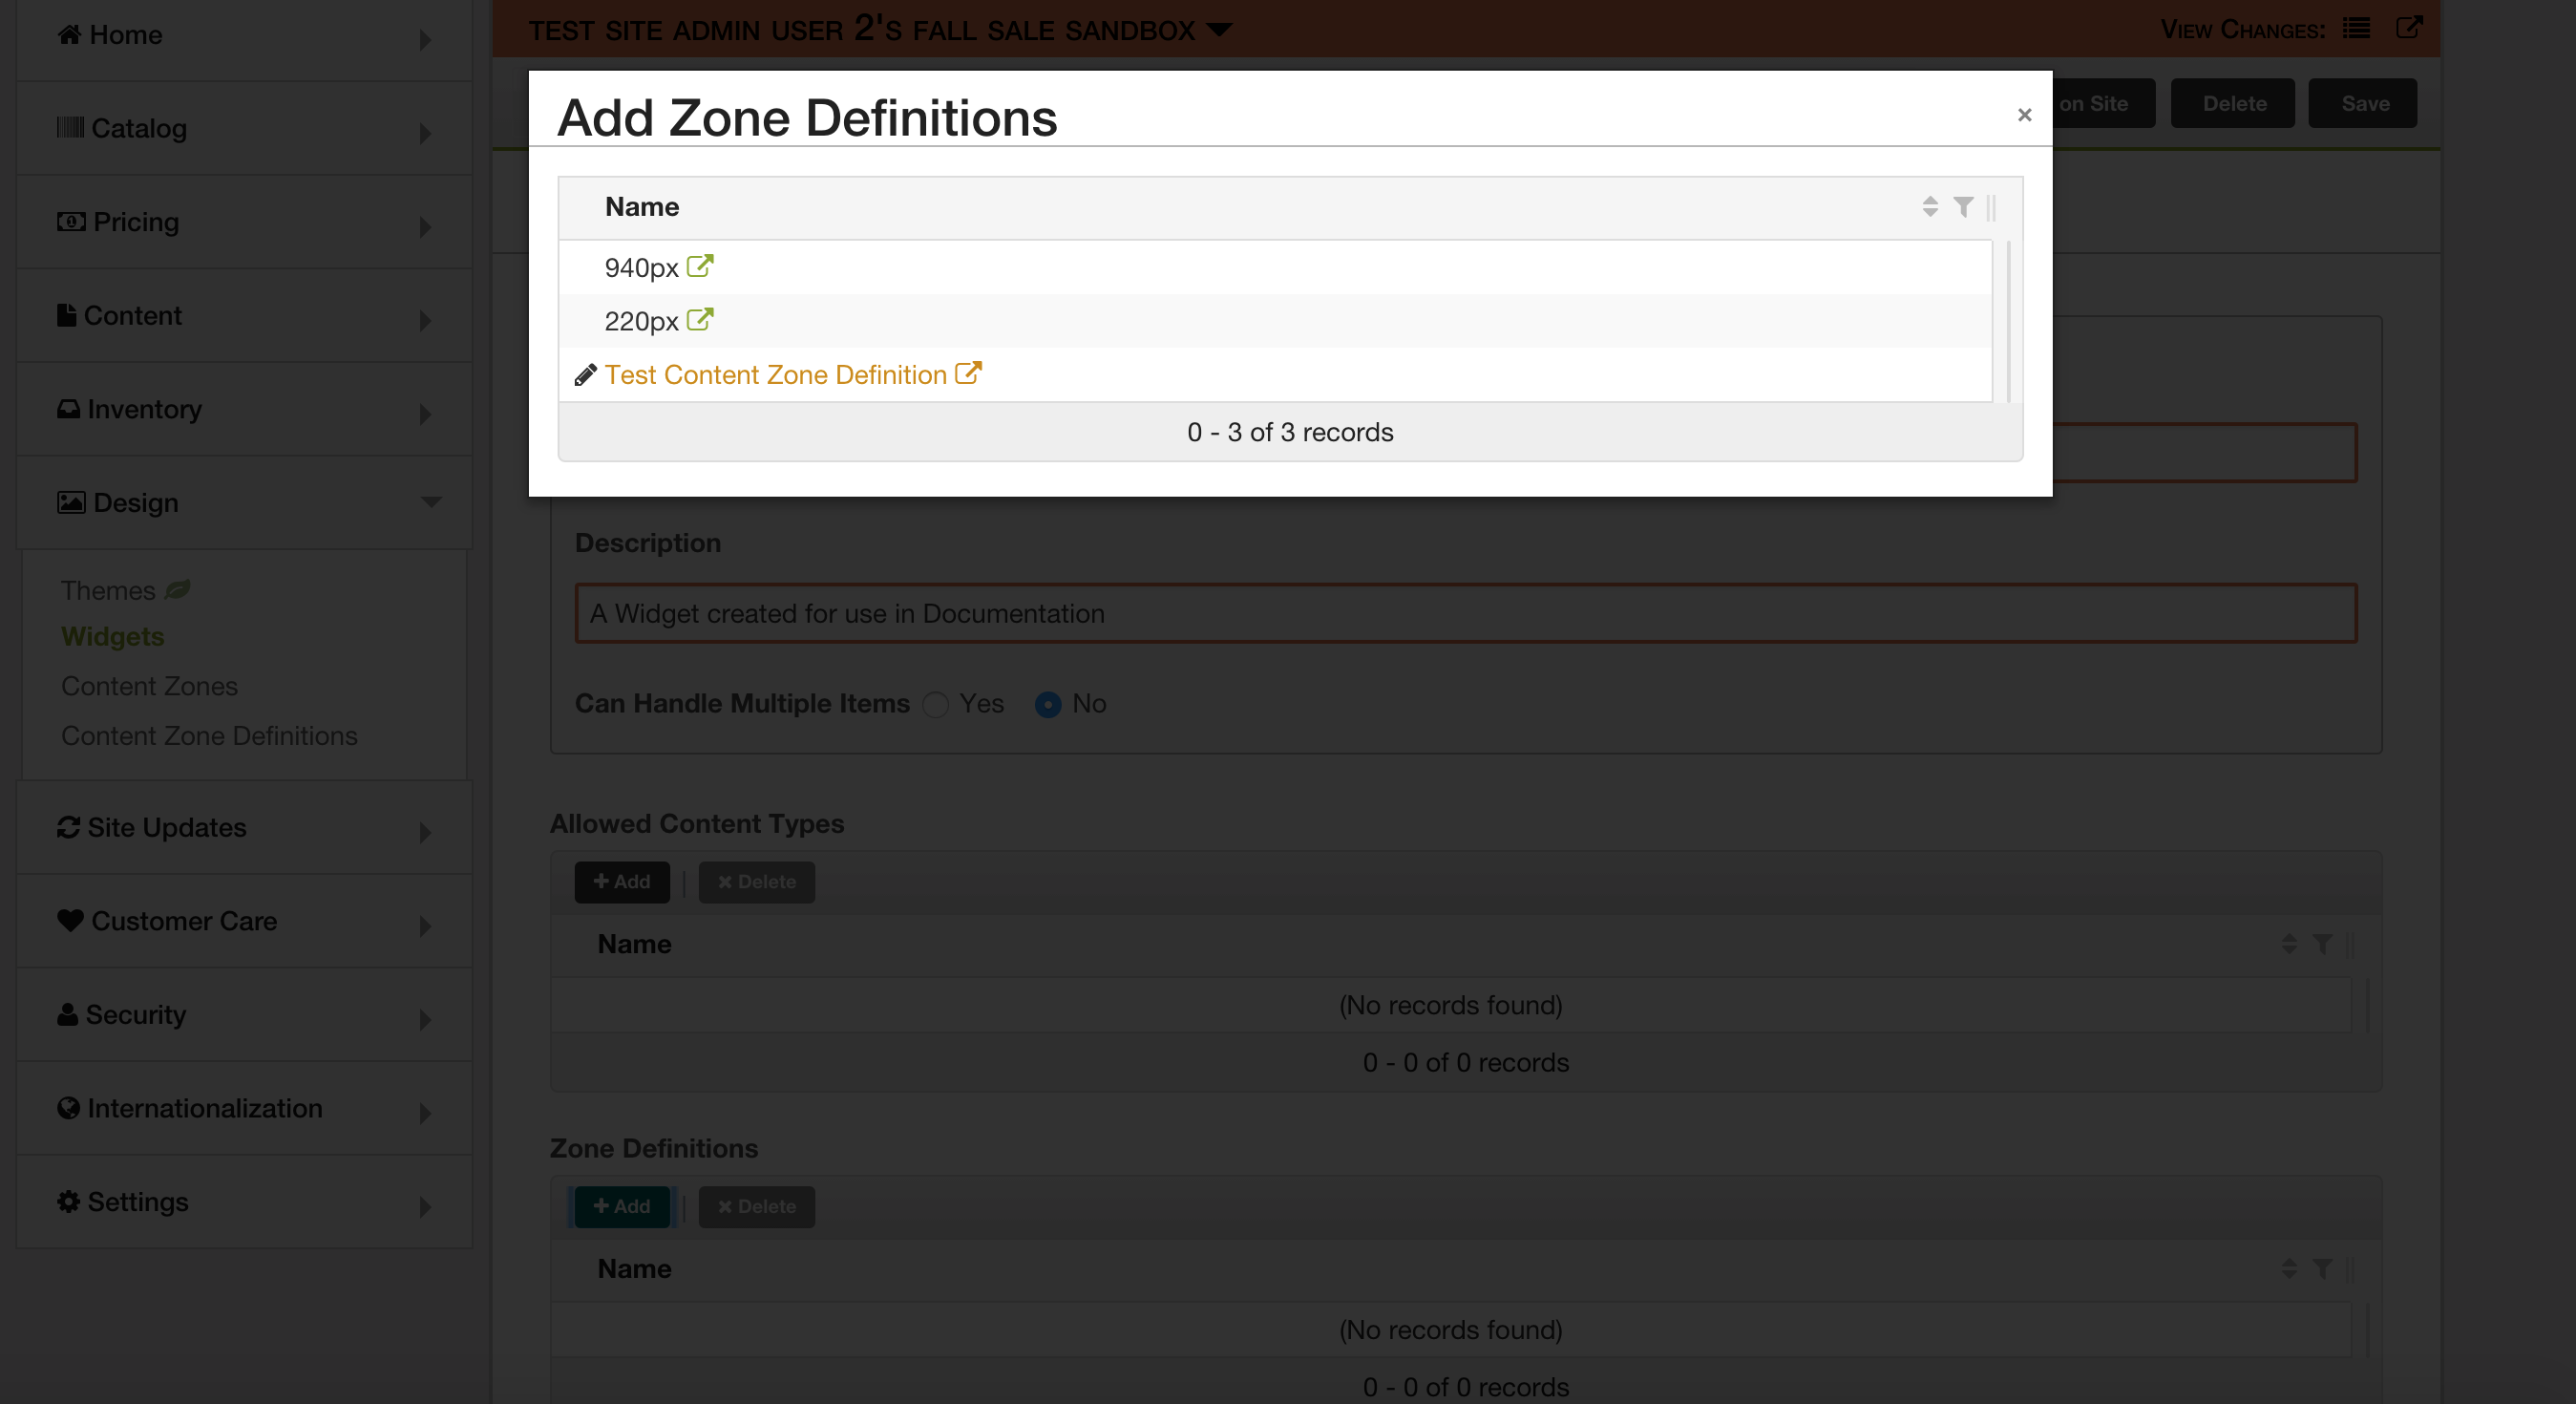
- Please select a Content Zone Definition from the provided list to add it to the list of Content Zone Definitions this Widget supports.
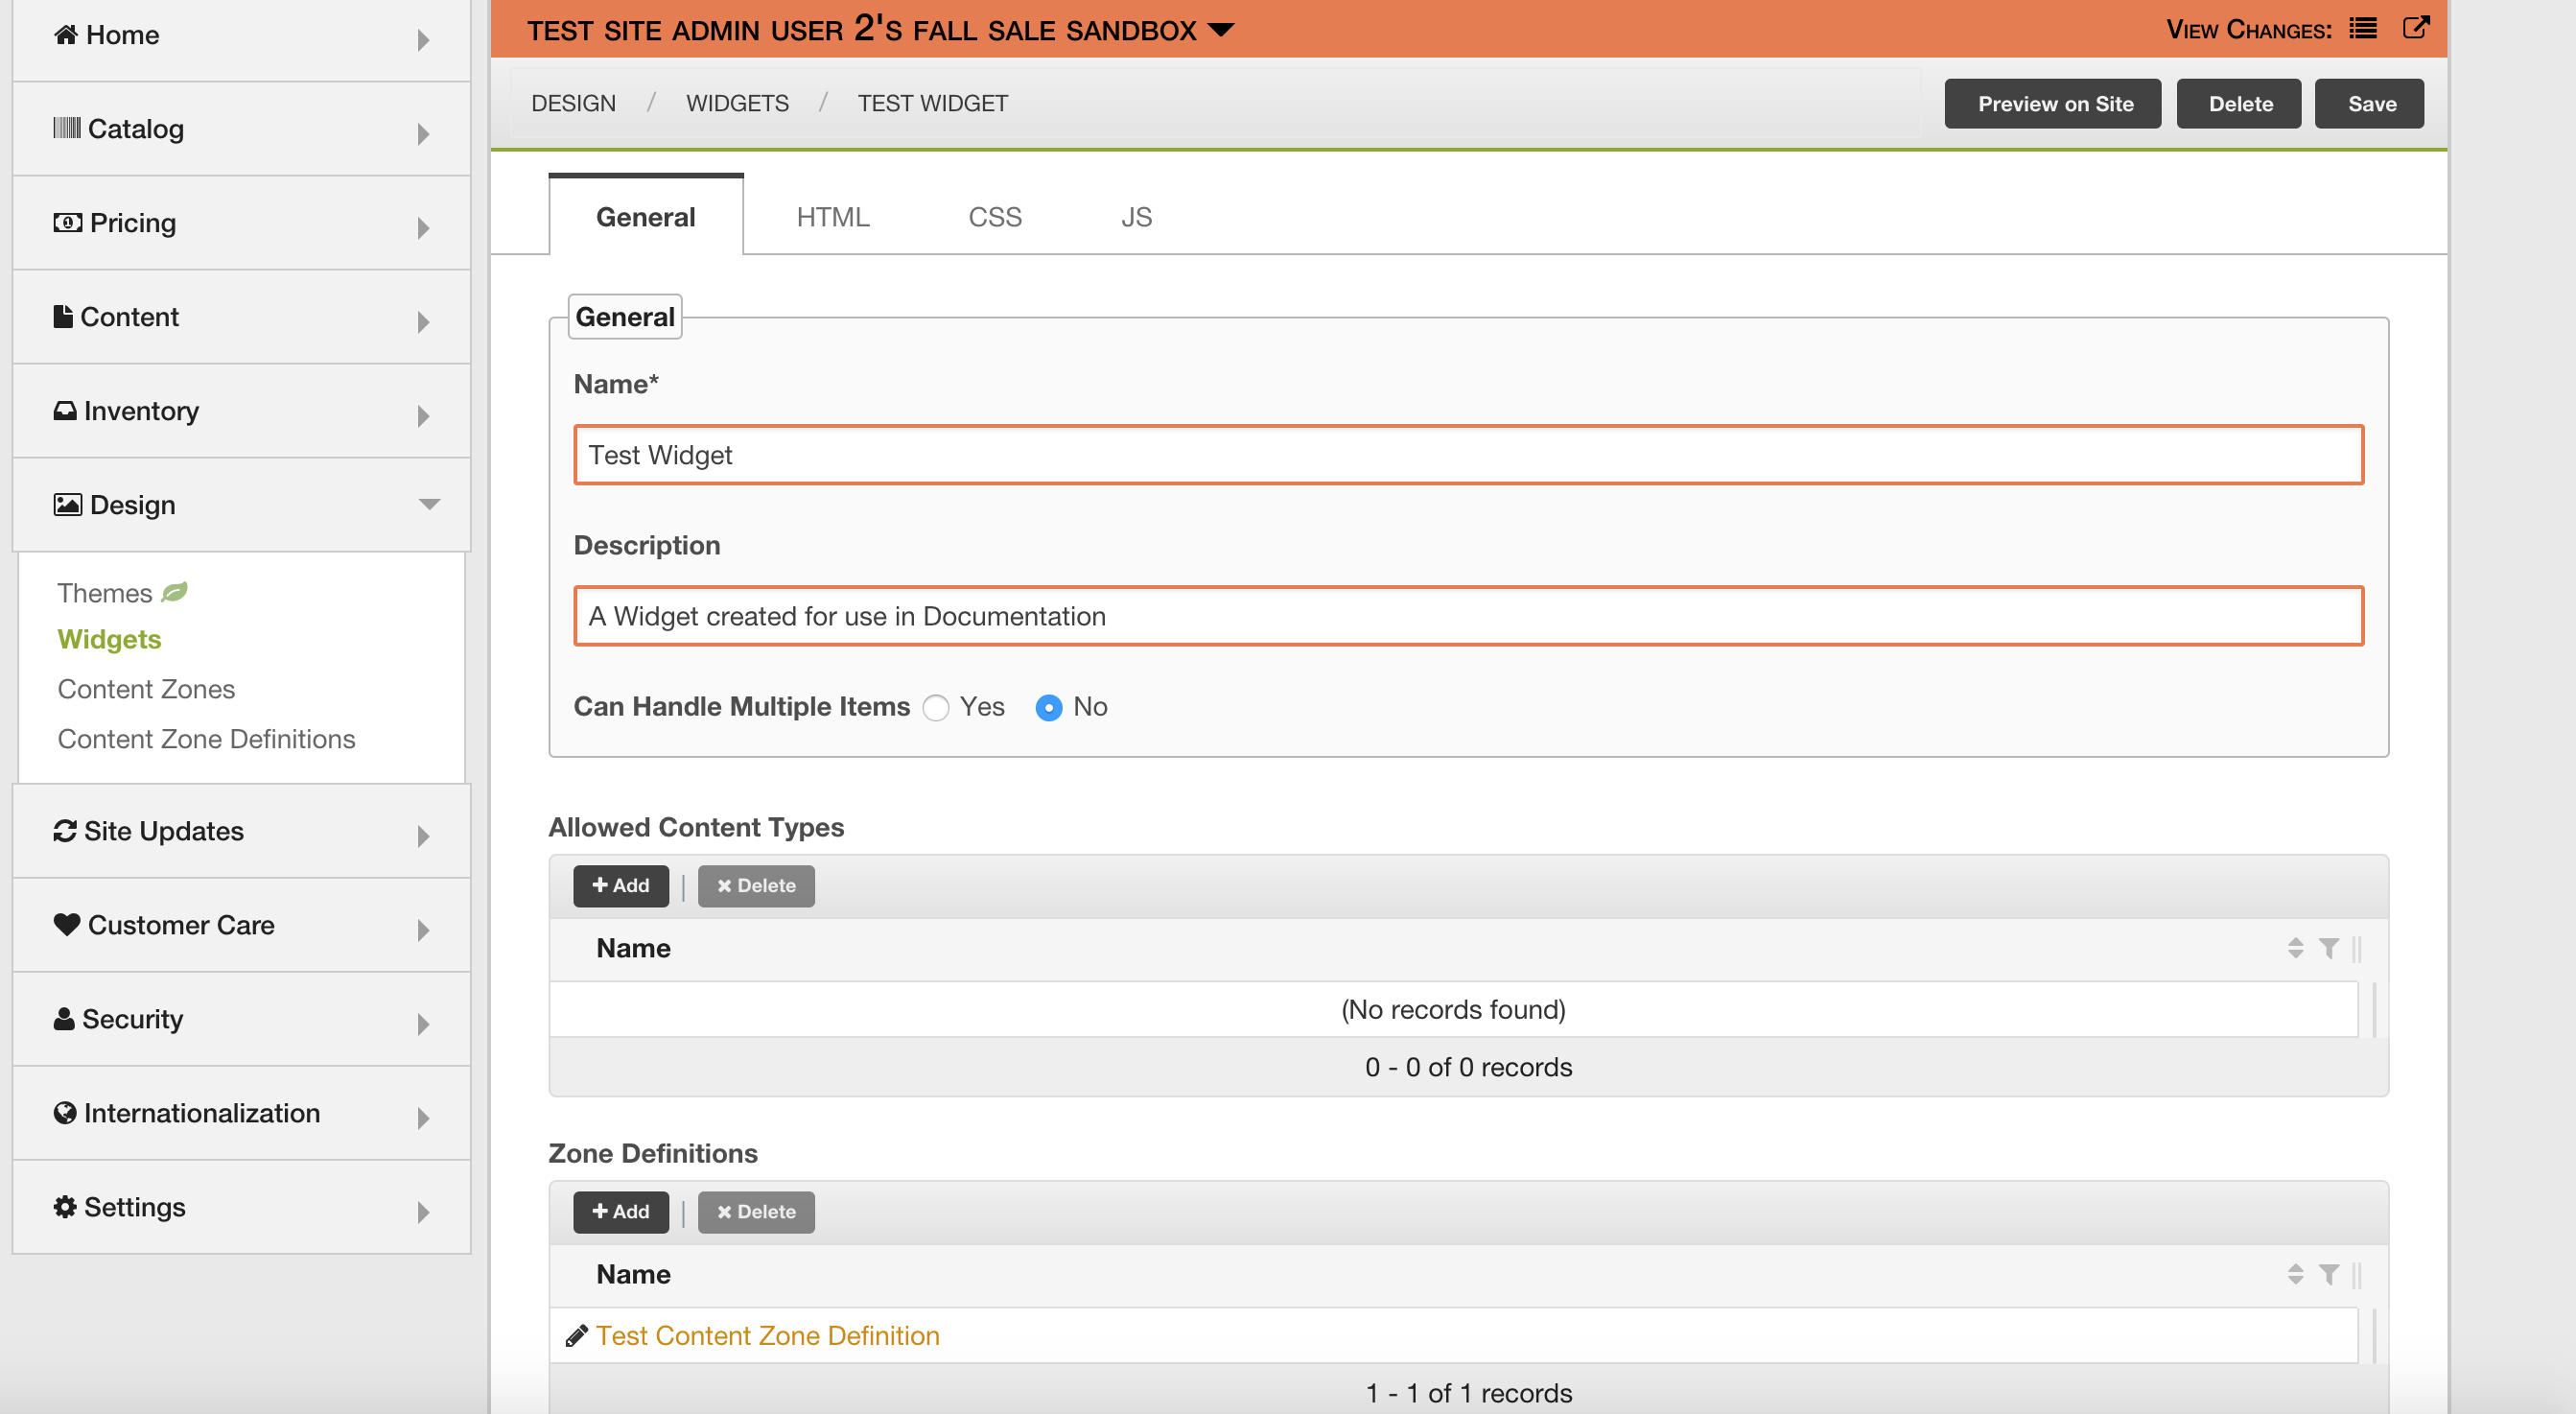
- Select the 'Save' button in the upper right hand corner of the page when you are satisfied with your modifications.
To add a Structured Content Type to a Widget:
- Select 'Design' from the sidebar, then choose 'Widgets'.

- From this page, please select the Widget you wish to add a Structured Content Type to, and you will be taken to that Widget's detail page.

- On this page, select the '+Add+ button on the Allowed Content Type table.
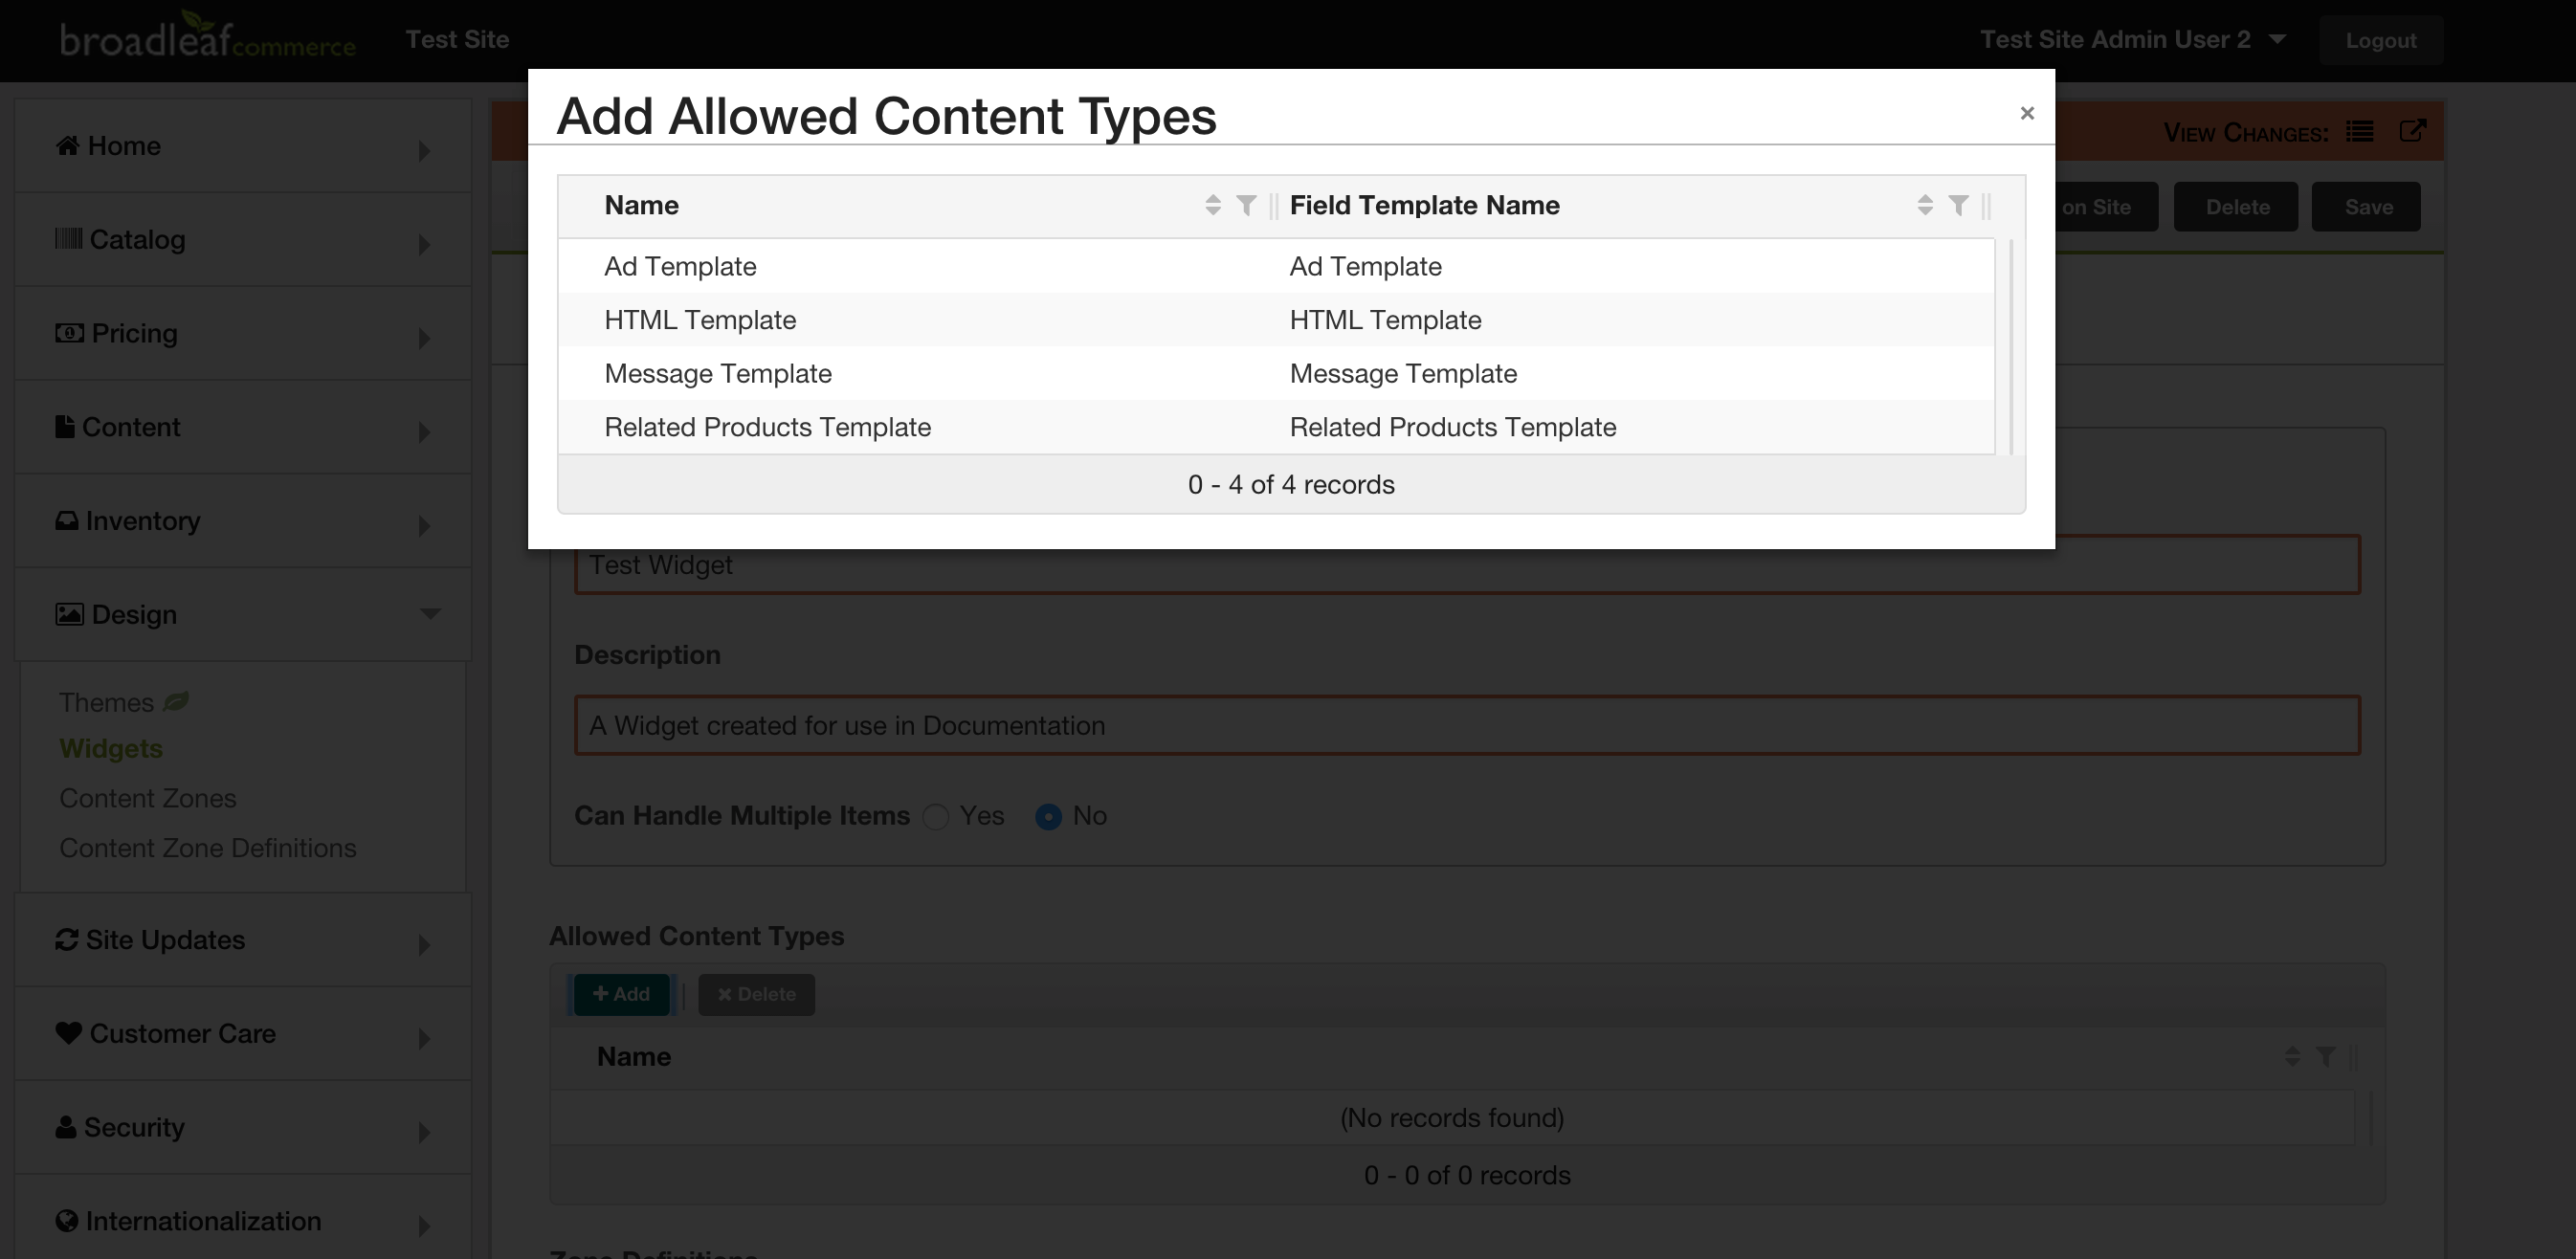
- Please select a Structured Content Type from the provided list to add it to the list of Content Types this Widget supports.
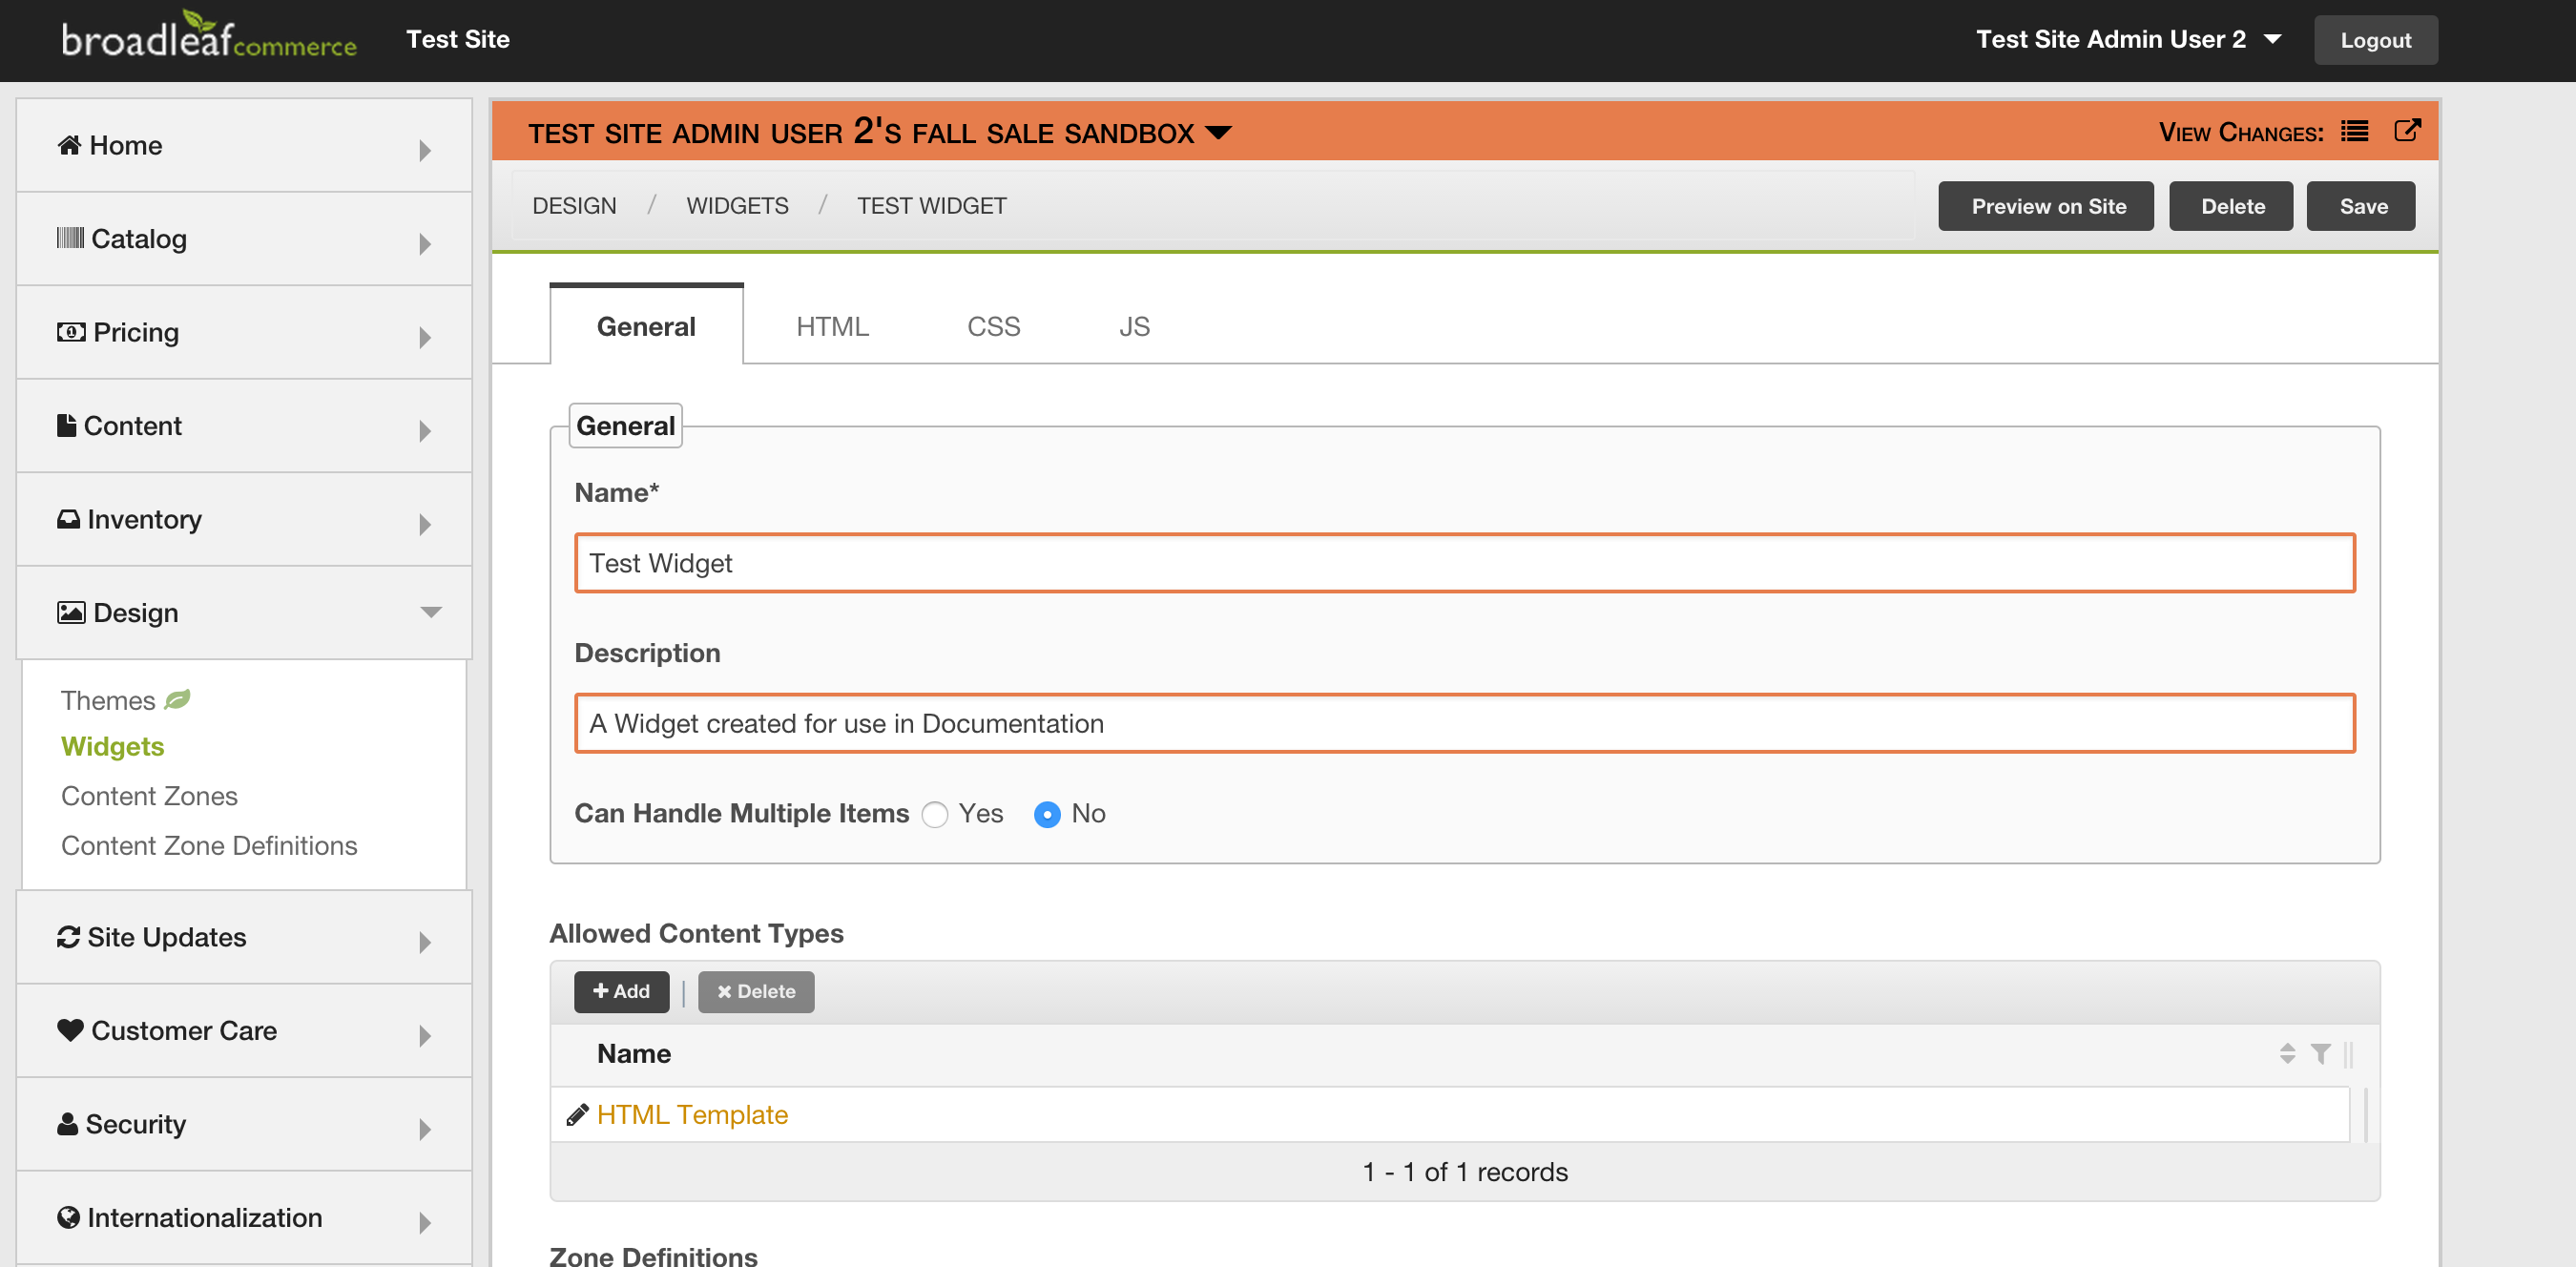
- Select the 'Save' button in the upper right hand corner of the page when you are satisfied with your modifications.
Admin Only Instructions
The following can only be done in the Admin.
Create a Structured Content Item:
- Select 'Content' from the sidebar, and then choose 'Content Items'.

- From this page, select the '+ Add Content Item' button in the upper right corner of the page.
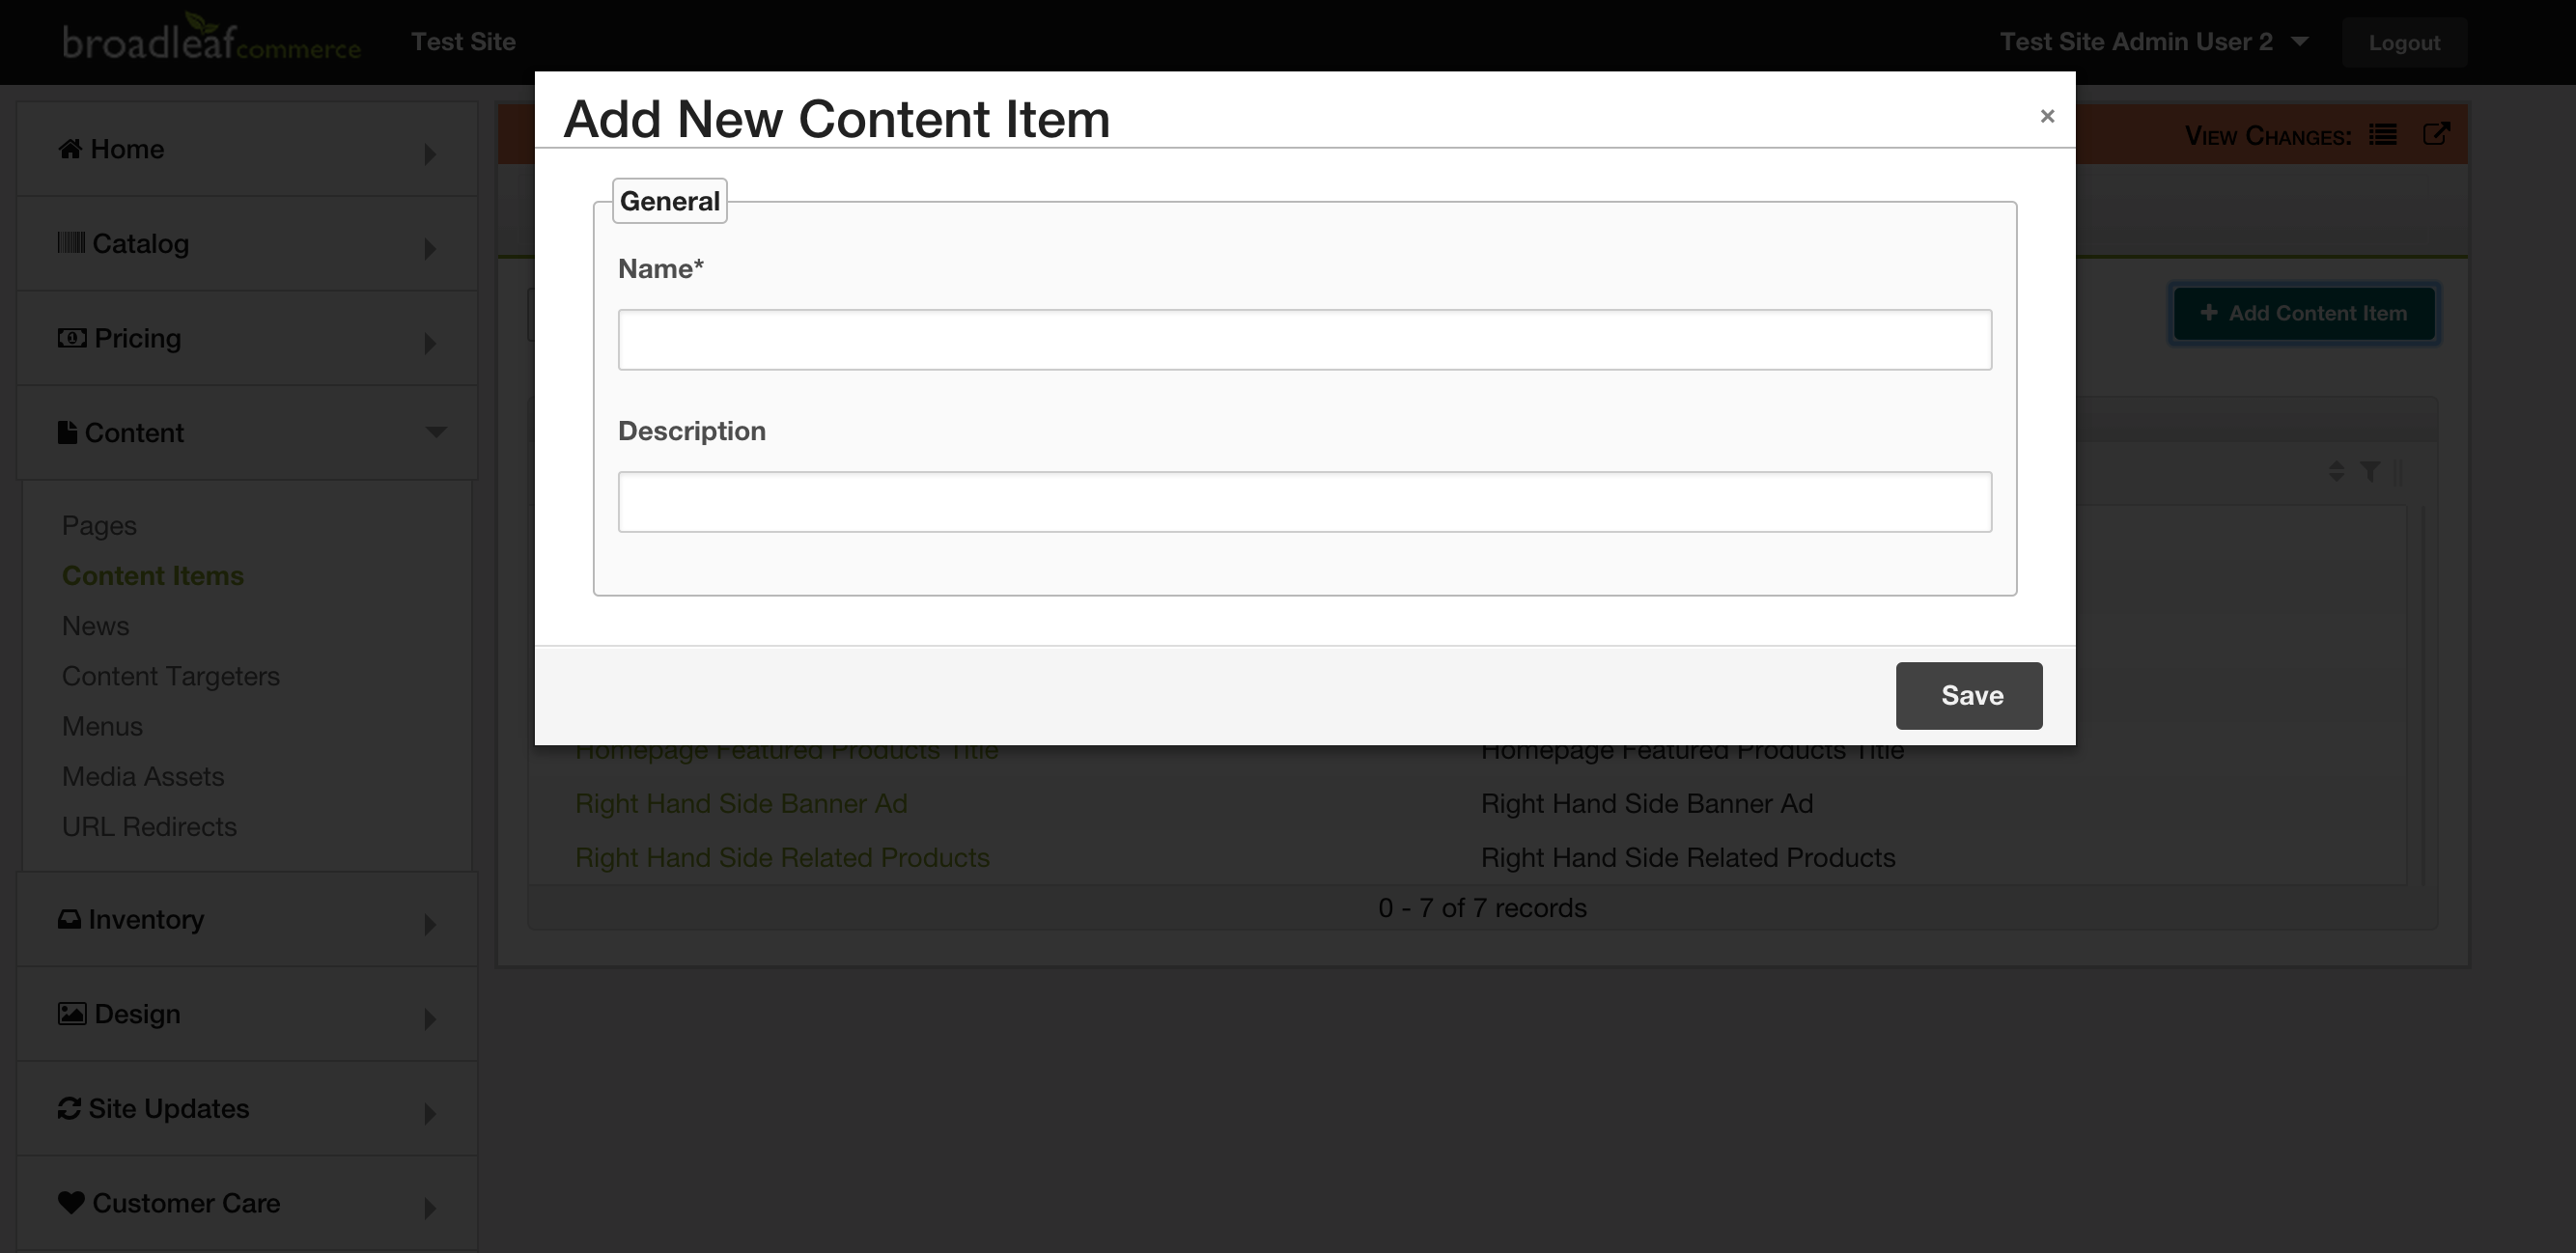
- In the small window that pops up, please provide a name and description for the Content Item, and then select the 'Save' button.
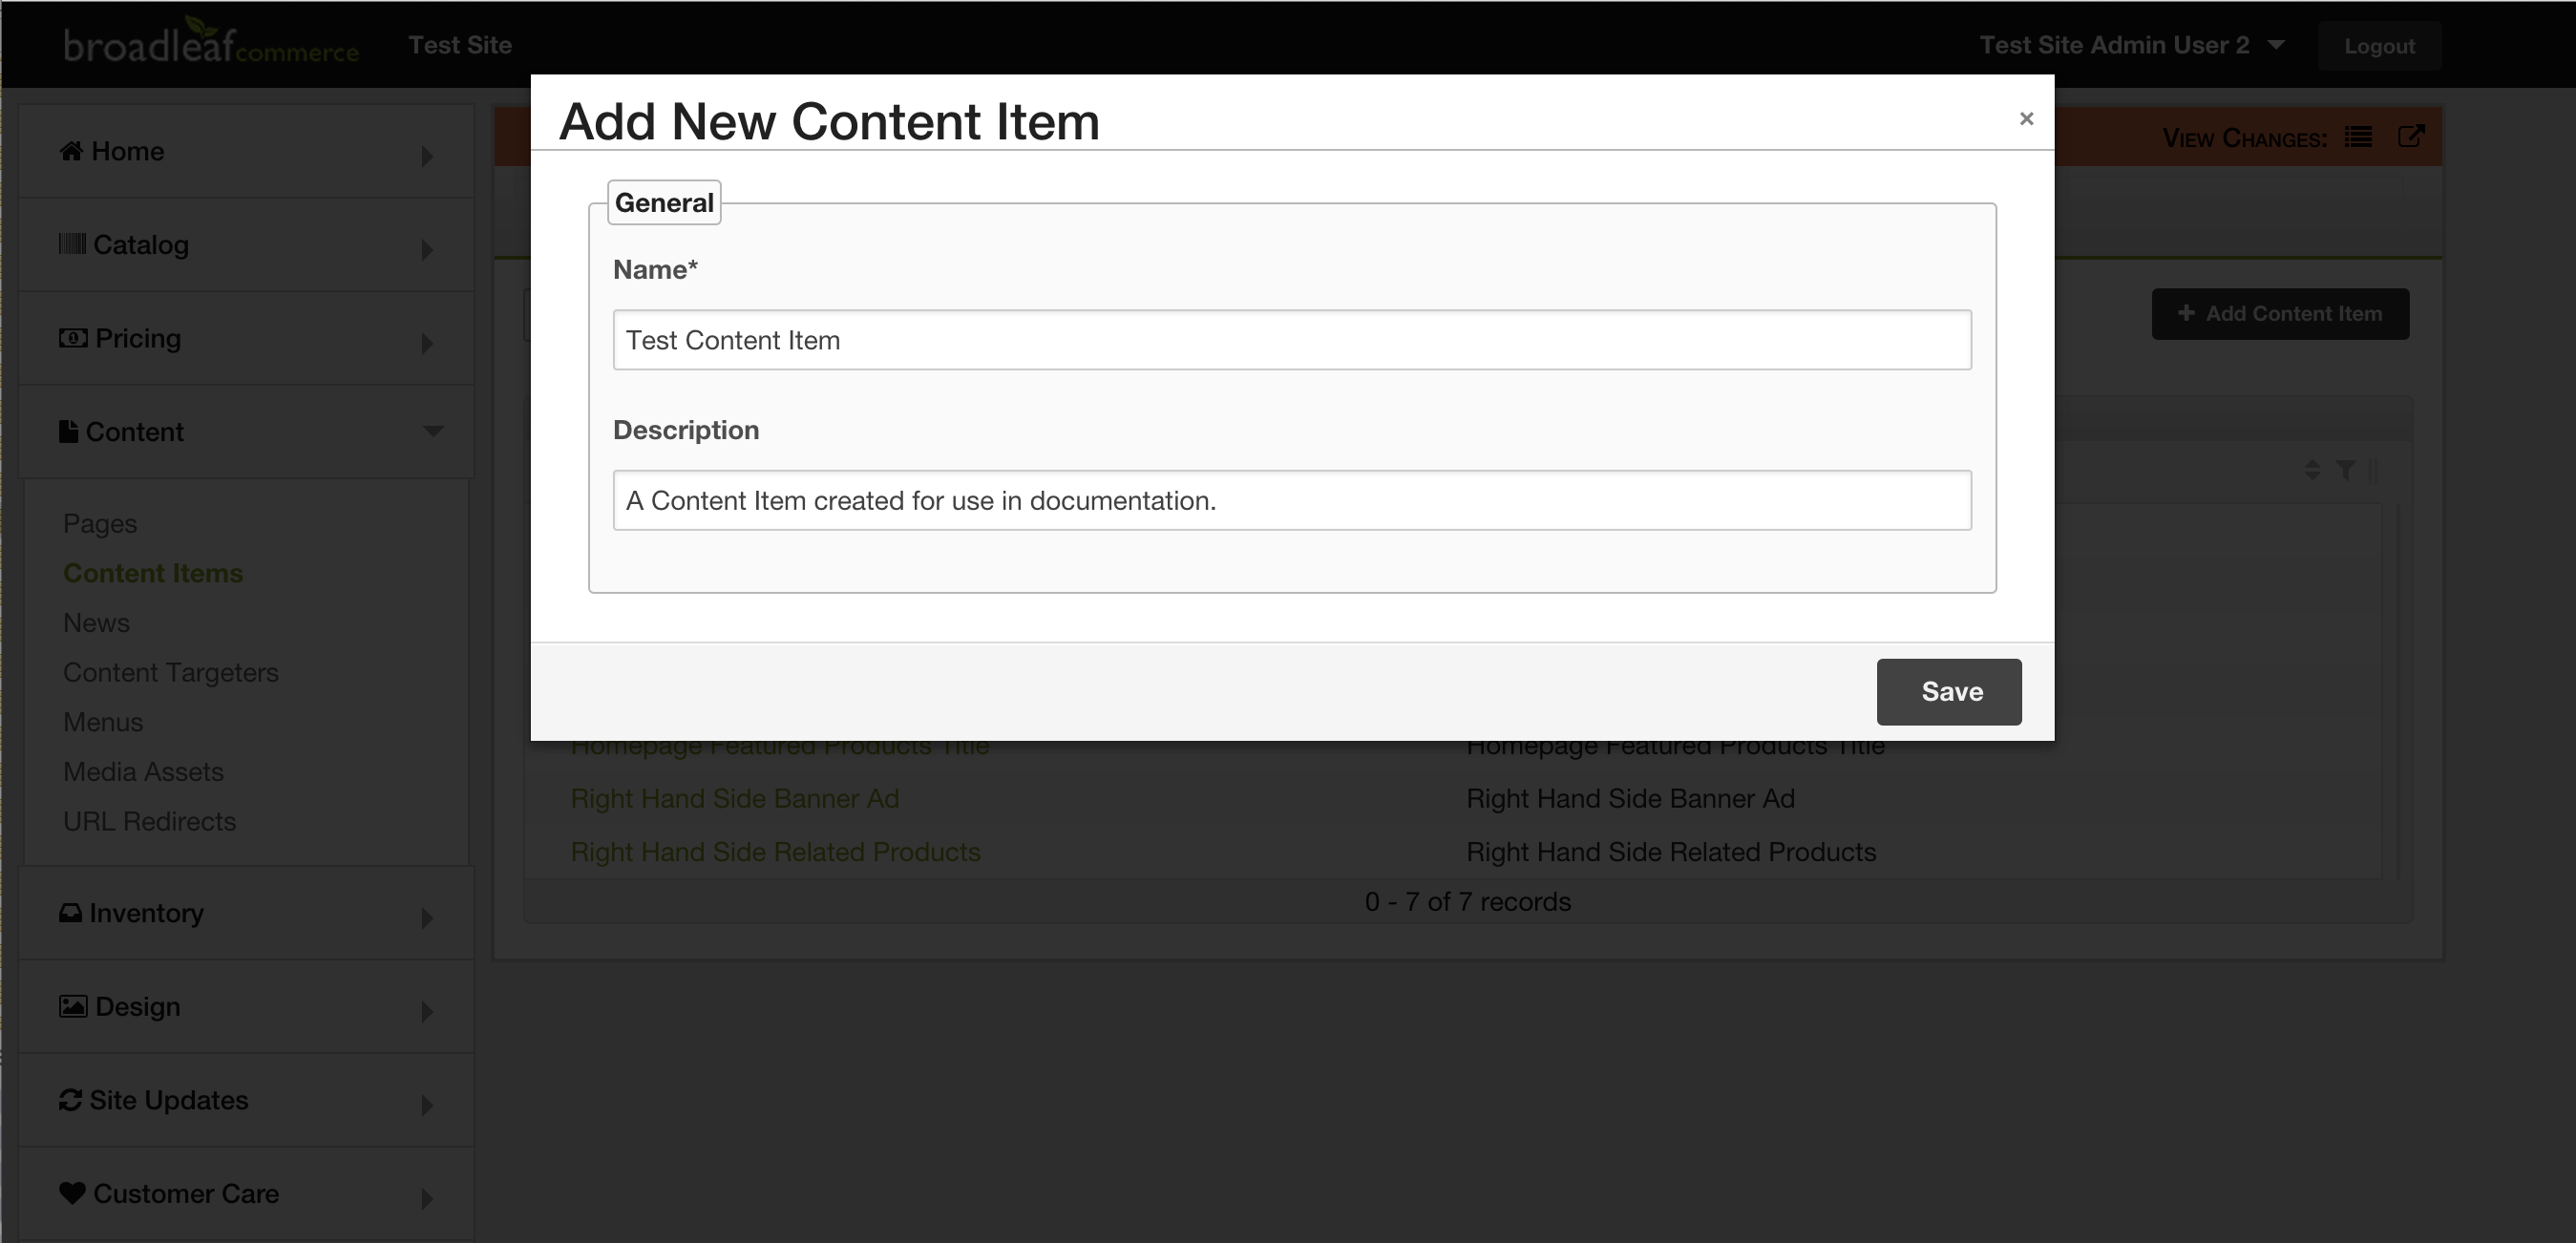
Your new Content Item will be created, and you will be redirected to its details page. From this page you can modify its attributes, as well as add a Widget to this Content Item:
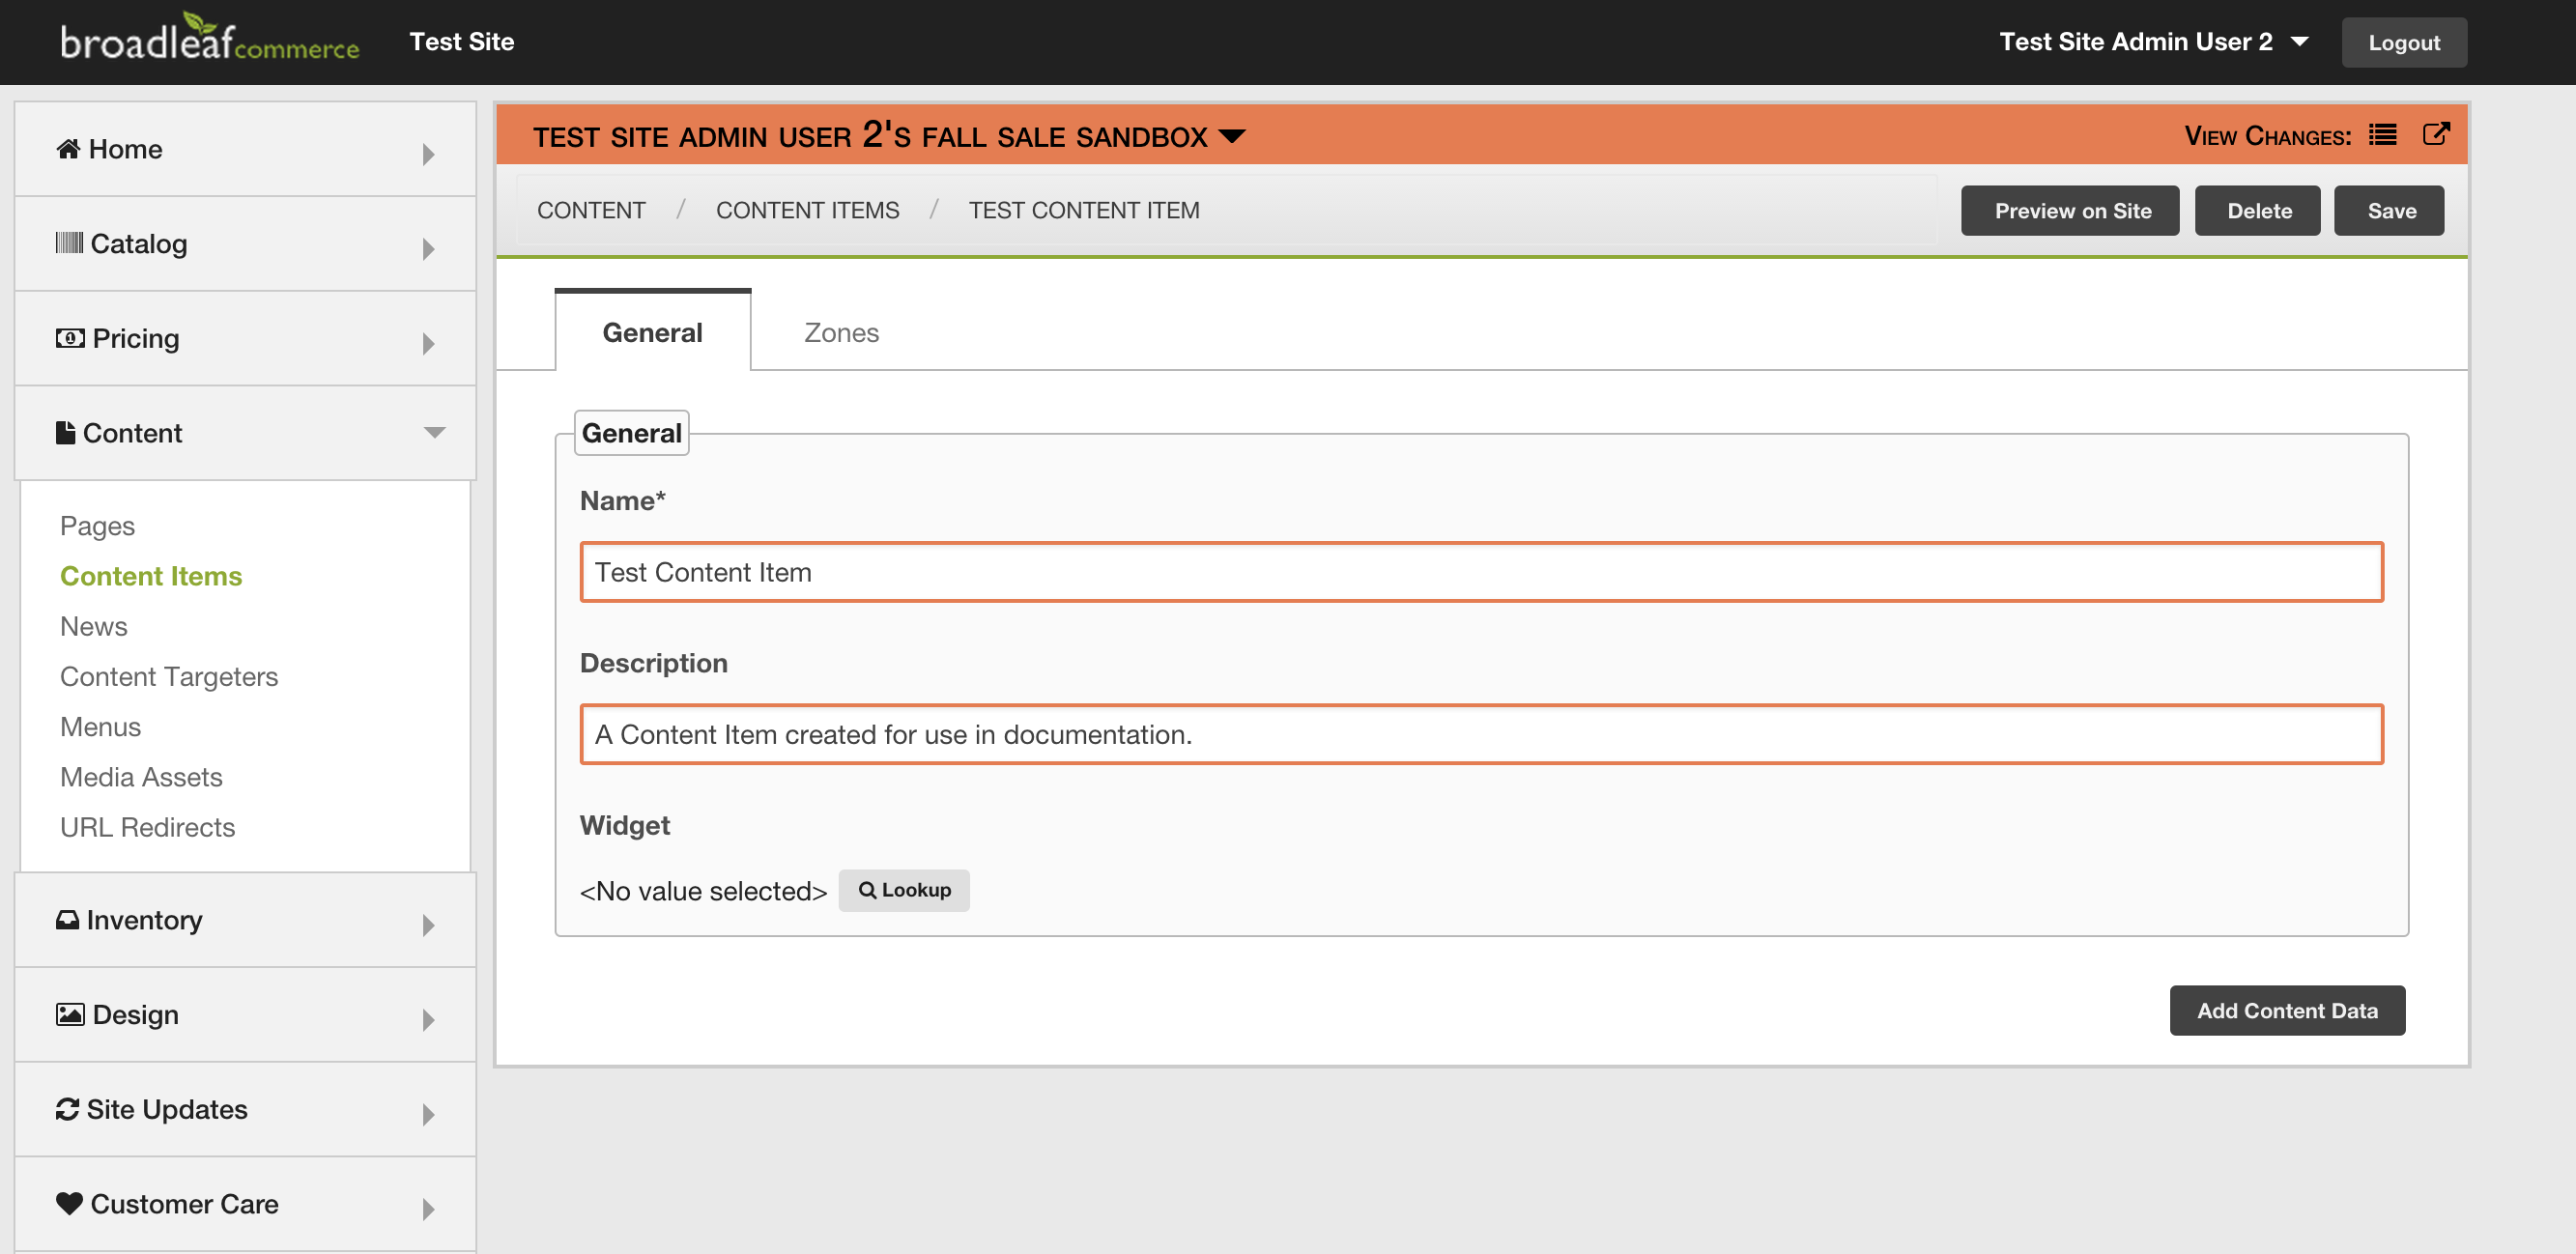
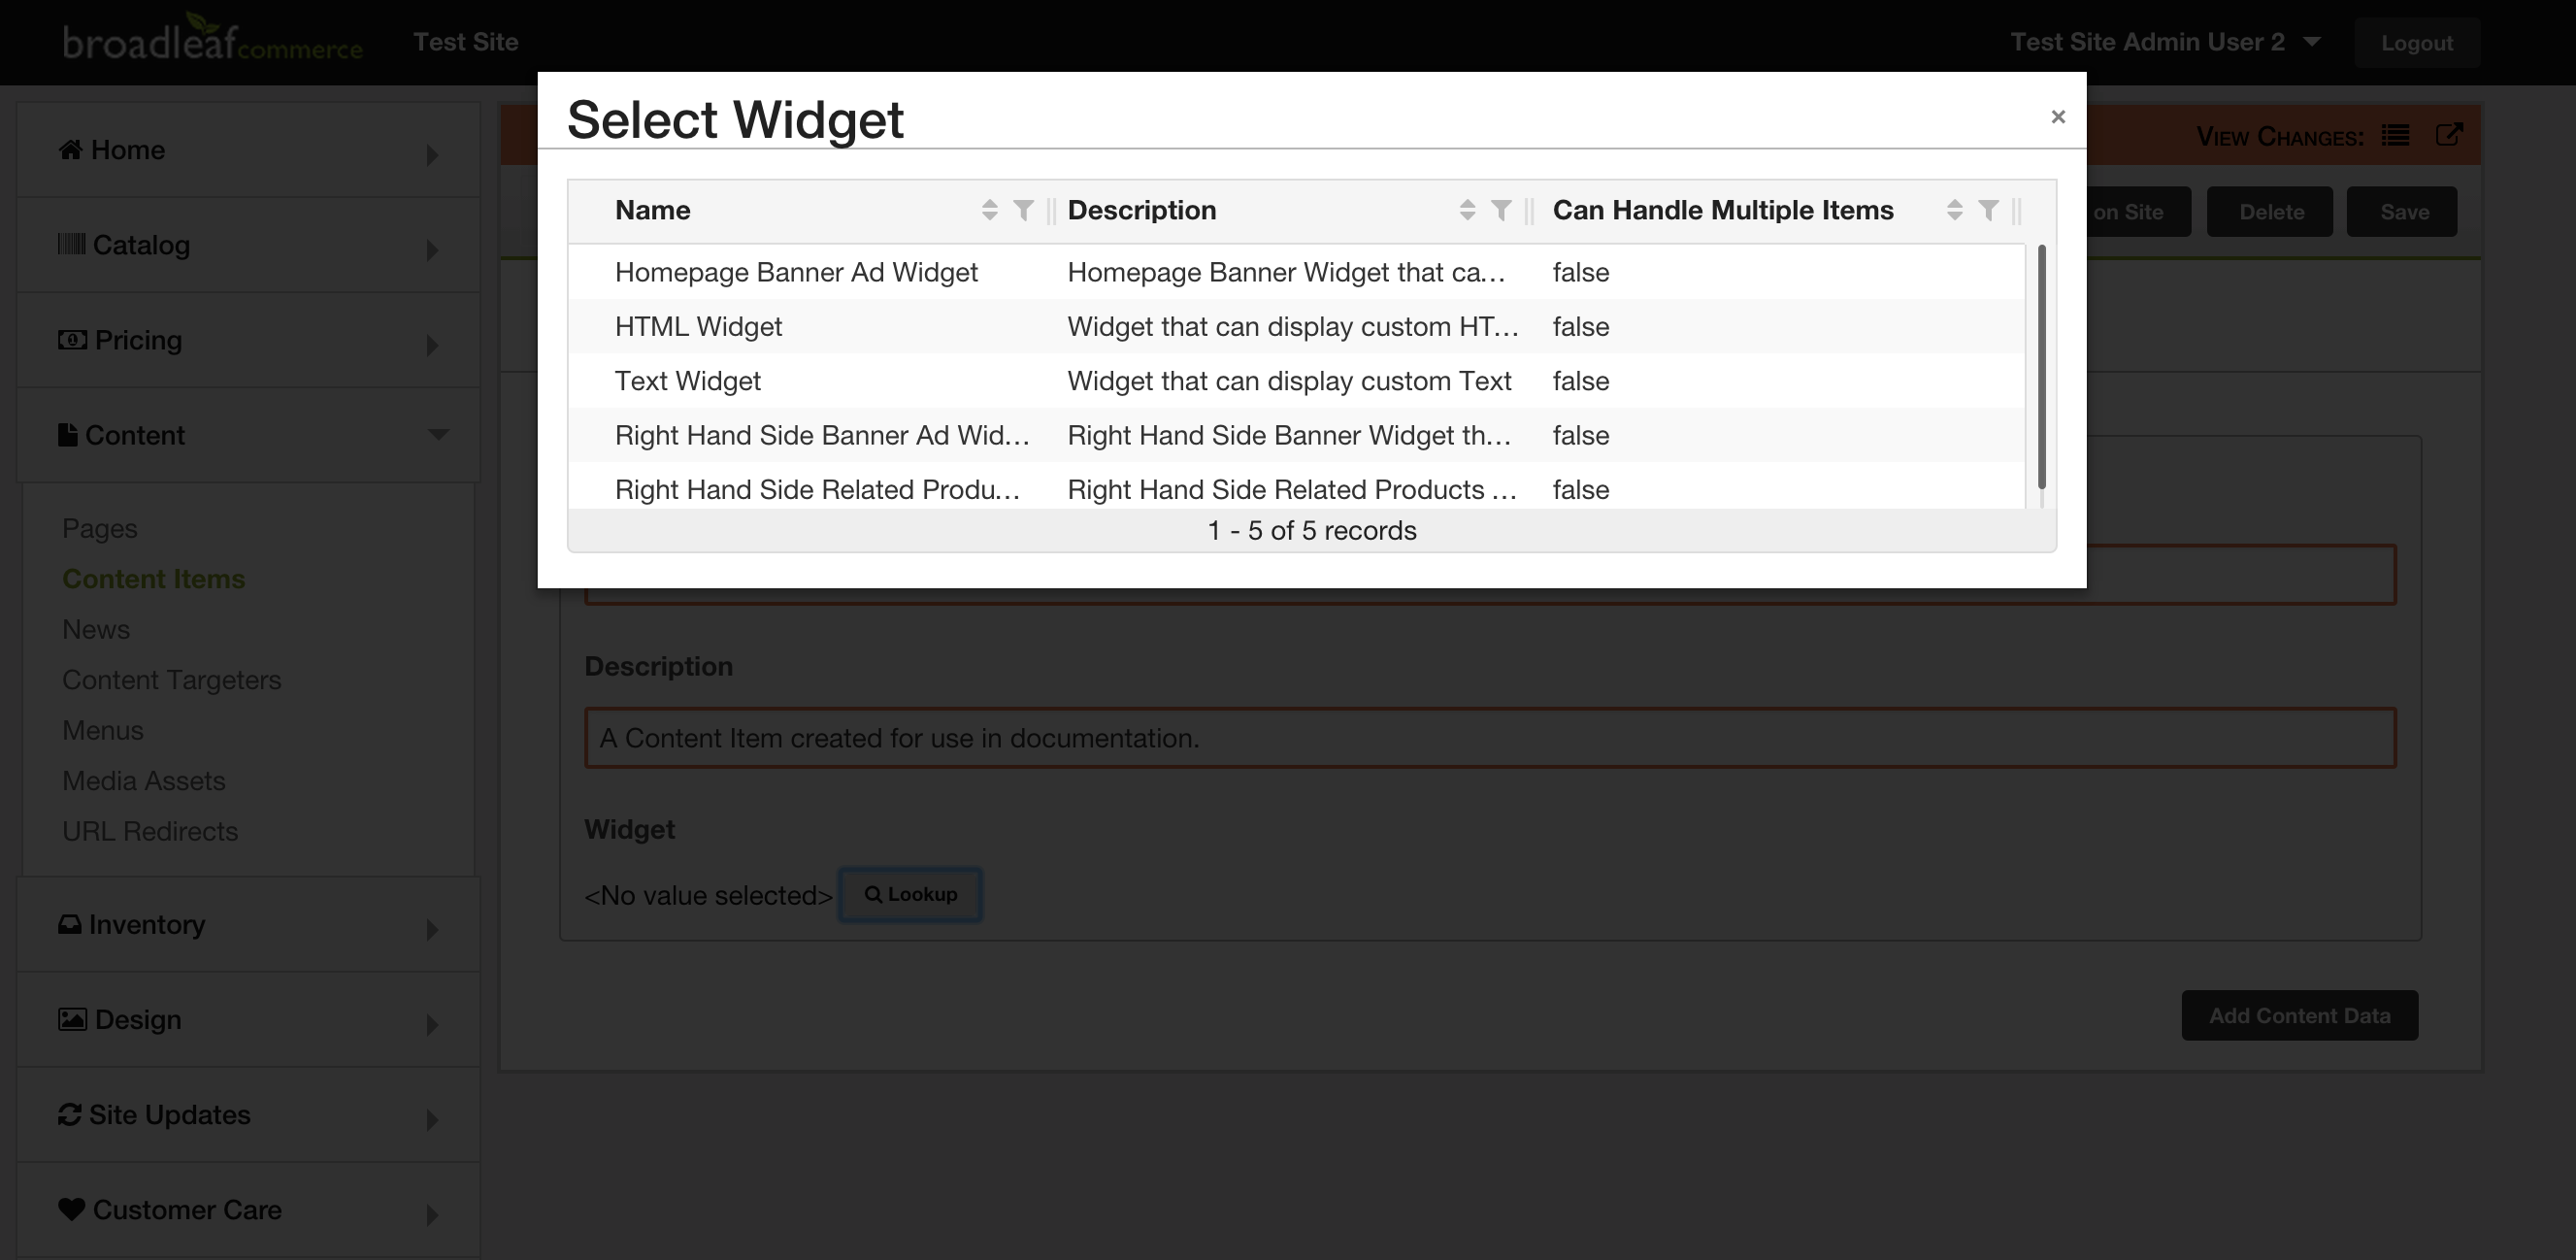
- Select the 'Lookup' button, and select your desired Widget from the list.
- The page will reload and now include your specified Widget's template information, which you may modify.

- Select the 'Save' button in the upper right hand corner of the page when you are satisfied with your modifications.
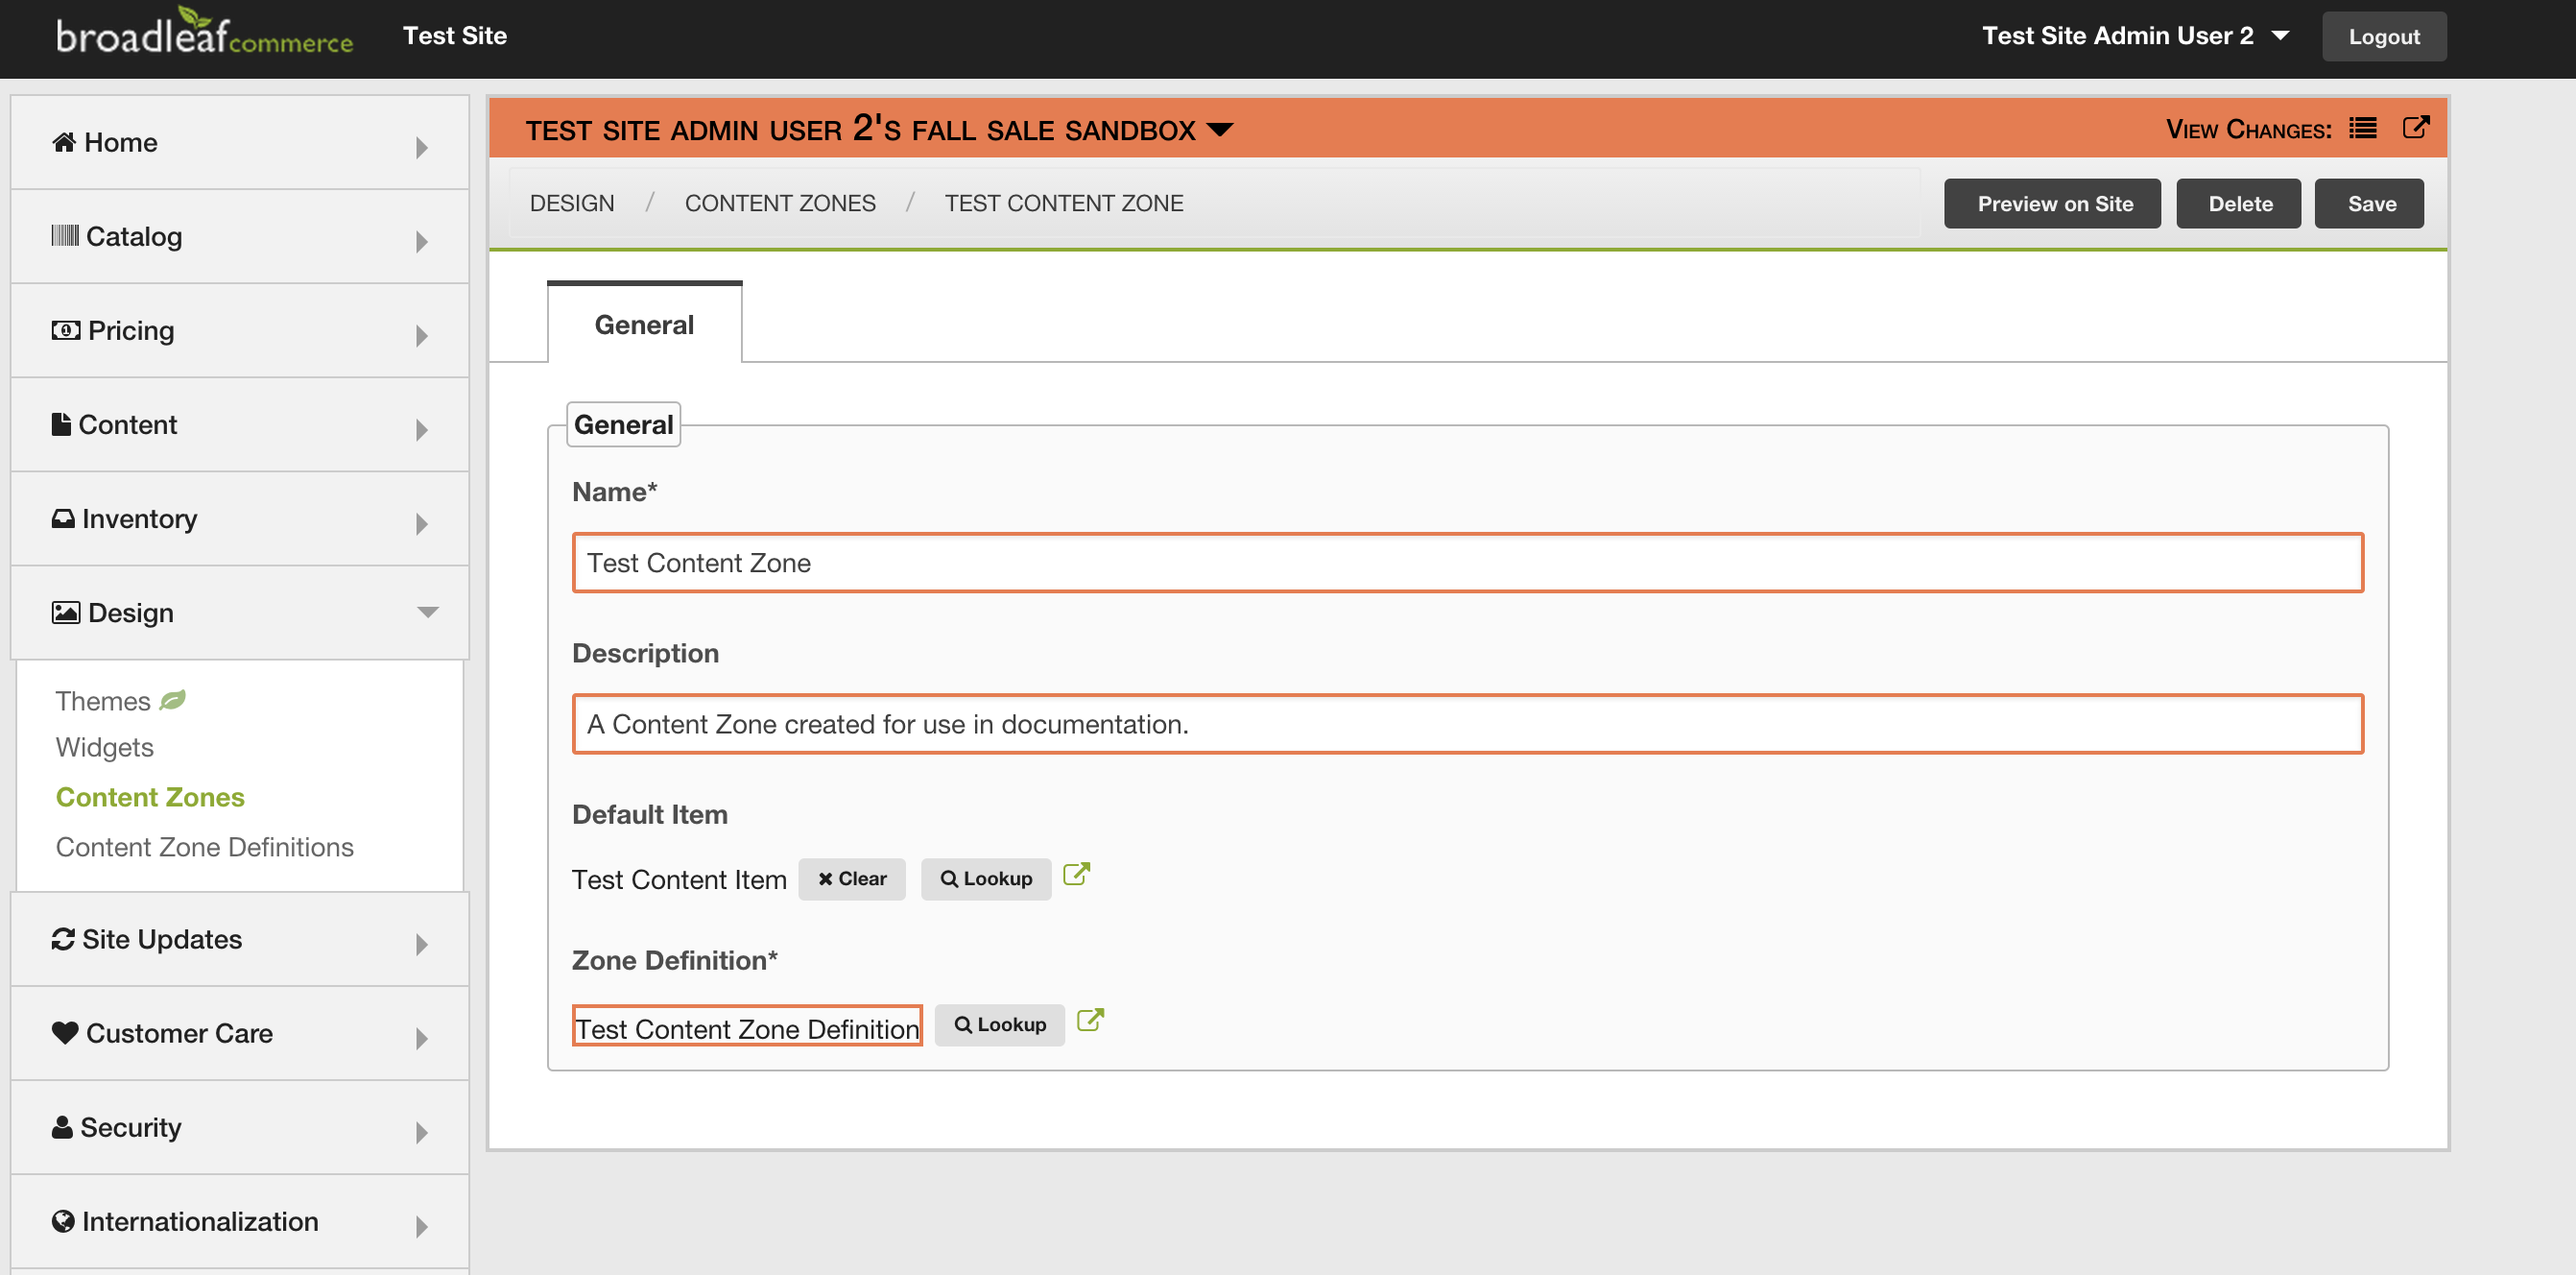
With a Content Item now created, you can now provide a default to your Content Zone (if it does not have one), and should do so:
- Select 'Design' from the sidebar, and then choose 'Content Zones'.

- From this page, you may select the Content Zone you wish to provide a default for, which can be done by clicking on the name of the Content Zone. You will be redirected to the details page for your selected Content Zone.

- Select 'Lookup' button under the 'Default Item' header, and select your desired Cotent Item from the list for the default Item for this Content Zone.
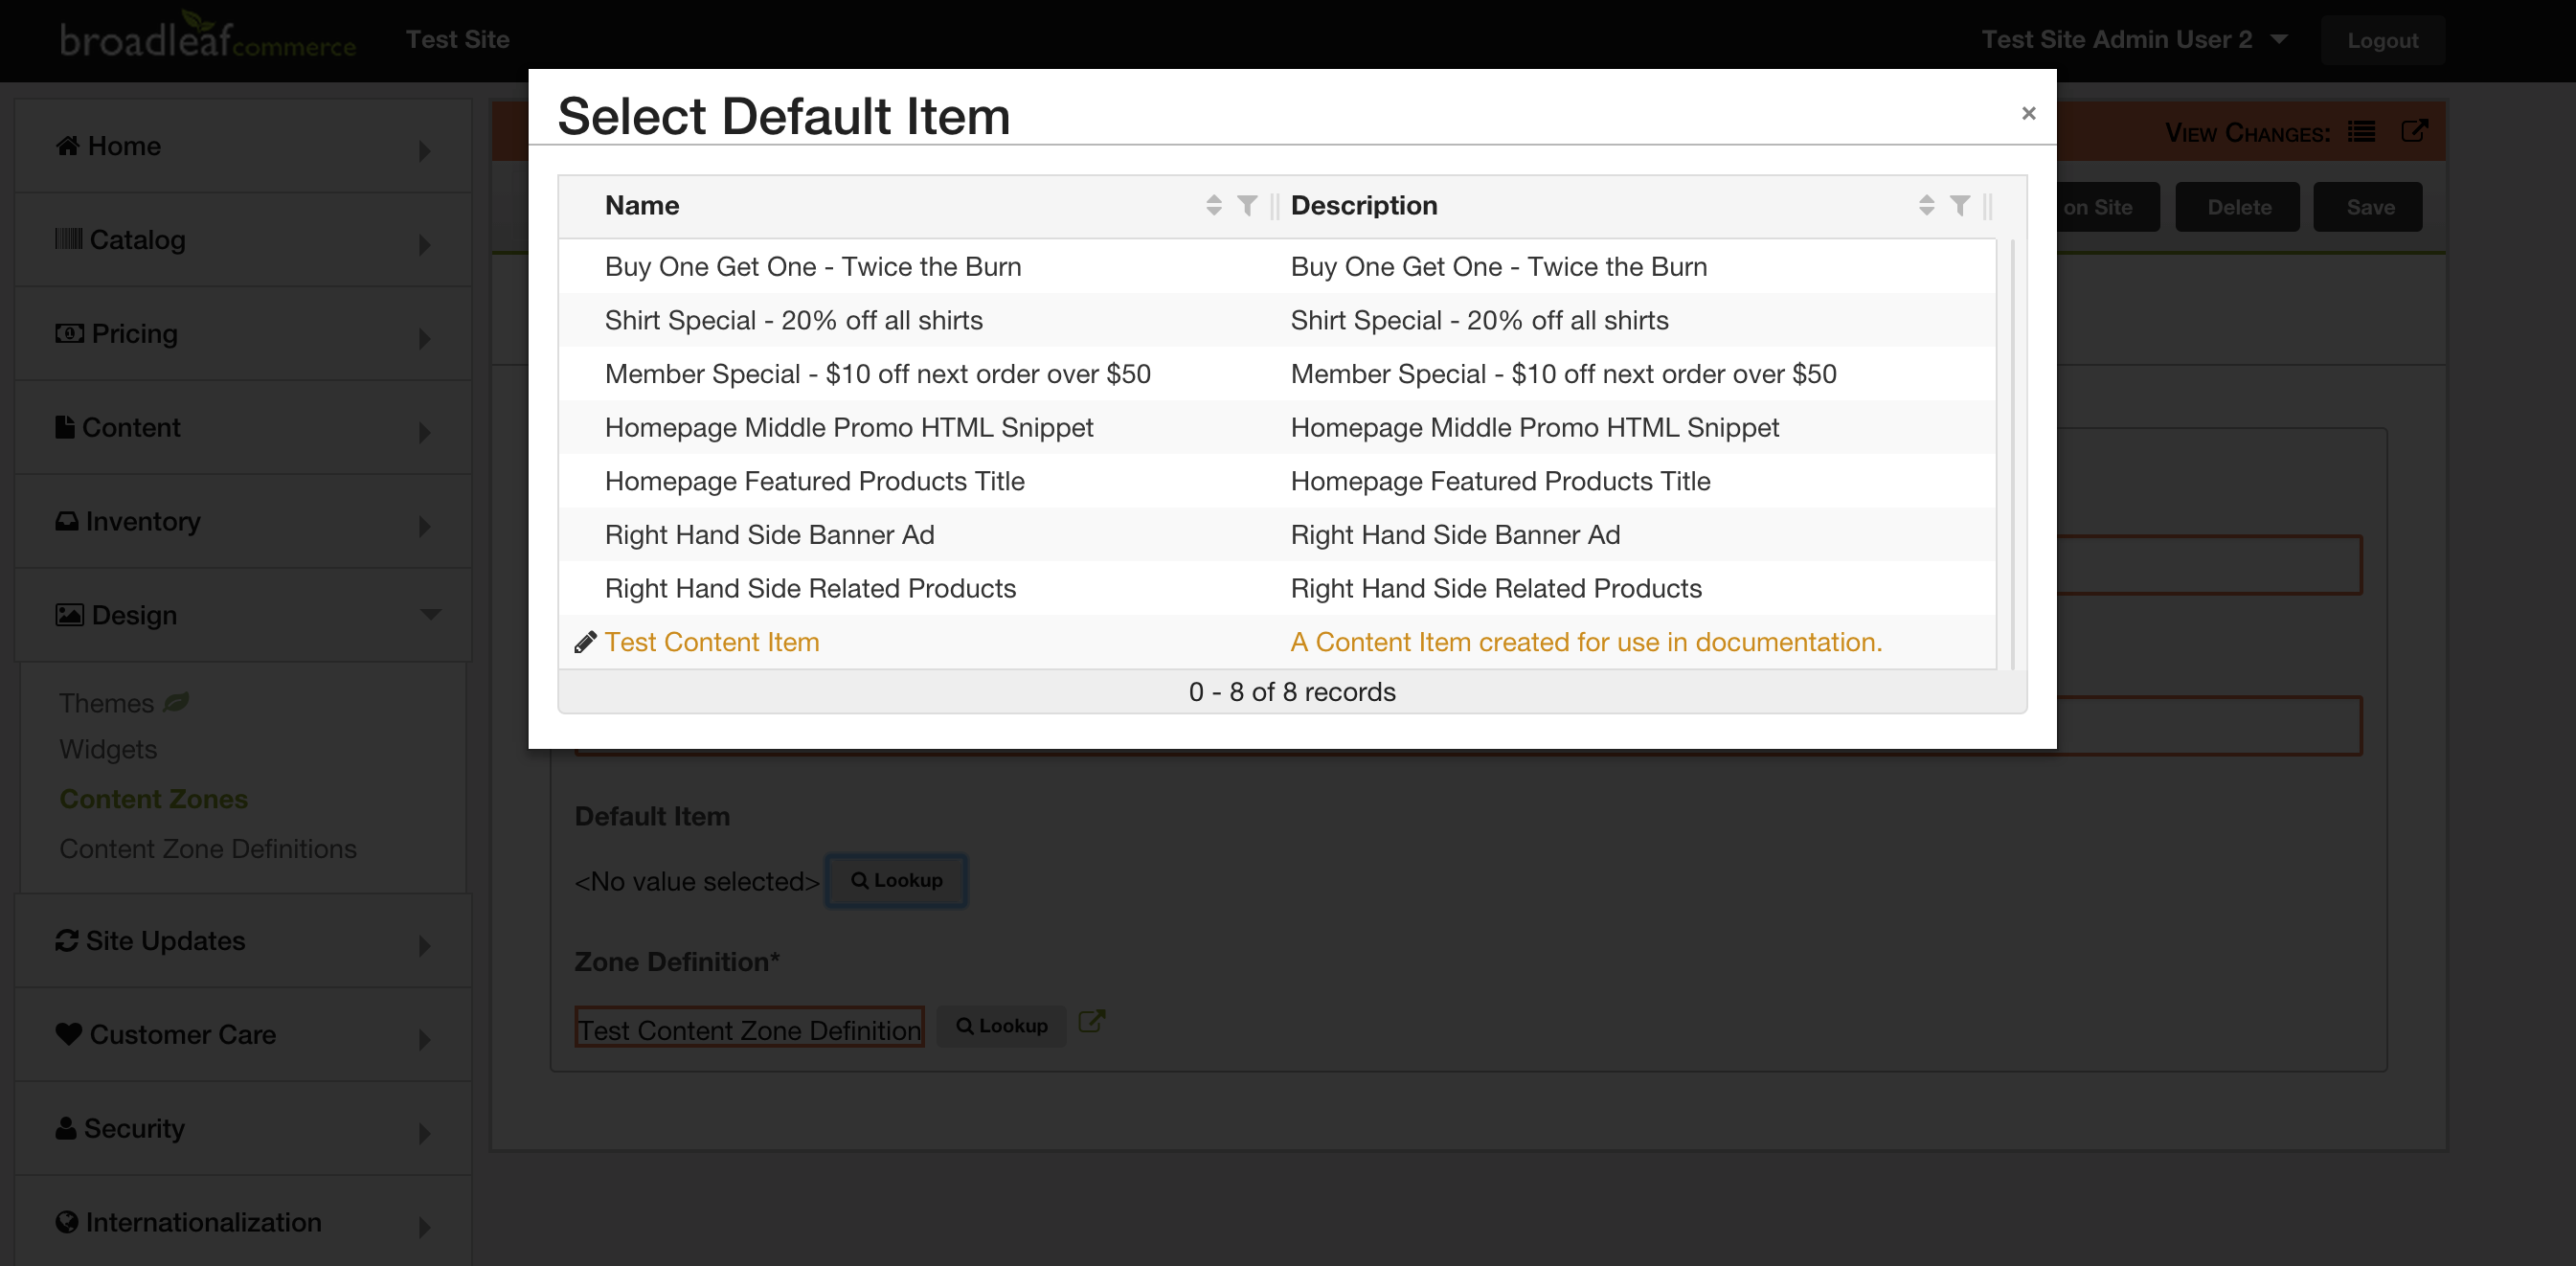
- Select the 'Save' button in the upper right hand corner of the page when you are satisfied with your modifications.
Multi-Tenant Considerations
When utilizing the multi-tenant features, you will also have to pay special attention to the SITE_DISC column of the following tables:
BLC_CONTENT_ZONEBLC_CONTENT_ZONE_DEFBLC_FLD_DEFBLC_FLD_GROUPBLC_SC_FLDBLC_SC_TYPEBLC_WIDGET
The value of this column should be set to Null if you wish for that entity to apply to all sites, or to a number value representing that site's SITE_ID. Using this, you can set up inheritance between sites to import content from other sites.
