Exporting Customer Segments
Activation
Admin Application
The admin based CSV export is enabled by default when the Export module is part of the project.
The API based export endpoints are disabled by default and can be enabled using @EnableFrameworkRestControllers in a servlet @Configuration class. Note that this will enable all framework API endpoints in the application. Please see the Full Framework Controller Documentation for more information.
Integration Application
If you are writing a custom integration application and would like to include this endpoint, you must explicitly define it as a bean using JavaConfig or XML configuration as so:
JavaConfig
@Configuration
public class MyIntegrationConfiguration {
    @Bean
    public AdminCustomerSegmentExportEndpoint adminCustomerSegmentExportEndpoint() {
        return new AdminCustomerSegmentExportEndpoint();
    }
}
XML
<beans>
    <bean class="com.broadleafcommerce.customersegment.admin.web.api.endpoint.AdminCustomerSegmentExportEndpoint" />
</beans>
API
You can export customer segments in batches.
GET /api/export/customer-segment/{customerSegmentId}
Request parameters
| Parameter | Type | Description |
|---|---|---|
| customerSegmentId | Optional path parameter | The ID of a specific Customer Segment. If it is provided in the path, then the export will be restricted to the xrefs associated with that Customer Segment |
| firstId | Optional request parameter | The ID of the first offer code to export in this batch. If this ID doesn't exist in the batch, then the next highest ID will be the first record exported. firstId defaults to the lowest ID in the code generation group. |
| count | Optional request parameter | The maximum number of records to export in this batch. |
Response
The response object contains pagination information and a list of customer segments.
Pagination
| Field | Description |
|---|---|
| requestFirstId | The firstId request parameter from the API call. |
| requestCount | The count request parameter from the API call. |
| resultFirstId | The ID of the first (lowest) customer segment exported in this batch. |
| resultLastId | The ID of the last (highest) customer segment exported in this batch. |
| resultSize | The number of customer segments exported in this batch. This will be equal to requestCount unless this is the last page. |
| total | The total number of customer segments. |
| nextFirstId | This should be passed as firstId to the next API call to export the next page. Null if this is the last page. |
| nextURI | This is the URL that will export the next page of customer segments. Null if this is the last page. |
Customer Segments
| Field | Description |
|---|---|
| id | The ID of this customer segment reference. |
| name | The name of the customer segment. |
| identifierType | The type of this customer segment. |
| identifierValue | The external reference ID for this customer segment. |
Example
For this example, let's say the following ID's exist: 83, 89, 97, 101, 103, 107, 109, 113, 127, 131
Request: $ curl localhost:8081/admin/api/export/customer-segment?firstId=100&count=5
Response:
{
    pagination: {
        requestFirstId: 100,
        requestCount: 5,
        resultFirstId: 101,
        resultLastId: 113,
        resultSize: 5,
        total: 10,
        nextFirstId: 114,
        nextURI: "http://localhost:8081/admin/api/export/customer-segment?firstId=114&count=5"
    },
    customerSegments: [
        {
            id: 101,
            ...
        },
        {
            id: 103,
            ...
        },
        {
            id: 107,
            ...
        },
        {
            id: 109,
            ...
        },
        {
            id: 113,
            ...
        }
    ]
}
If we call the resulting nextURI URL, then we get the following response:
{
    pagination: {
        requestFirstId: 114,
        requestCount: 5,
        resultFirstId: 127,
        resultLastId: 131,
        resultSize: 2,
        total: 10,
        nextFirstId: null,
        nextURI: null
    },
    customerSegments: [
        {
            id: 127,
            ...
        },
        {
            id: 131,
            ...
        }
    ]
}
Export API Automation
The simplest way to automate a system to export all customer segments is to not pass firstId to the first call, then use the nextURI field from the pagination information on the response for subsequent calls until nextURI is null. If you pass a count to the request, then nextURI will replicate that value so subsequent calls will have the same batch size.
The list of calls will look something like this:
Original call ->
.../export/customer-segment?count=500nextURI:.../export/customer-segment?firstId=501&count=500nextURI:.../export/customer-segment?firstId=1001&count=500nextURI:.../export/customer-segment?firstId=1501&count=500nextURI:null-> This batch is the last page of customer segments.
Exporting Directly to Another System
A custom job or endpoint could be added that pushes customer segments to an external system. The endpoint for the above API, AdminCustomerSegmentExportEndpoint#getBatchCustomerSegments essentially wraps a call to the CustomerSegmentService where the actual batches are retrieved from.
You can leverage the same service call for your own purposes by simply injecting the CustomerSegmentService and making calls to findDetachedBatchCustomerCustomerSegXrefs.
Admin Export
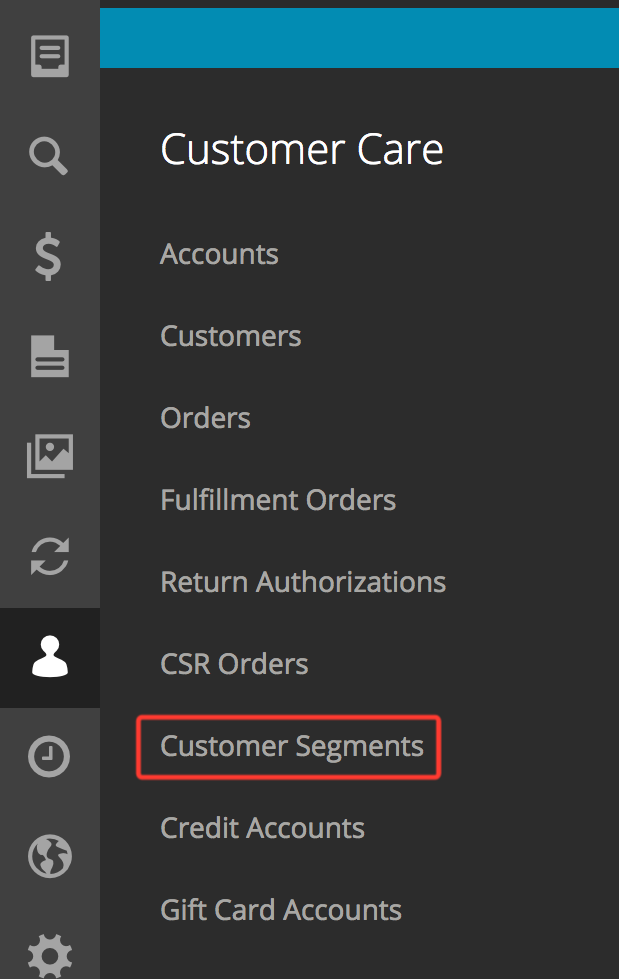
After logging into the admin application, navigate to the Customer Care -> Customer Segments page:
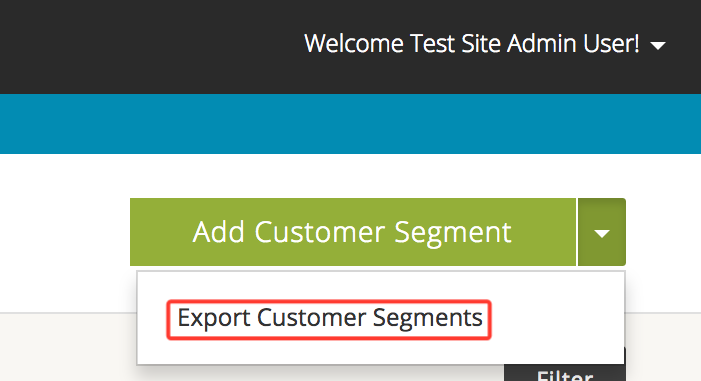
Select the drop down next to Add Customer Segment and select Export Customer Segments:
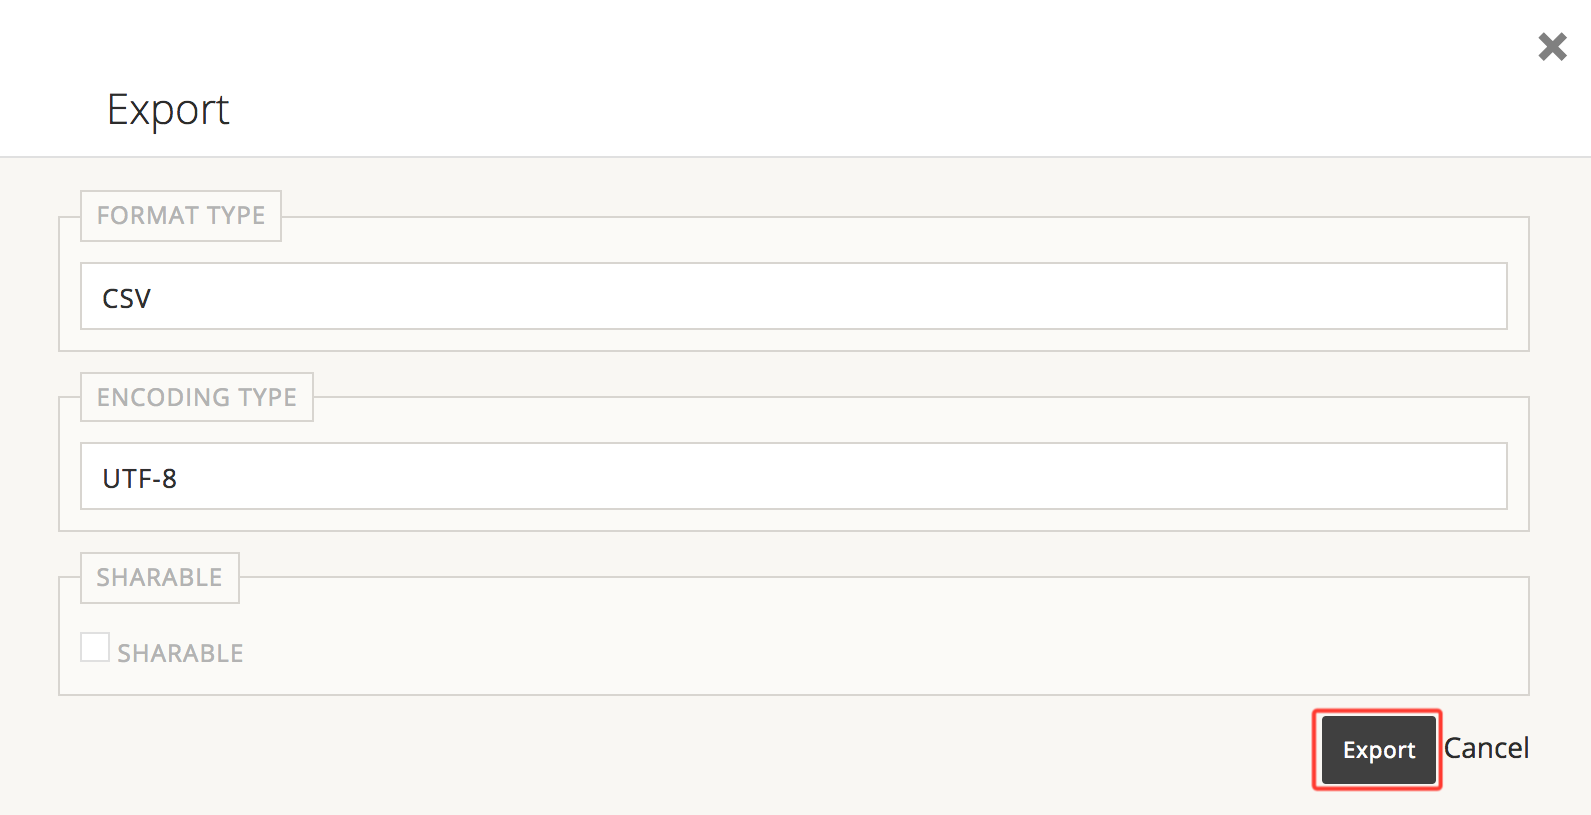
Select the desired Format Type, Encoding Type, whether or not this export should be Sharable with other admin users, and click Export. If you don't know what these options mean, just click Export.
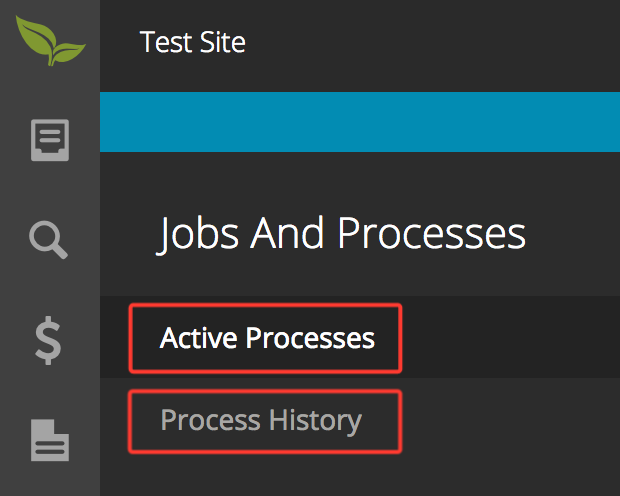
Please note that the export can take a while for large data sets. To check if your export is still running, you can look at the Active Processes page under Jobs and Processes. Once your export is complete it will show in the Process History under the same section:
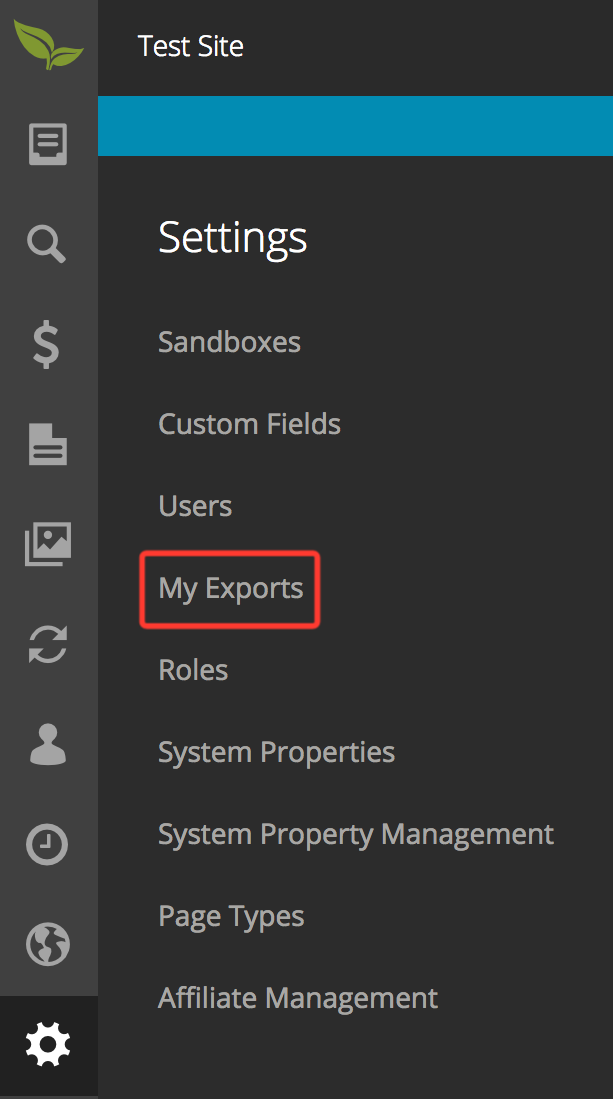
Once your export is complete, you can download the resulting file from Settings -> My Exports
Select the file corresponding to your export, which is most cases will be the latest at the top, and the file will download using your browser's download manager.
You may also export segments for a specific Customer Segment by navigating to a Customer Segment's detail page in the admin. If the Customer Segment is of type Customer Set, then there will be a Export Segments button on the targeted customers listgrid.
Extending the Export Data
You can customize what data is exported by both the API endpoint and the admin application CSV export.
To customize the object structure you must override the com.broadleafcommerce.customersegment.dto.CustomerSegmentDTO bean and override the wrap(CustomerCustomerSegmentXref) method.
First extend CustomerSegmentDTO with your own DTO object that overrides the wrap method.
public class MyCustomerSegmentDTO extends CustomerSegmentDTO {
    protected String myCustomString;

    @Override
    public CustomerSegmentDTO wrap(CustomerCustomerSegmentXref customerCustomerSegmentXref) {
        super.wrap(customerCustomerSegmentXref);
        this.myCustomString = customerCustomerSegmentXref.getMyCustomString();
        return this;
    }
}
Now that you've created your own custom DTO class, you now must override the Broadleaf bean for this DTO. You can override the bean definition in either an @Configuration class or via XML. Be sure you define the bean as a prototype!
@Configuration
@Configuration
public class MyBeanConfiguration {

    @Bean("com.broadleafcommerce.customersegment.dto.CustomerSegmentDTO")
    @Scope(ConfigurableBeanFactory.SCOPE_PROTOTYPE)
    public CustomerSegmentDTO customerSegmentDTOBeanDefinition() {
        return new MyCustomerSegmentDTO();
    }
}
XML
<beans>
    <bean id="com.broadleafcommerce.customersegment.dto.CustomerSegmentDTO" class="com.mycompany.dto.MyCustomerSegmentDTO" scope="prototype"/>
</beans>
API Security
Security in the admin can be done a number of ways with Spring Security. The easiest implementation of this is to use HTTP Basic security
and the existing blAdminAuthenticationManager. In order to enable this, we recommend creating a new API Admin User that
has all the same roles and permissions as the global super user. This serves 2 purposes:
- Ensures that your API user can perform all operations and will not be blocked by the admin security services
- Allows you to track changes that were performed by this separate admin user, for instance if you are importing into a sandbox
To enable admin security with HTTP basic auth, add the following to applicationContext-admin-security.xml:
<sec:http pattern="/api/**" create-session="stateless" authentication-manager-ref="blAdminAuthenticationManager">
    <sec:http-basic />
    <sec:csrf disabled="true" />
    <sec:custom-filter ref="blAdminRestPreSecurityFilterChain" before="CHANNEL_FILTER"/>
    <sec:custom-filter ref="blAdminRestPostSecurityFilterChain" after="SWITCH_USER_FILTER"/>
</sec:http>
Then add the following to applicationContext-admin-filter.xml:
<bean id="blAdminRestPreSecurityFilterChain" class="org.springframework.security.web.FilterChainProxy">
    <sec:filter-chain-map request-matcher="ant">
        <sec:filter-chain pattern="/**" filters="
           openEntityManagerInViewFilter,
           blMultiTenantAdminRequestFilter"/>
    </sec:filter-chain-map>
</bean>

<bean id="blAdminRestPostSecurityFilterChain" class="org.springframework.security.web.FilterChainProxy">
    <sec:filter-chain-map request-matcher="ant">
        <sec:filter-chain pattern="/**" filters="
           resourceUrlEncodingFilter,
           blAdminRequestFilter,
           hiddenHttpMethodFilter,
           blLog4jMappedDiagnosticContextFilter"/>
    </sec:filter-chain-map>
</bean>
If you are not using multi tenant, remove the
blMultiTenantAdminRequestFilterbean id

